7 Must-Know Tips to Clean Your Dog’s Ears Safely
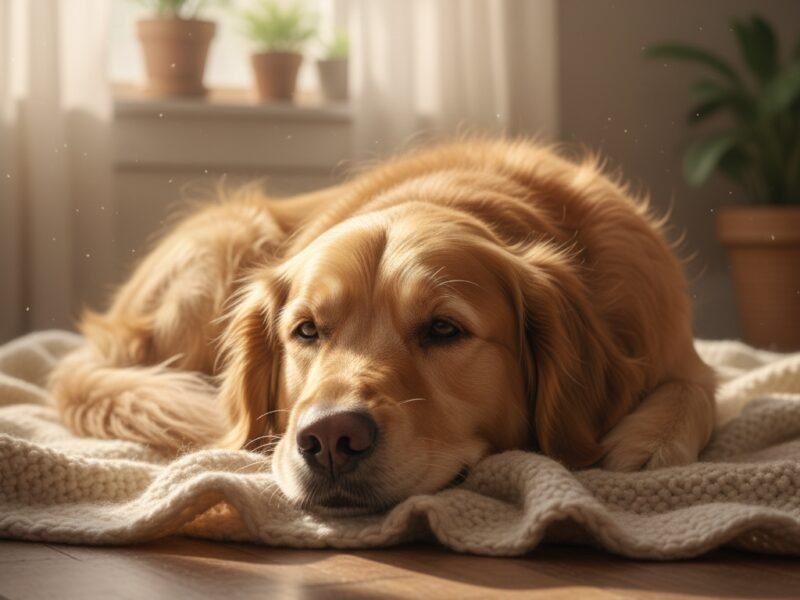
As devoted dog parents, we want the best for our furry family members, and that includes keeping them healthy from nose to tail – and especially their ears! Dog ears, with their unique structures, can be a haven for dirt, debris, and even infections if not properly maintained. Regular ear cleaning is a crucial part of your dog’s grooming routine, helping to prevent discomfort and more serious health issues. But how do you do it safely and effectively without causing stress to your beloved pet?
Don’t worry, we’re here to guide you. This comprehensive guide will walk you through the essential steps and provide you with 7 must-know tips to clean your dog’s ears safely, turning what might seem like a daunting task into a simple, bonding experience.
Why Ear Cleaning is Essential for Your Dog
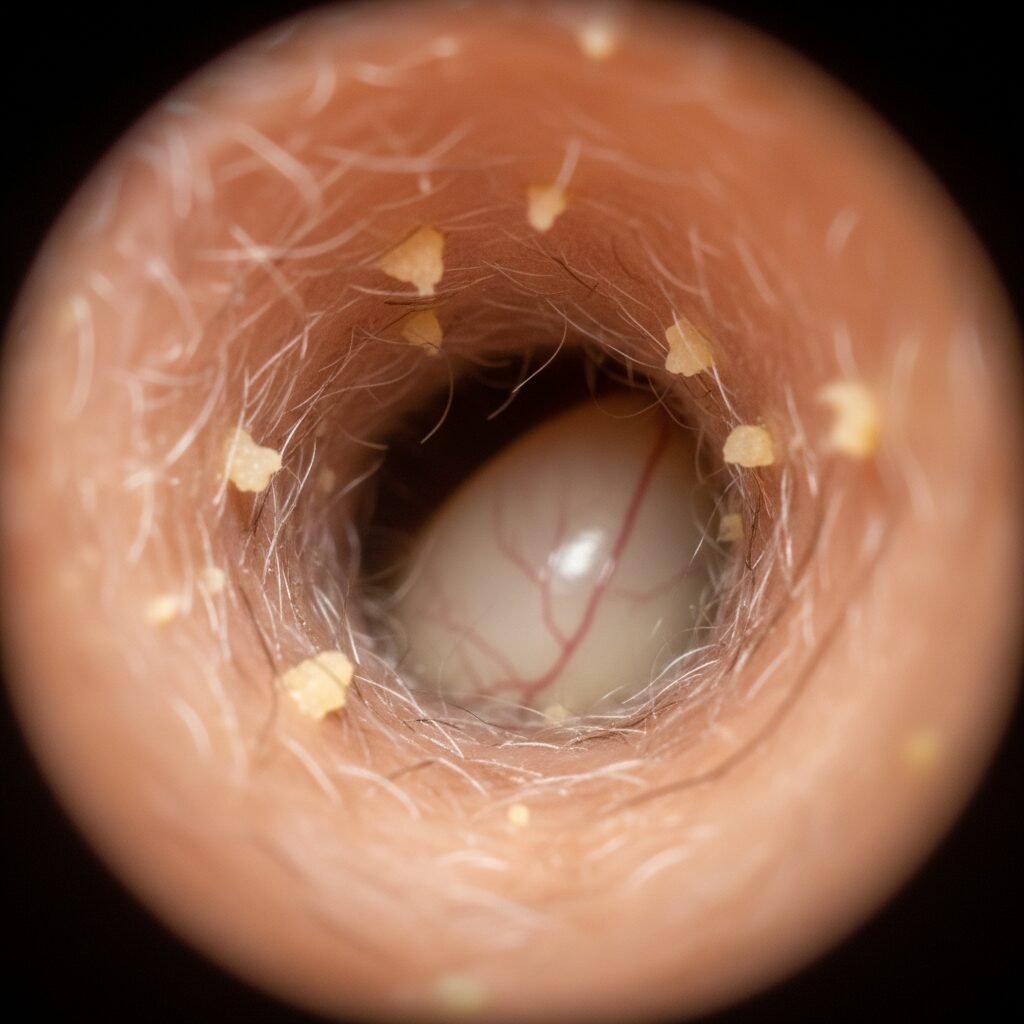
A dog’s ear canal is L-shaped, making it prone to trapping moisture, wax, and debris. This dark, warm, and often humid environment is perfect for bacteria and yeast to thrive, leading to painful infections. Regular cleaning helps remove this buildup, maintains proper ear hygiene, and allows you to spot potential problems early on. It’s a proactive step in preventing discomfort, itching, and costly vet visits.
Recognizing the Signs Your Dog’s Ears Need Attention
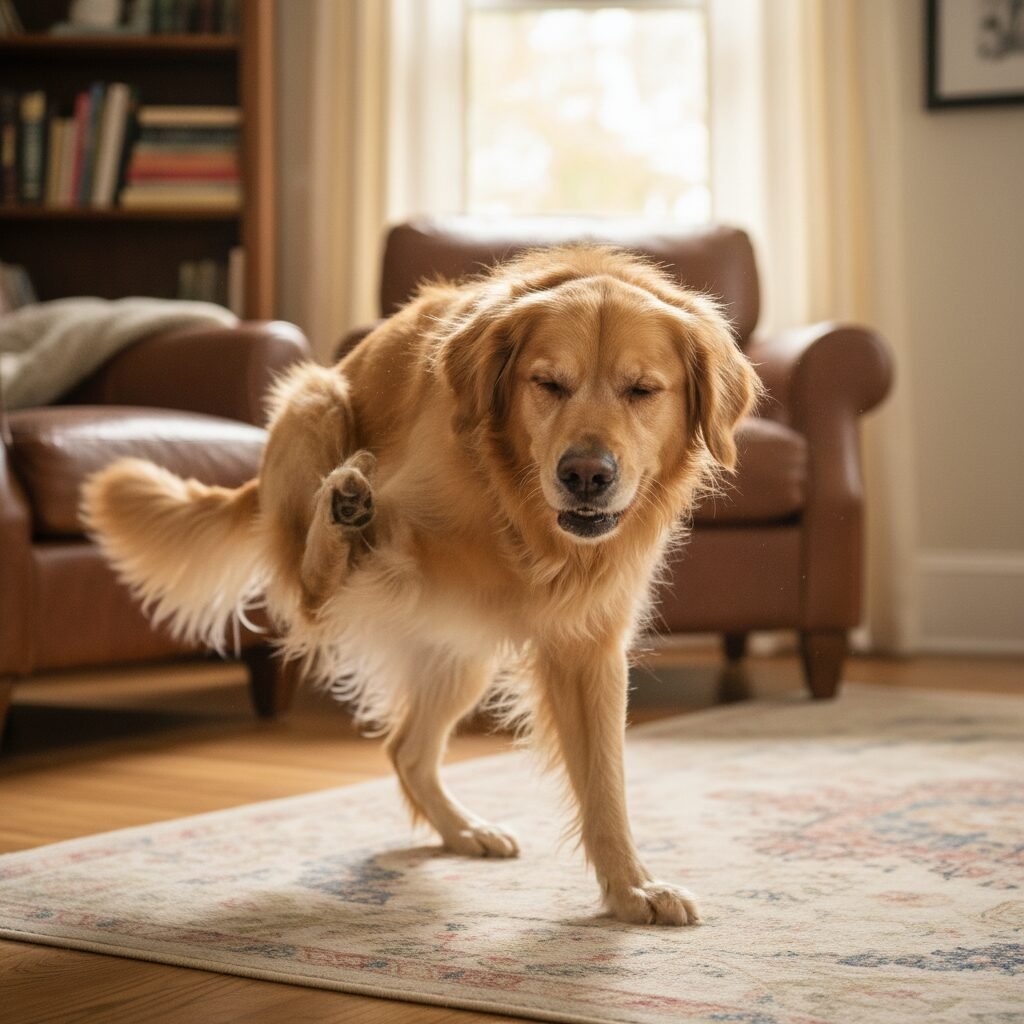
Before you even think about cleaning, it’s good to know when your dog’s ears might be telling you something is wrong. Keep an eye out for these common indicators:
- Excessive scratching or pawing at the ears
- Head shaking more than usual
- Redness or swelling inside the ear flap
- A strong, unpleasant odor coming from the ears
- Dark discharge or excessive wax buildup
- Whining or yelping when the ears are touched
- Loss of balance or unusual head tilt
If you notice any of these severe signs, especially pain or a strong odor, it’s best to consult your veterinarian before attempting to clean them yourself, as an underlying infection might need professional treatment.
Gather Your Essential Supplies
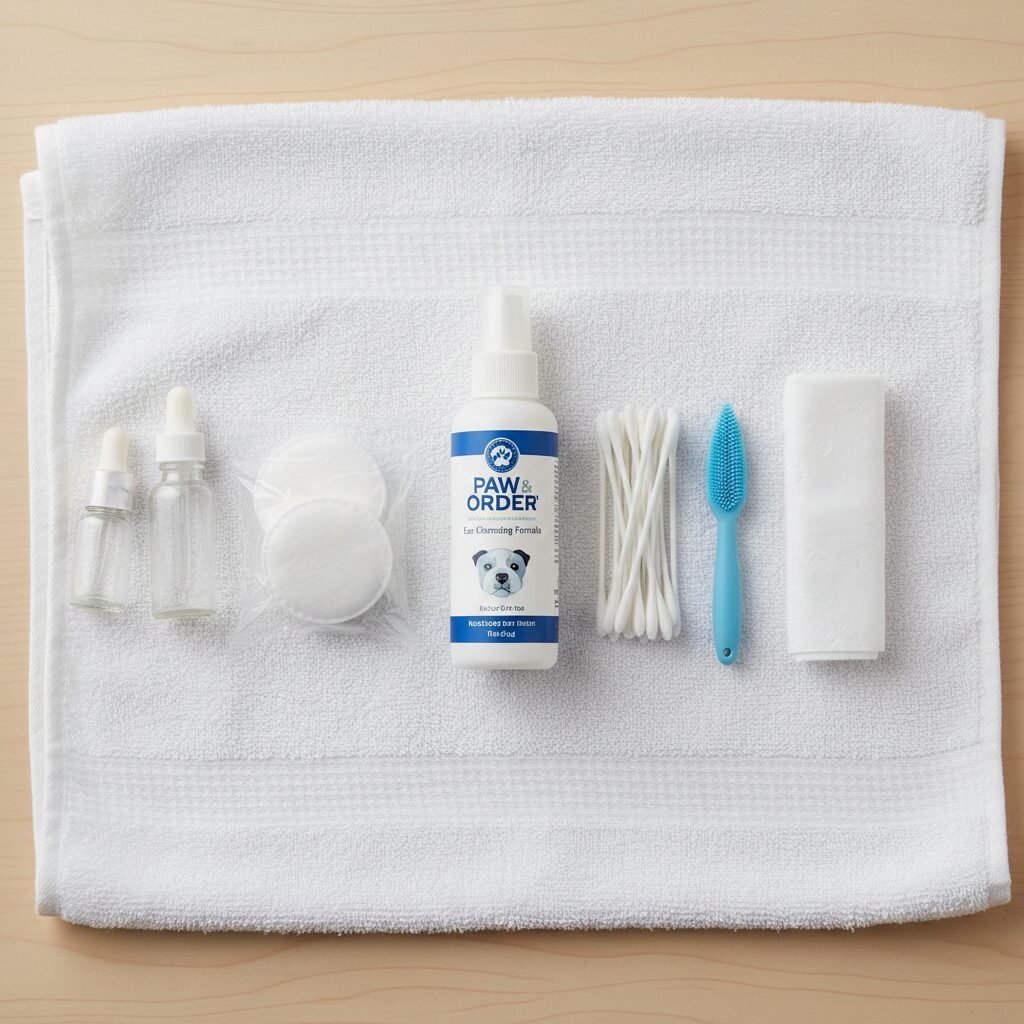
Preparation is key! Before you begin, gather everything you’ll need. Having your supplies ready will make the process smoother and quicker for both you and your dog.
- Dog-specific ear cleaning solution recommended by your vet
- Cotton balls or gauze pads (avoid cotton swabs, as they can push debris further in)
- Clean towels (one for spills, one for wiping)
- Treats for positive reinforcement
- Gloves (optional, but good for hygiene)
The 7 Must-Know Tips to Clean Your Dog’s Ears Safely
Now, let’s get to the heart of safe and effective ear cleaning. Follow these tips to ensure a positive experience for your dog.
Tip 1 – Choose the Right Cleaner
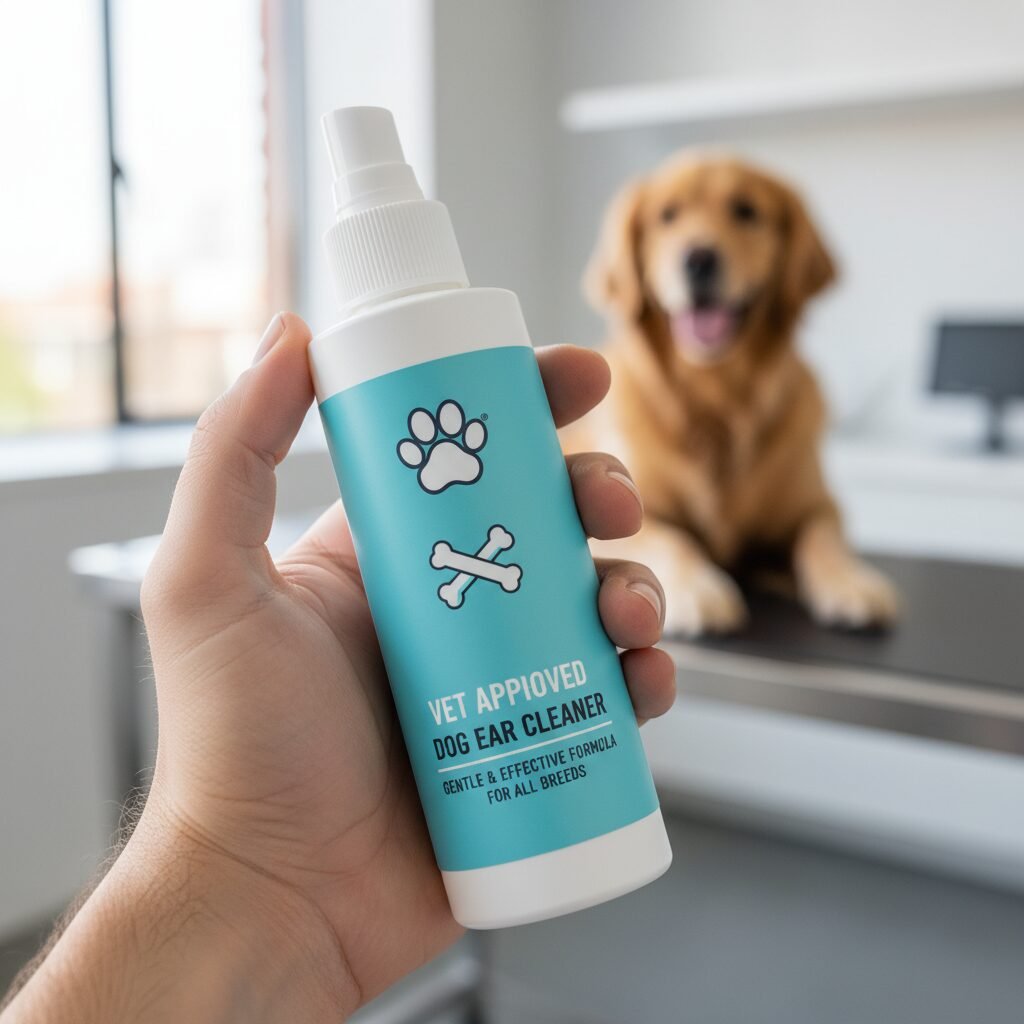
Always use a veterinary-approved ear cleaning solution designed specifically for dogs. Human ear cleaners or homemade remedies can be irritating or harmful. Your vet can recommend the best product for your dog’s specific needs, especially if they have sensitive skin or recurring issues.
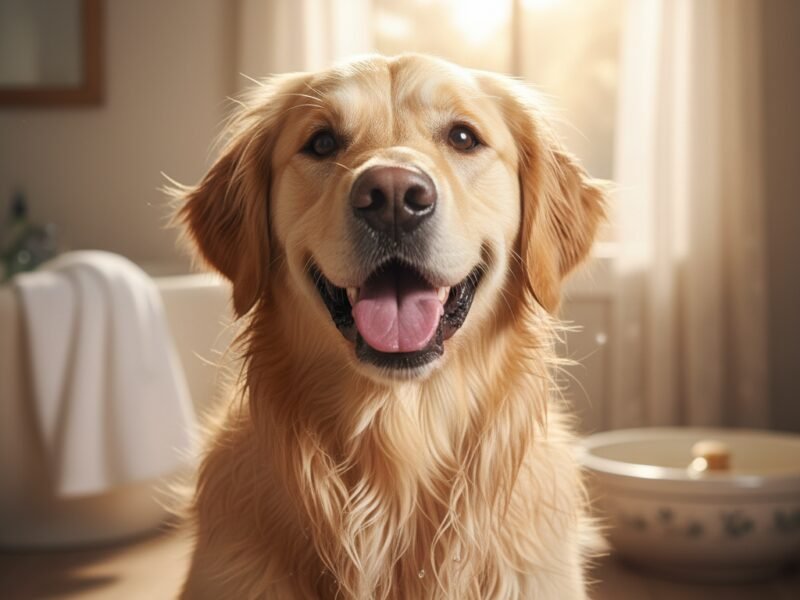
Tip 2 – Get Your Dog Comfortable

Find a quiet, calm space where your dog feels secure. Start by gently petting their head and ears. If your dog is anxious, consider wrapping them in a towel or having another person gently hold them. Positive reinforcement with treats and praise throughout the process is vital to building trust and making ear cleaning a less stressful experience.
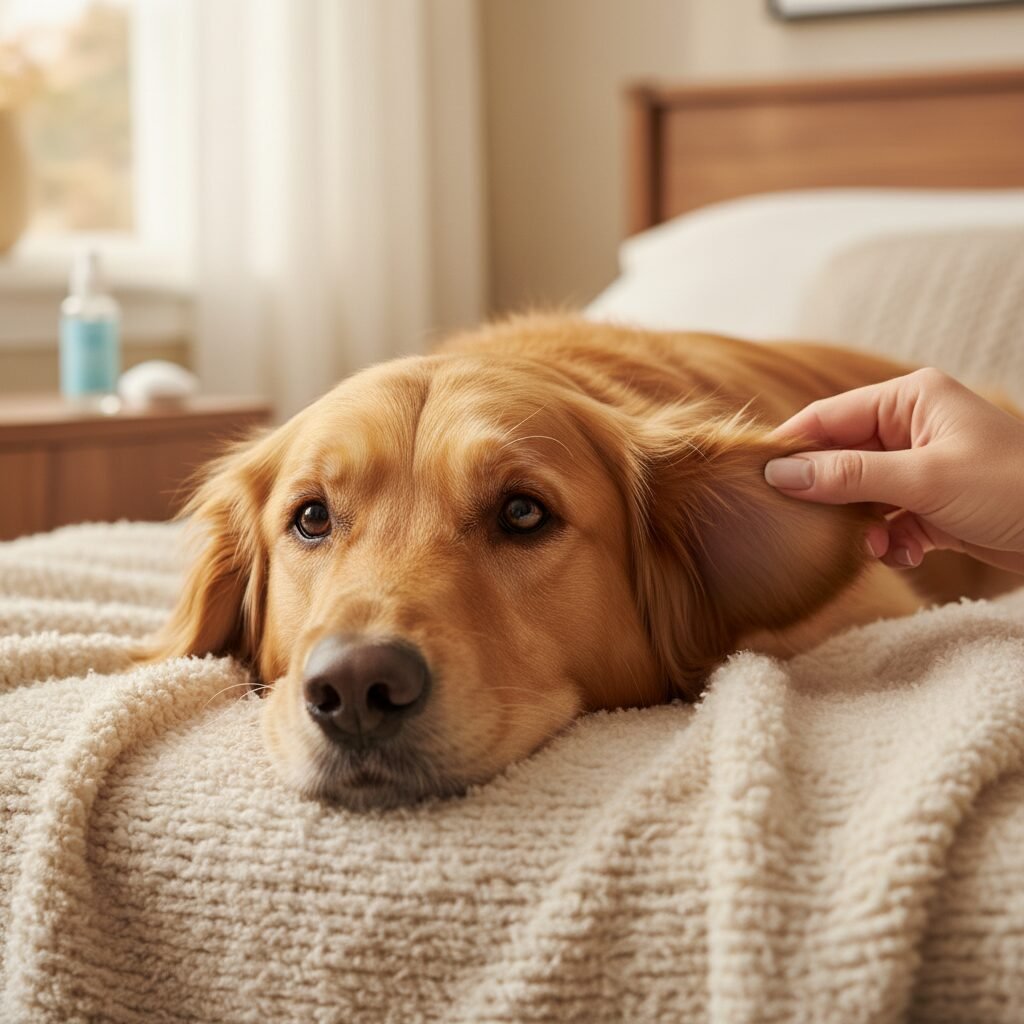
Tip 3 – Inspect Before You Clean
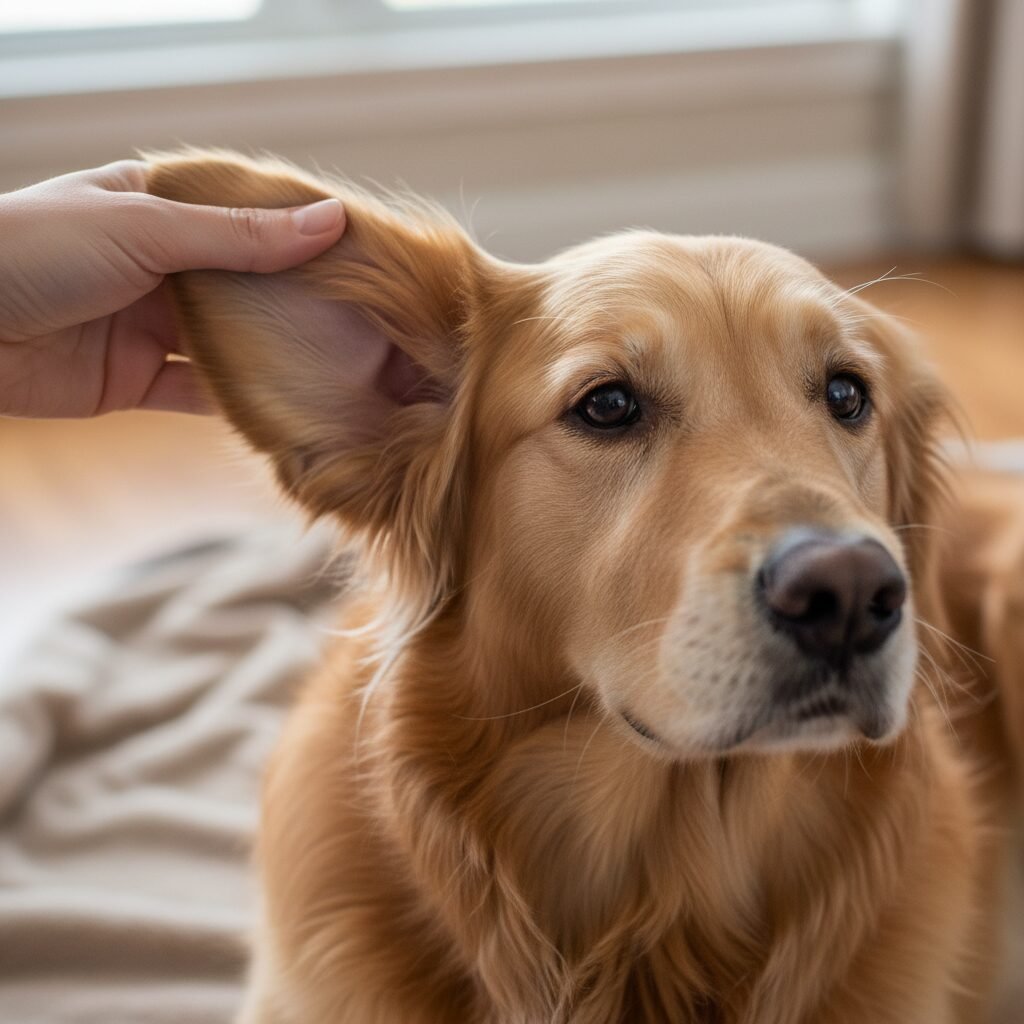
Before applying any solution, gently lift your dog’s ear flap and visually inspect the outer ear canal. Look for any signs of redness, swelling, unusual discharge, or foreign objects (like grass awns). If you see anything concerning, or if the ear appears painful, stop and contact your vet immediately.
Tip 4 – Apply Cleaner Correctly
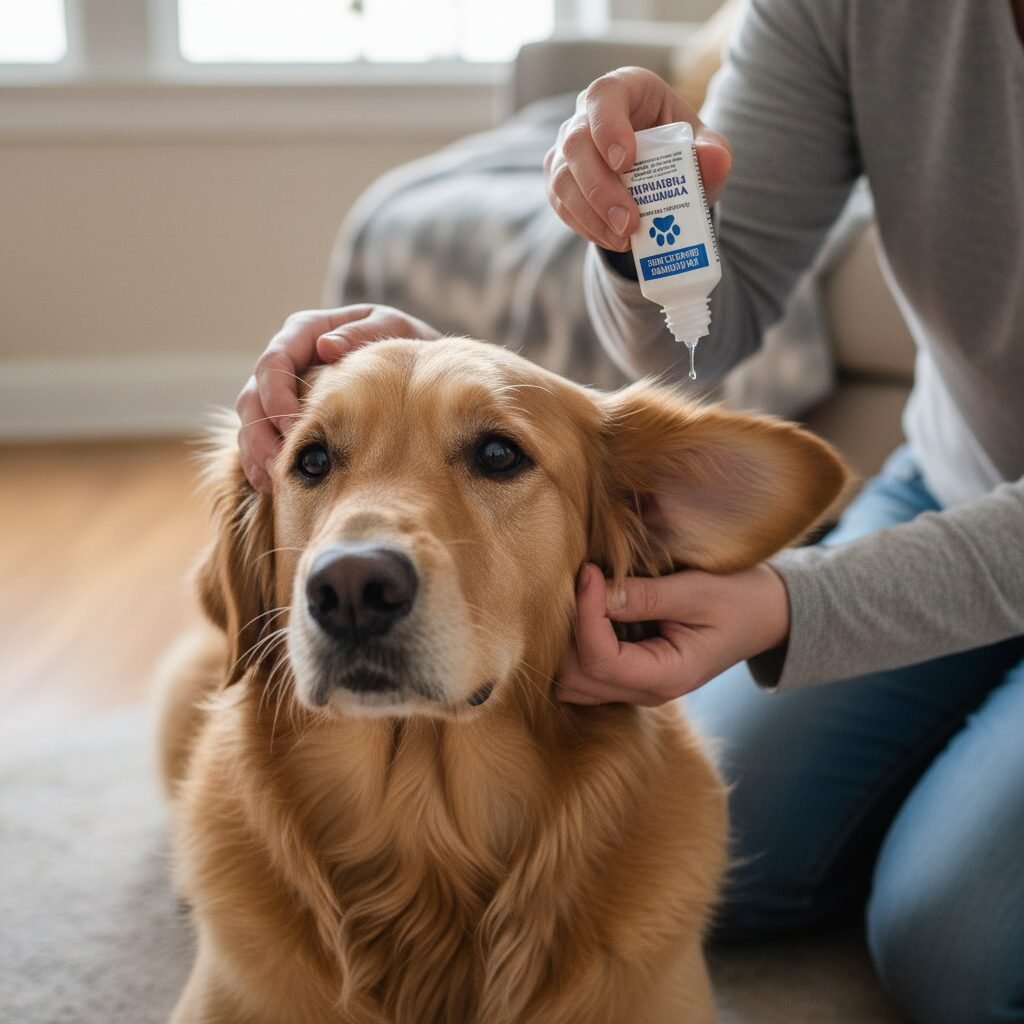
Hold your dog’s ear flap upright. Carefully place the tip of the ear cleaner bottle into the opening of the ear canal and squeeze a generous amount of solution into the ear. Don’t be afraid to use enough; the goal is to fill the canal. The bottle tip should not go too deep, just enough to enter the canal’s opening.
Tip 5 – Massage and Wipe Gently
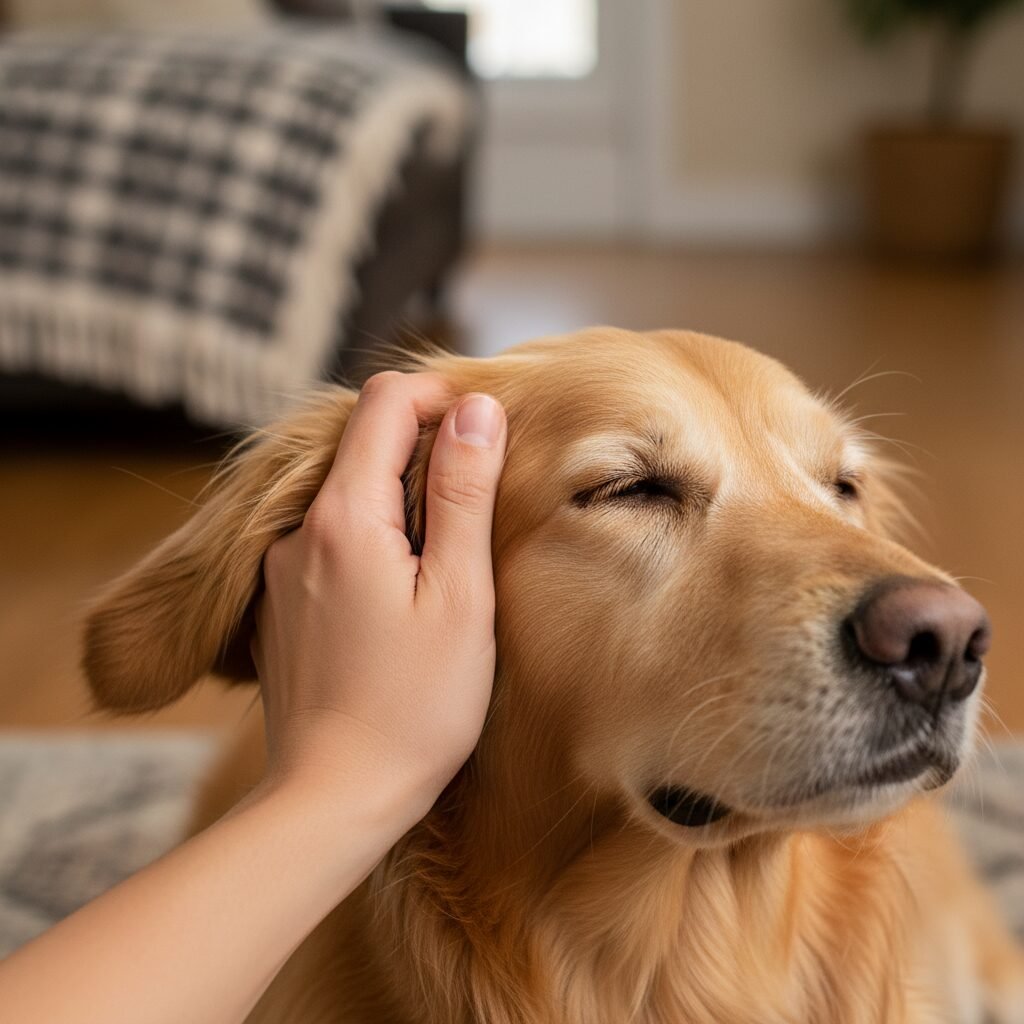
Once the solution is in, gently massage the base of your dog’s ear for about 20-30 seconds. You should hear a squishing sound as the solution breaks up wax and debris. After massaging, allow your dog to shake their head – this helps dislodge material. Then, use a clean cotton ball or gauze pad to gently wipe away any visible solution, wax, and debris from the outer ear flap and the entrance of the ear canal. Never insert anything deep into the ear canal.
Tip 6 – Reward and Praise
As soon as you finish cleaning one ear (or both, if your dog tolerates it), immediately offer praise and a tasty treat. This positive association is crucial for making future cleanings easier. End the session on a positive note, even if it wasn’t perfect. Consistency and positive reinforcement are your best tools.
Tip 7 – Know When to Stop and Seek Vet Help
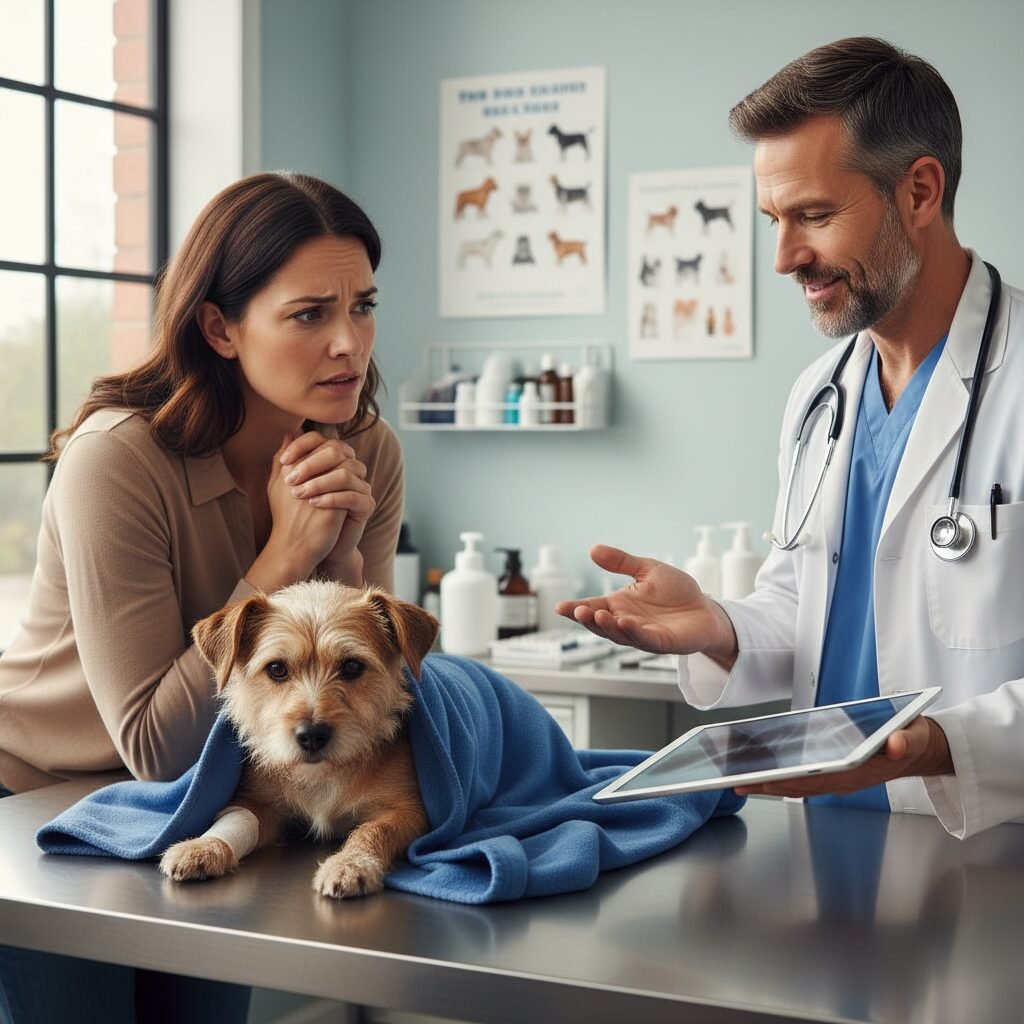
If your dog shows signs of pain, severe discomfort, or aggression during cleaning, stop immediately. Do not force the issue. Similarly, if you notice persistent redness, swelling, a foul odor, excessive discharge, or if your dog continues to scratch and shake their head even after cleaning, it’s time to call your veterinarian. These could be signs of an infection or another underlying issue that requires professional diagnosis and treatment.
When to Call Your Veterinarian
While routine ear cleaning is a great preventative measure, it’s important to know when to seek professional help. Contact your vet if you observe:
- Any signs of pain, bleeding, or unusual growths in the ear.
- A persistent, strong odor despite cleaning.
- Yellow, green, or black discharge.
- Your dog is unusually sensitive or aggressive when their ears are touched.
- Signs of hearing loss or disorientation.
These symptoms could indicate an infection, mites, or another medical condition that needs veterinary attention.
A Lifetime of Healthy Ears for Your Dog
Cleaning your dog’s ears might seem daunting at first, but with the right approach and these 7 must-know tips, it can become a simple and positive part of your dog care routine. Remember, consistency, gentleness, and positive reinforcement are key. By taking the time to care for your dog’s ears, you’re not just preventing potential problems; you’re strengthening the bond you share and ensuring your beloved companion lives a more comfortable, happier, and healthier life. Your dog relies on you for their well-being, and a clean, healthy ear is a happy ear!