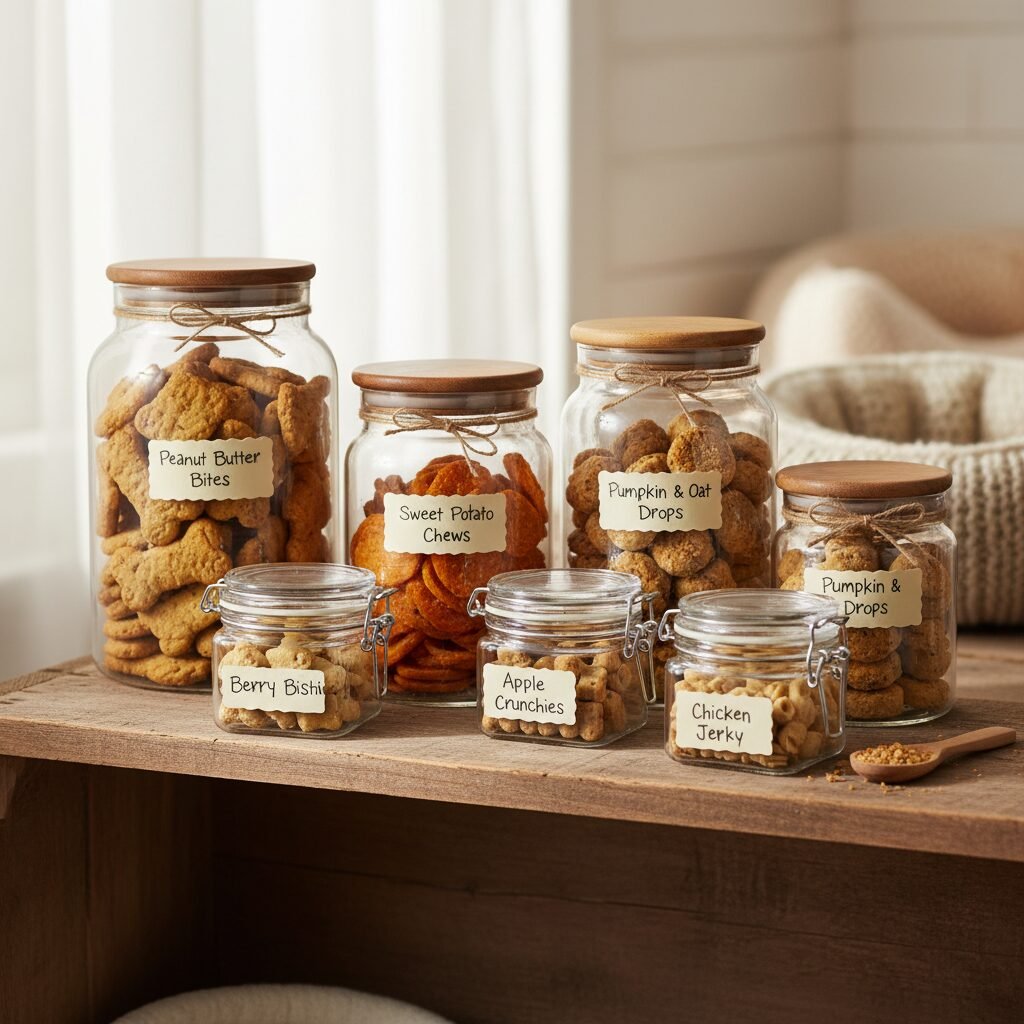
7 Quick and Easy Chicken Dog Treat Recipes Your Pup Will Love
As a devoted dog parent, you know the joy a wagging tail brings, especially when treats are involved! While store-bought options are convenient, many contain fillers, artificial ingredients, or preservatives that aren’t ideal for your furry family member. What if you could whip up delicious, healthy, and easy treats right in your own kitchen, knowing exactly what goes into them? Good news! Chicken is a fantastic, lean protein that most dogs adore, making it the perfect base for homemade goodies. In this guide, we’ll share 7 quick and easy chicken dog treat recipes that will have your pup doing happy dances in no time. Get ready to become your dog’s favorite chef!
Why Homemade Chicken Treats Are Best for Your Dog
Opting for homemade treats gives you complete control over your dog’s diet. You can avoid common allergens, unnecessary sugars, and artificial additives. Plus, making treats yourself is often more economical and incredibly rewarding. Chicken is packed with essential amino acids, supporting muscle growth and energy levels, making it an excellent choice for a healthy snack.
Essential Tips Before You Start Baking
Before you don your apron, here are a few important pointers to ensure your treat-making adventure is a success and safe for your pup:
- Always Cook Chicken Thoroughly– Raw chicken can contain bacteria like Salmonella, which is harmful to dogs. Ensure all chicken is cooked through without any seasoning.
- Avoid Harmful Ingredients– Never use onions, garlic, xylitol (artificial sweetener), chocolate, grapes, or raisins in any dog treats. These are toxic to dogs.
- Portion Control– Treats should only make up a small part of your dog’s daily caloric intake. Adjust treat size based on your dog’s breed, size, and activity level.
- Check for Allergies– If your dog has known allergies, double-check all ingredients. When introducing a new treat, start with a small amount.
- Use High-Quality Ingredients– Just like for yourself, choose fresh, good-quality ingredients for your dog’s treats.
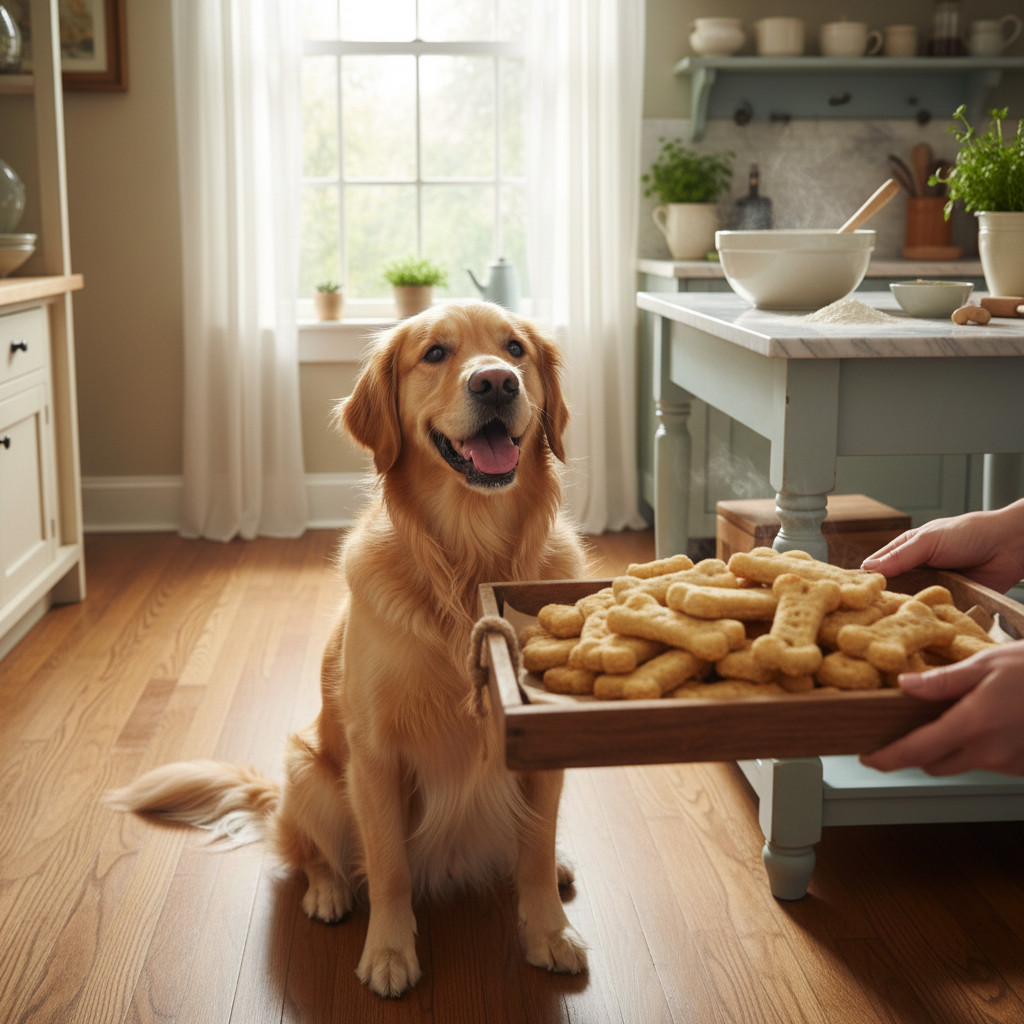
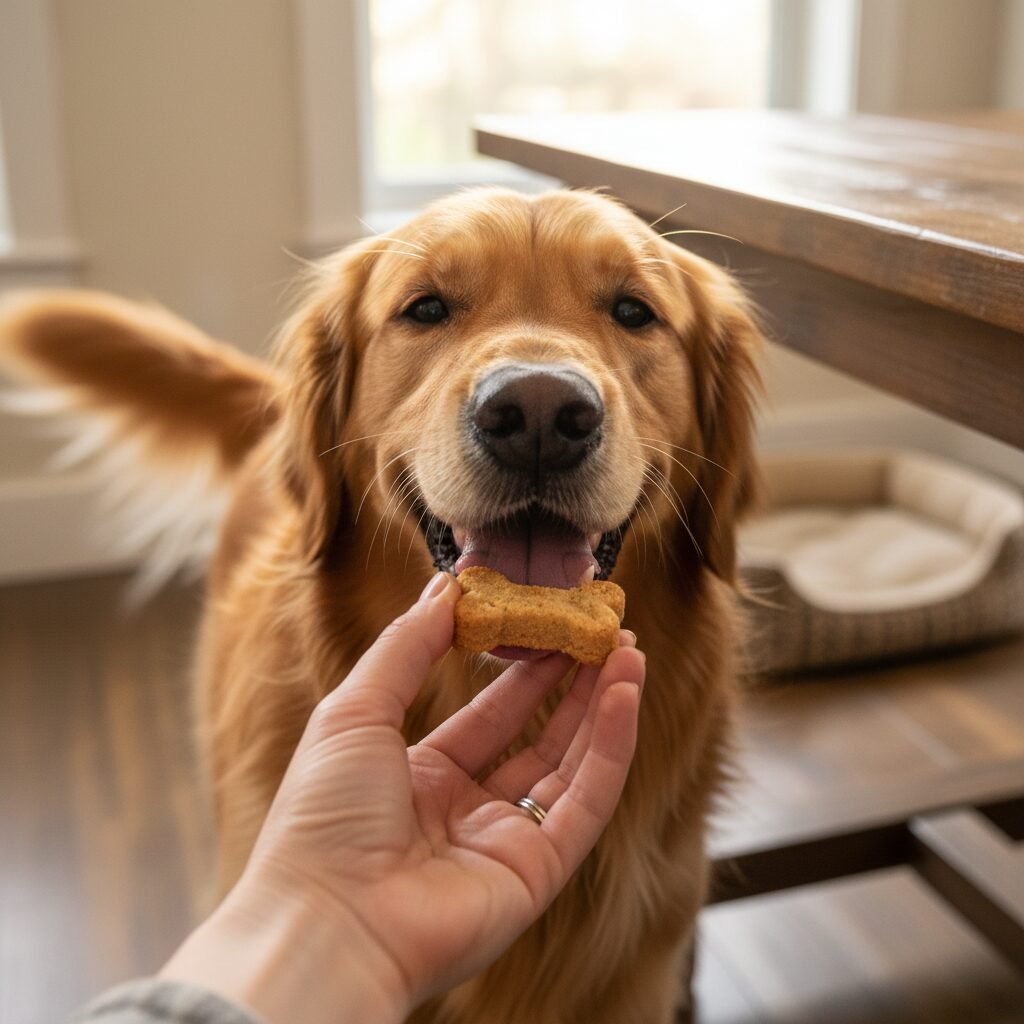
The 7 Quick and Easy Chicken Dog Treat Recipes
Let’s get cooking! Here are seven fantastic recipes that are simple to make and sure to be a hit with your canine companion.
Recipe 1 – Simple Baked Chicken Bits
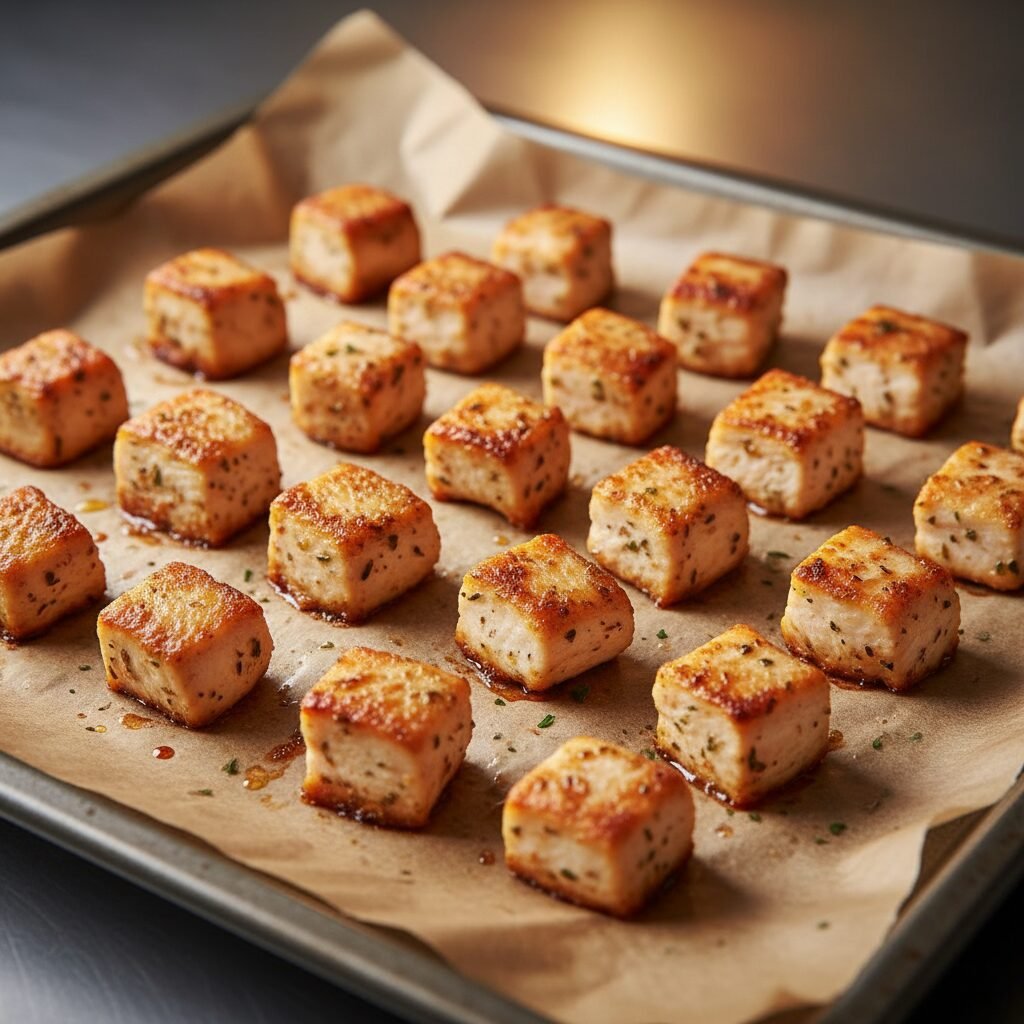
This is the simplest way to prepare a healthy, single-ingredient treat. Perfect for training or just a quick snack.
Ingredients
- 1 boneless, skinless chicken breast
Instructions
- Preheat oven to 375°F (190°C).
- Boil or bake the chicken breast until fully cooked. Ensure no pink remains.
- Once cooled, dice the chicken into small, bite-sized pieces suitable for your dog.
- Spread the chicken pieces on a baking sheet lined with parchment paper.
- Bake for 10-15 minutes, or until dried out and slightly firm. This helps preserve them.
- Let cool completely before serving or storing.
Storage– Store in an airtight container in the refrigerator for up to 5 days, or freeze for up to 3 months.
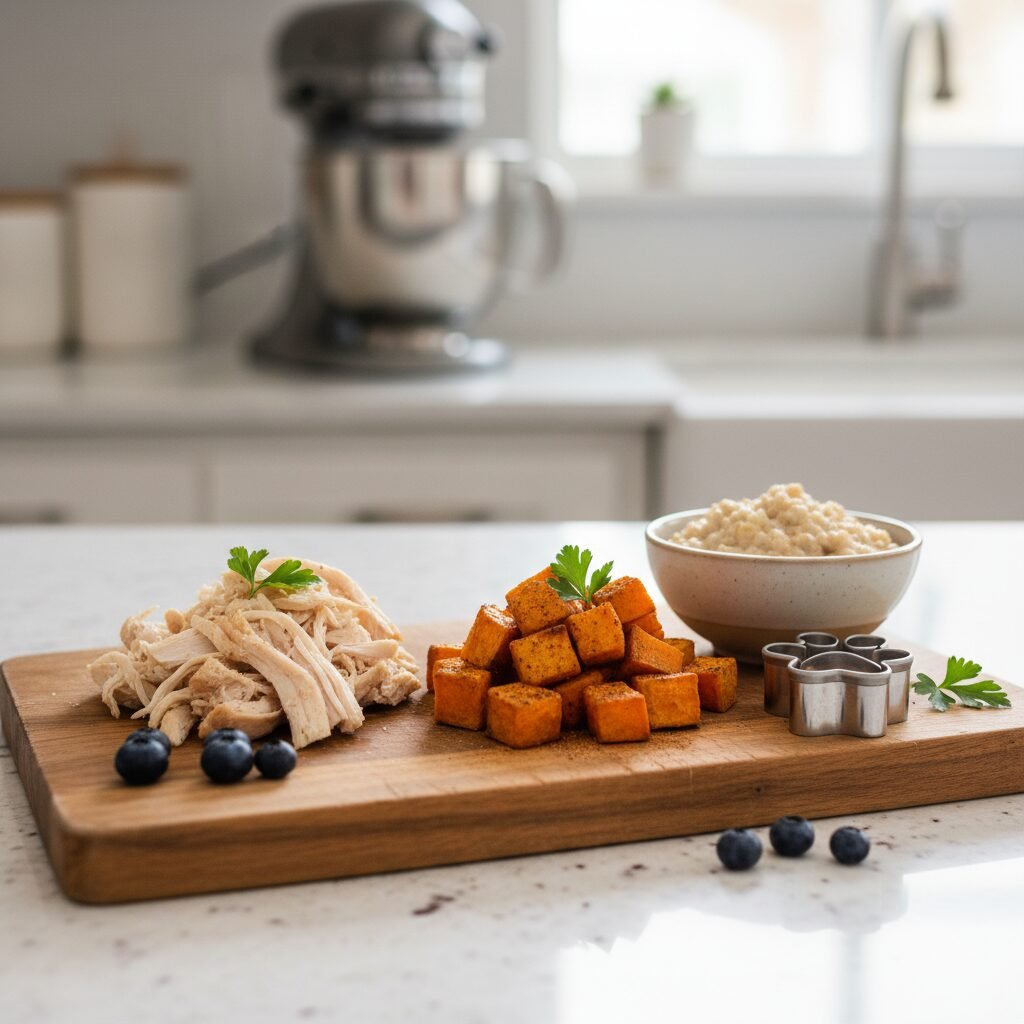
Recipe 2 – Chicken and Sweet Potato Bites
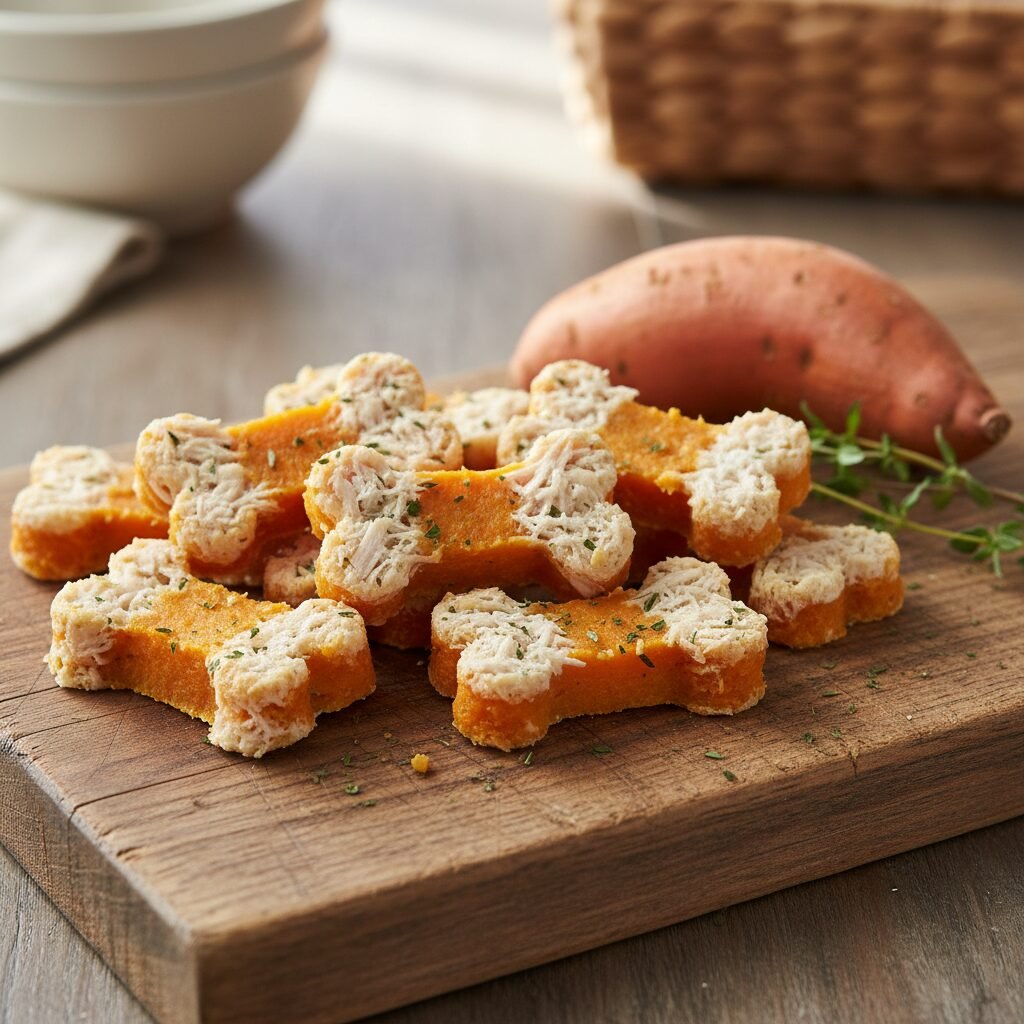
Sweet potatoes are a superfood for dogs, packed with vitamins and fiber. Combined with chicken, they make a nutritious and tasty treat.
Ingredients
- 1/2 cup cooked, shredded chicken
- 1/2 cup cooked, mashed sweet potato (plain, no seasoning)
- 1/4 cup whole wheat flour (or oat flour for gluten-free)
- 1 egg
Instructions
- Preheat oven to 350°F (175°C). Line a baking sheet with parchment paper.
- In a bowl, combine shredded chicken, mashed sweet potato, flour, and egg. Mix until well combined.
- Roll the mixture into small balls or press it flat and cut into shapes using a cookie cutter.
- Place on the prepared baking sheet.
- Bake for 20-25 minutes, or until firm and lightly golden.
- Let cool completely.
Storage– Refrigerate in an airtight container for up to 7 days, or freeze.
Recipe 3 – Cheesy Chicken Puffs

A little cheese can be a wonderful motivator! These savory puffs are irresistible to most dogs.
Ingredients
- 1/2 cup cooked, shredded chicken
- 1/4 cup shredded cheddar cheese (low-fat is best)
- 1/4 cup whole wheat flour
- 1 egg
- 1-2 tablespoons water (if needed)
Instructions
- Preheat oven to 350°F (175°C). Line a baking sheet with parchment paper.
- In a bowl, mix shredded chicken, cheese, flour, and egg until a dough forms. Add water if the mixture is too dry.
- Roll out the dough to about 1/4 inch thickness and cut into small squares or use a mini cookie cutter.
- Place on the baking sheet.
- Bake for 15-20 minutes, or until golden brown and firm.
- Cool completely before serving.
Storage– Store in an airtight container in the refrigerator for up to 5 days.
Recipe 4 – Chicken and Oat Energy Balls
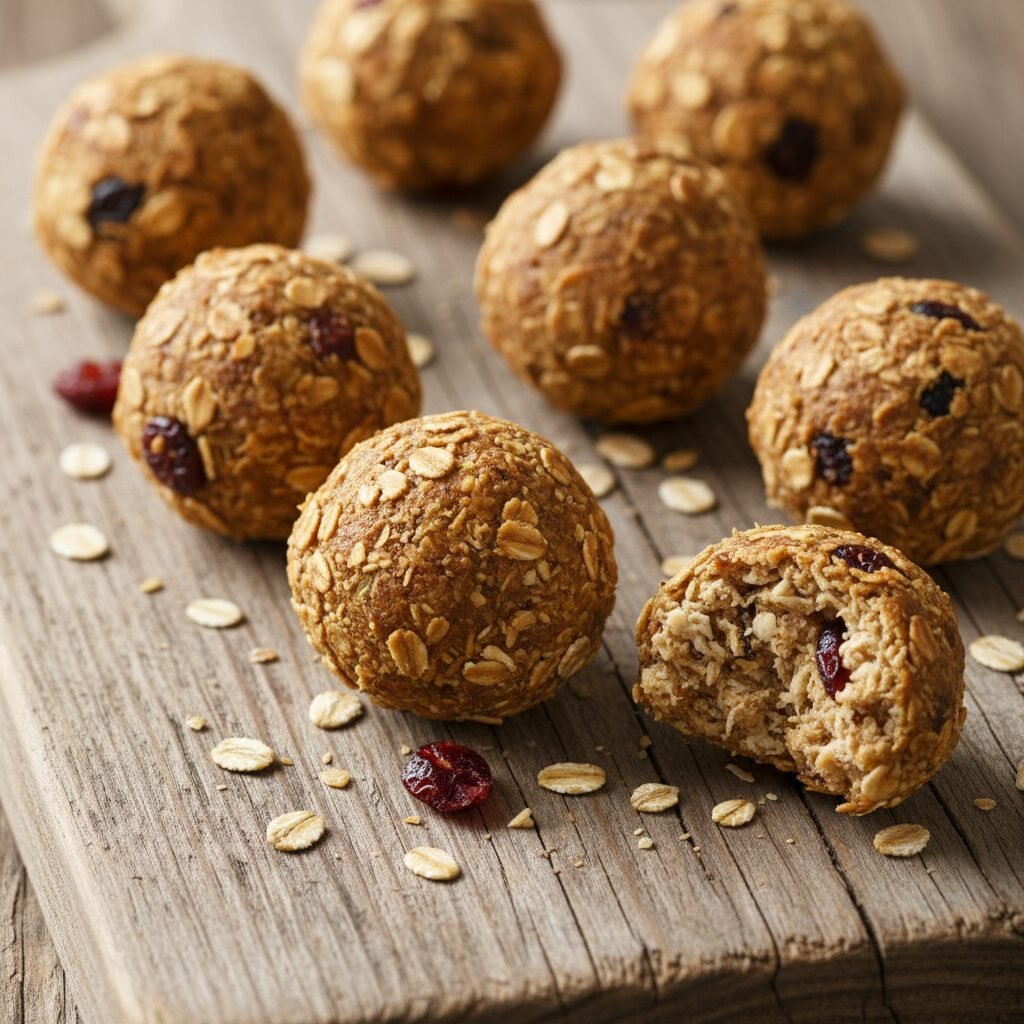
These no-bake energy balls are perfect for active pups, offering a quick boost of protein and fiber.
Ingredients
- 1/2 cup cooked, finely ground chicken (or finely shredded)
- 1/2 cup rolled oats
- 1/4 cup unsweetened applesauce
- 1 tablespoon natural peanut butter (xylitol-free)
Instructions
- In a medium bowl, combine all ingredients. Mix thoroughly until a sticky dough forms.
- Roll the mixture into small, bite-sized balls.
- Place on a plate or baking sheet lined with parchment paper.
- Refrigerate for at least 30 minutes to firm up.
Storage– Keep refrigerated in an airtight container for up to 7 days.
Recipe 5 – Frozen Chicken Broth Pupsicles
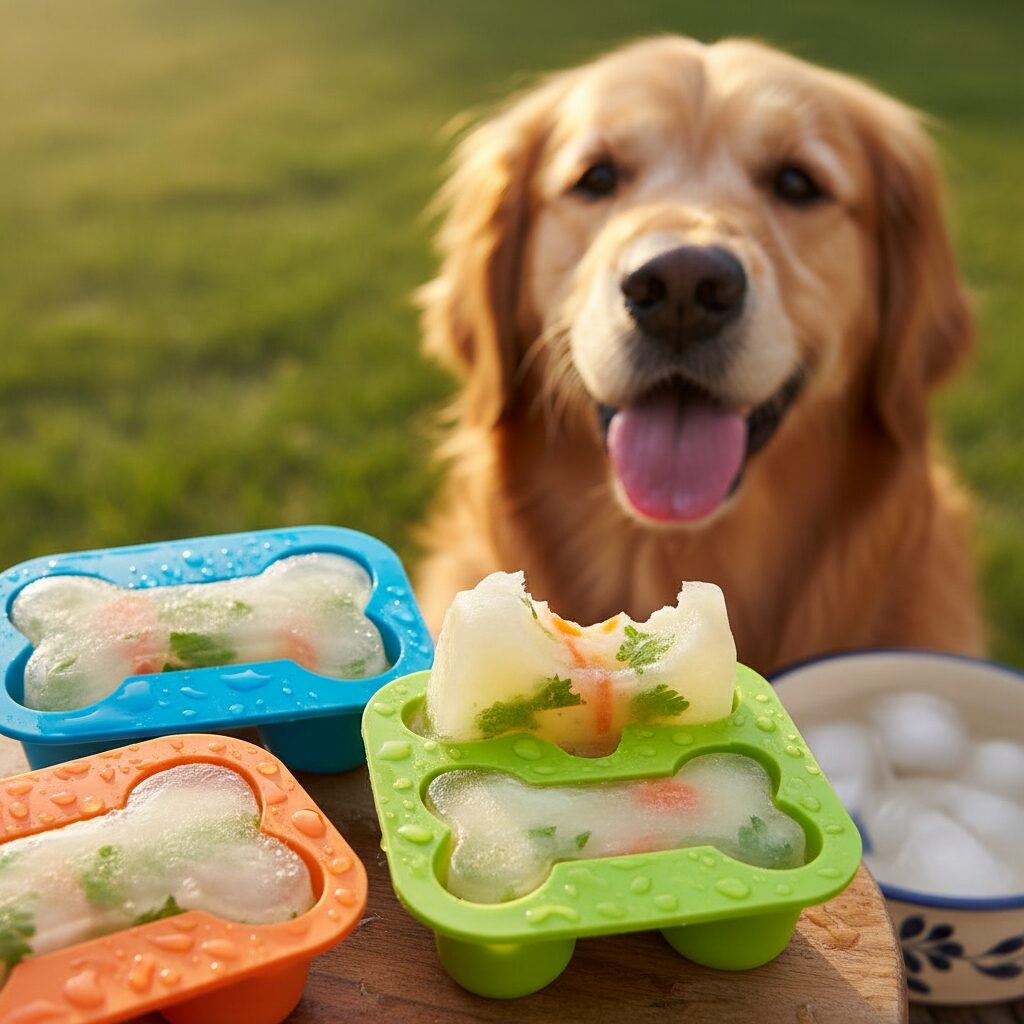
A refreshing and hydrating treat, especially great for hot summer days or for pups needing extra fluids.
Ingredients
- 1 cup low-sodium chicken broth (ensure no onion or garlic)
- Small pieces of cooked chicken (optional)
- Small silicone molds or ice cube trays
Instructions
- If using, place a few small pieces of cooked chicken into each mold cavity.
- Pour the chicken broth into the molds, filling them almost to the top.
- Freeze until solid, typically 3-4 hours or overnight.
- Pop out and serve one at a time.
Storage– Store frozen pupsicles in a freezer-safe bag or container for up to 2 months.
Recipe 6 – Chicken Jerky Strips
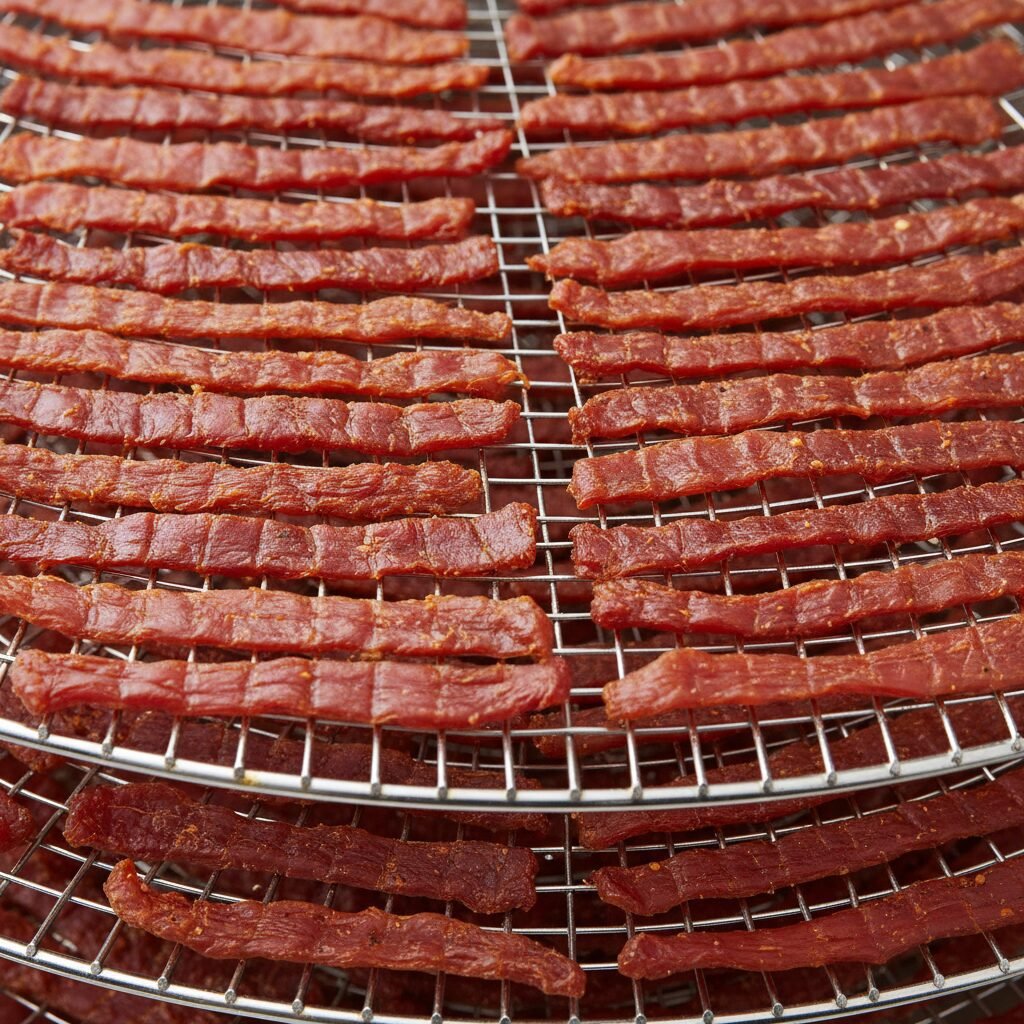
Homemade jerky is a fantastic chewy treat and much healthier than many store-bought versions. A dehydrator works best, but an oven can also be used.
Ingredients
- 1 boneless, skinless chicken breast
Instructions
- Preheat oven to its lowest setting (around 170-200°F / 75-95°C). Or set your dehydrator to 145°F (63°C).
- Partially freeze the chicken breast for about 30 minutes; this makes it easier to slice thinly.
- Slice the chicken breast into very thin strips, about 1/8 to 1/4 inch thick.
- Arrange the strips on a wire rack placed over a baking sheet (for oven) or directly on dehydrator trays.
- Bake in the oven for 2-4 hours, or until completely dry and leathery. If using a dehydrator, dehydrate for 4-8 hours, checking periodically.
- Let cool completely. They should be firm and brittle, not soft.
Storage– Store in an airtight container at room temperature for up to 2 weeks, or refrigerate for longer.
Recipe 7 – Crunchy Chicken and Carrot Cookies

Carrots add a lovely crunch and a boost of Vitamin A to these delicious, oven-baked cookies.
Ingredients
- 1/2 cup cooked, finely shredded chicken
- 1/4 cup grated carrots
- 1 cup whole wheat flour
- 1/2 cup water or low-sodium chicken broth
- 1 tablespoon olive oil
Instructions
- Preheat oven to 350°F (175°C). Line a baking sheet with parchment paper.
- In a large bowl, combine shredded chicken, grated carrots, flour, water/broth, and olive oil. Mix well to form a stiff dough.
- On a lightly floured surface, roll out the dough to about 1/4 inch thickness.
- Use a cookie cutter to cut out shapes. Bone shapes are always a hit!
- Place the cookies on the prepared baking sheet.
- Bake for 25-30 minutes, or until golden brown and crunchy.
- Turn off the oven and leave the cookies inside for another 30 minutes to an hour to crisp up further as the oven cools.
- Cool completely before storing.
Storage– Store in an airtight container at room temperature for up to 2 weeks.
Storage and Safety Tips
Proper storage is key to keeping your homemade treats fresh and safe. Always allow treats to cool completely before storing them to prevent condensation and mold. Label containers with the date they were made. If you notice any mold or unusual odors, discard the treats immediately. When in doubt, throw it out!
Conclusion
There’s nothing quite like seeing your dog’s eyes light up when they know a treat is coming. By making these 7 quick and easy homemade chicken dog treats, you’re not just offering a snack; you’re providing a healthy, wholesome expression of your love. You have the power to control what goes into their bodies, ensuring they get the best. So go ahead, unleash your inner chef, and enjoy the happy tail wags that are sure to follow. Your furry best friend deserves all the delicious, homemade goodness!