As devoted dog parents, we constantly seek ways to show our love and ensure our furry companions lead happy, healthy lives. One of the simplest joys is watching their tail wag furiously for a tasty treat! However, navigating the world of store-bought dog treats can be overwhelming, often revealing long lists of unfamiliar ingredients. What if you could create wholesome, delicious dog cookies right in your kitchen with just three simple ingredients? Get ready to bake some tail-wagging happiness and strengthen that special bond!
Why Homemade Treats Are Best for Your Dog

Making treats at home offers unparalleled benefits, primarily giving you complete control over your dog’s diet. You can confidently avoid the unnecessary fillers, artificial preservatives, colors, and flavors commonly found in commercial dog biscuits. Beyond the nutritional advantages, there’s a unique satisfaction in preparing something special for your furry friend. It’s a wonderful, tangible way to express your love and ensure they’re getting only the good stuff.
- Ingredient Control: You know exactly what goes into your dog’s body.
- No Nasty Additives: Say goodbye to artificial colors, flavors, and harmful preservatives.
- Budget-Friendly: Often more economical than purchasing premium store-bought treats.
- Tailored to Tastes: Customize recipes to suit your dog’s specific preferences or dietary sensitivities.
- Bonding Experience: A truly heartwarming way to show your care and deepen your connection.
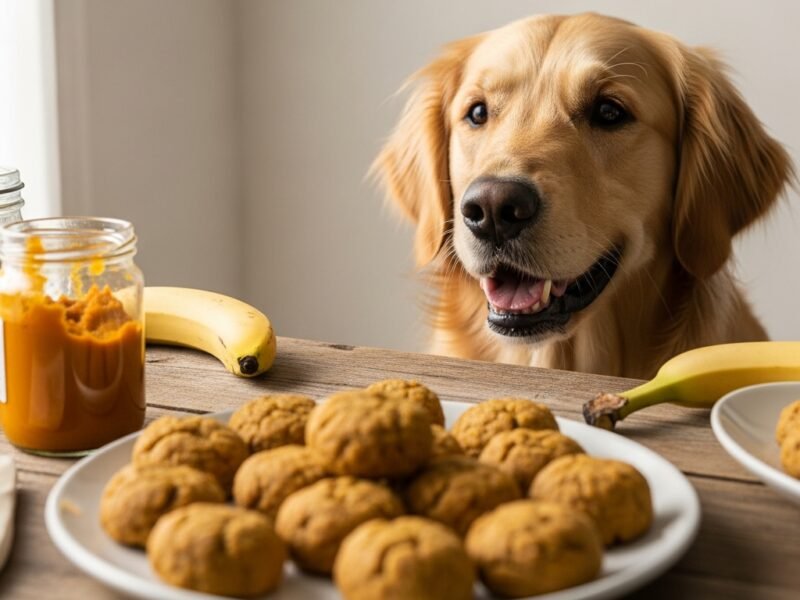
Gather Your Simple Ingredients
The true magic of this recipe lies in its incredible simplicity. You only need three common, dog-safe items to create a batch of wholesome, perfectly round dog cookies. Always ensure your ingredients are plain, unsweetened, and verified safe for canine consumption.
- Peanut Butter: Crucially, choose natural, unsweetened peanut butter that contains NO xylitol. Xylitol is an artificial sweetener highly toxic to dogs. Look for brands where the only ingredients are peanuts and perhaps a little salt. Peanut butter is a fantastic source of protein, healthy fats, and vitamins B and E.
- Pumpkin Puree: Ensure you’re using 100% pure pumpkin puree, not pumpkin pie filling. Pie filling contains spices and added sugars that are not good for dogs. Pure pumpkin is excellent for digestive health, rich in fiber, and packed with essential vitamins like A, C, and E.
- Whole Wheat Flour: This provides the necessary structure and binding for your cookies. Whole wheat flour also offers more fiber and nutrients than all-purpose flour. If your dog has a grain sensitivity or allergy, you can easily substitute whole wheat flour with oat flour or a reputable gluten-free dog-safe flour blend.
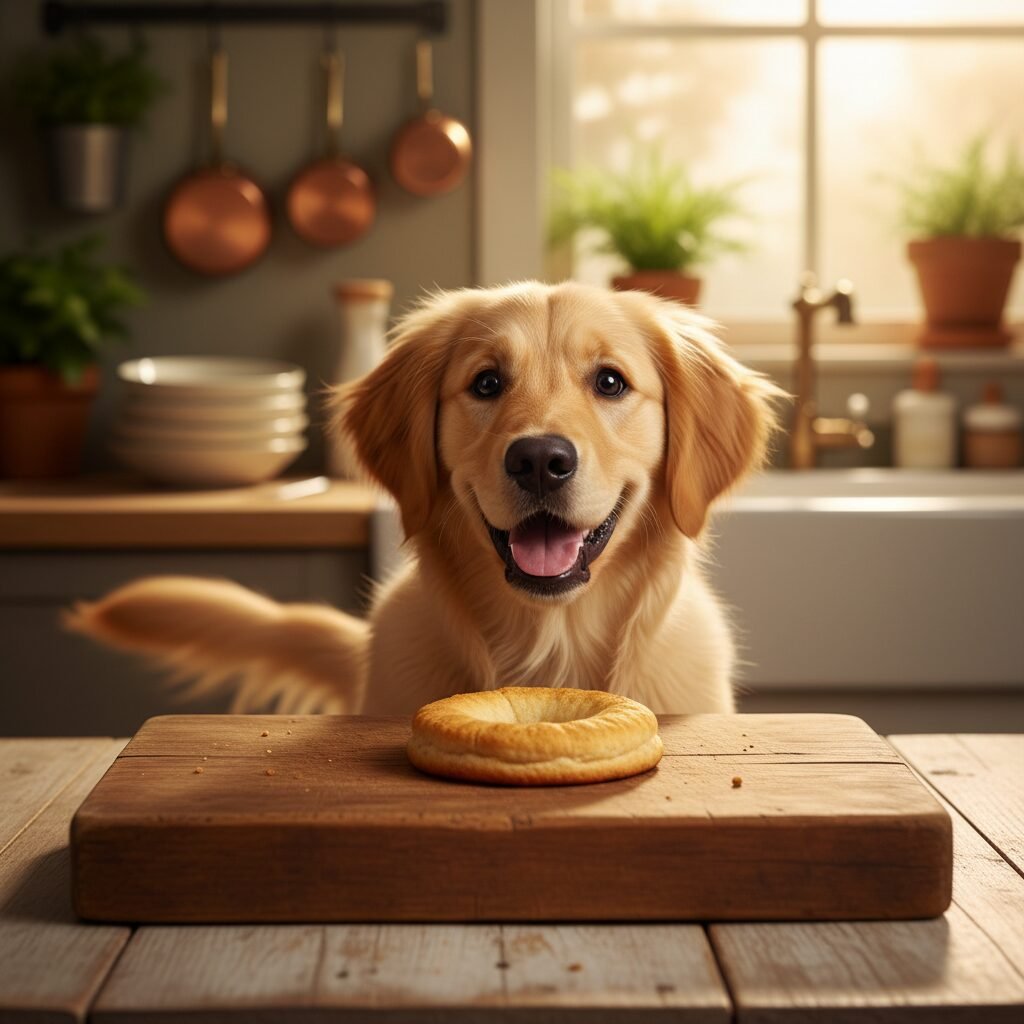
Step-by-Step Guide to Baking Delicious Dog Cookies
Ready to transform these simple ingredients into irresistible treats? This baking process is incredibly straightforward and a joy to complete. Follow these easy steps to create perfect, round dog cookies that your furry friend will be begging for!
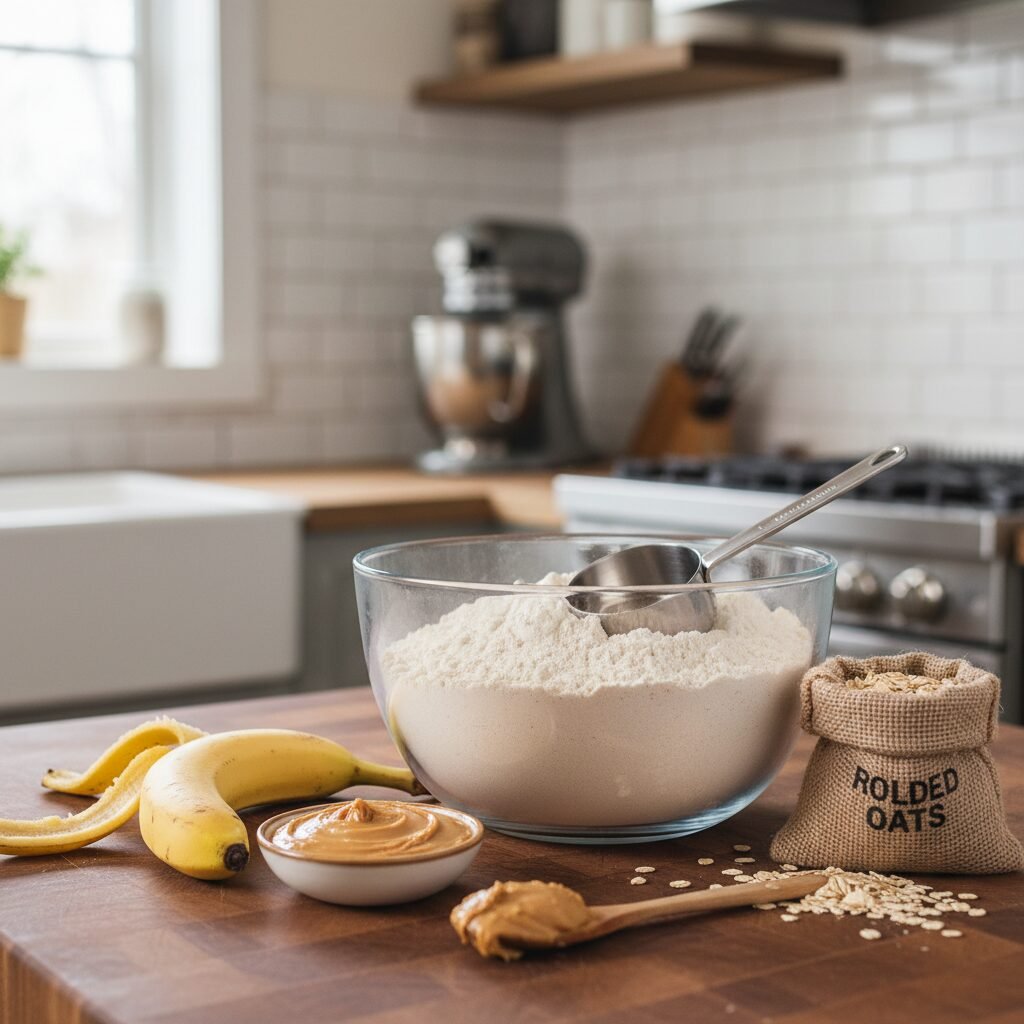
What You’ll Need – Essential Equipment
Before you dive in, gather these basic kitchen tools to make your baking experience smooth and efficient:
- Large mixing bowl
- Sturdy spatula or wooden spoon
- Measuring cups and spoons
- Rolling pin
- Round cookie cutters (or the rim of a small glass for perfect circles)
- Baking sheet
- Parchment paper
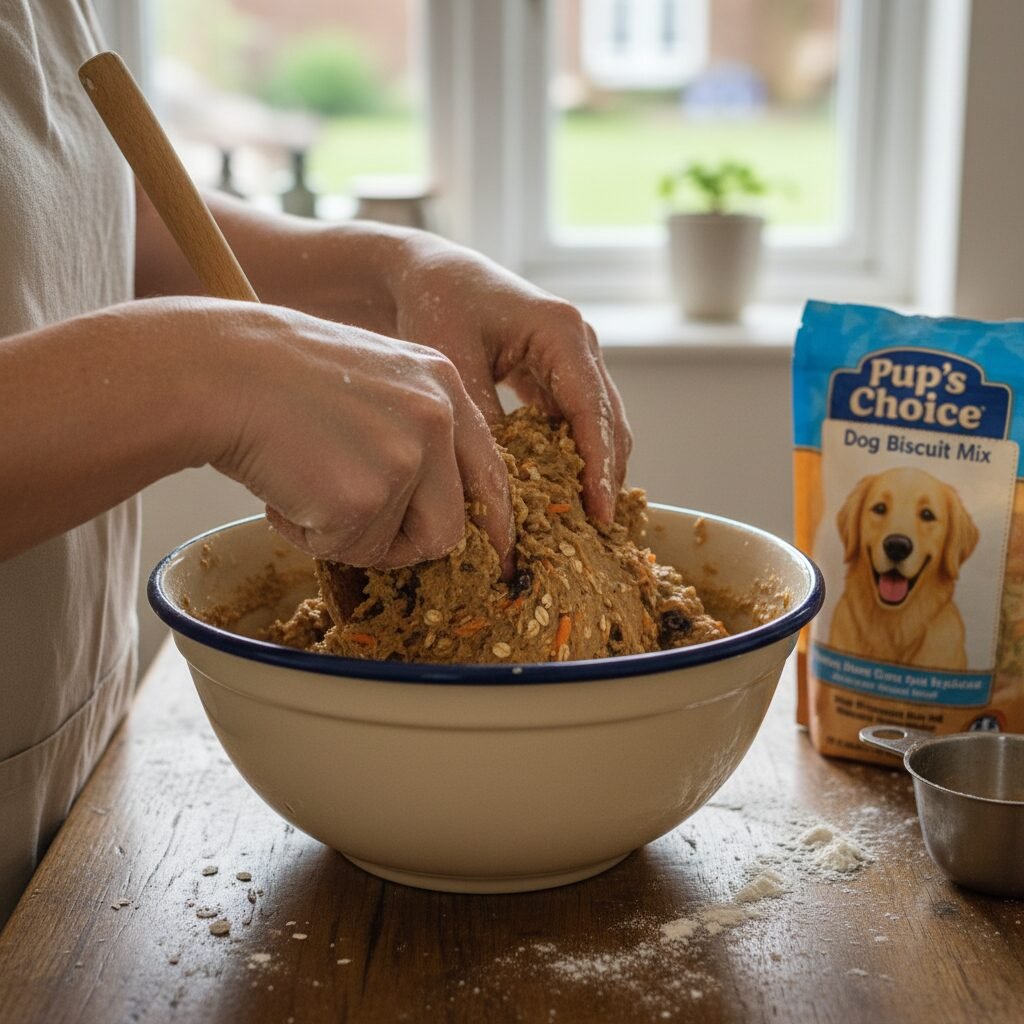
Mixing the Dough
This is where your three simple ingredients come together to form the foundation of your delicious dog cookies.
- Preheat your oven to 350°F (175°C). Line a baking sheet with parchment paper to prevent sticking and ensure easy cleanup.
- In your large mixing bowl, combine 1 cup of plain peanut butter, 1 cup of 100% pure pumpkin puree, and 2 cups of whole wheat flour.
- Using your spatula or wooden spoon, mix all ingredients thoroughly until a stiff, consistent dough forms. It should be firm enough to handle without being overly sticky. If the dough feels too sticky, add a little more flour, one tablespoon at a time, until it reaches the right consistency. If it’s too dry and crumbly, add a tiny bit more pumpkin puree or a teaspoon of water.
Rolling and Cutting Your Cookies
Now comes the fun part-shaping your treats into those perfect rounds!
- Lightly flour your clean work surface (a countertop or large cutting board). This prevents the dough from sticking.
- Place the dough onto the floured surface and gently roll it out evenly to about 1/4 inch thickness. This ensures consistent baking.
- Use your round cookie cutters (or the rim of a small glass) to cut out your cookie shapes. Press firmly and twist slightly for clean edges.
- Carefully transfer the cut cookies to your prepared baking sheet, leaving a small space between each to allow for even baking.
Baking to Perfection
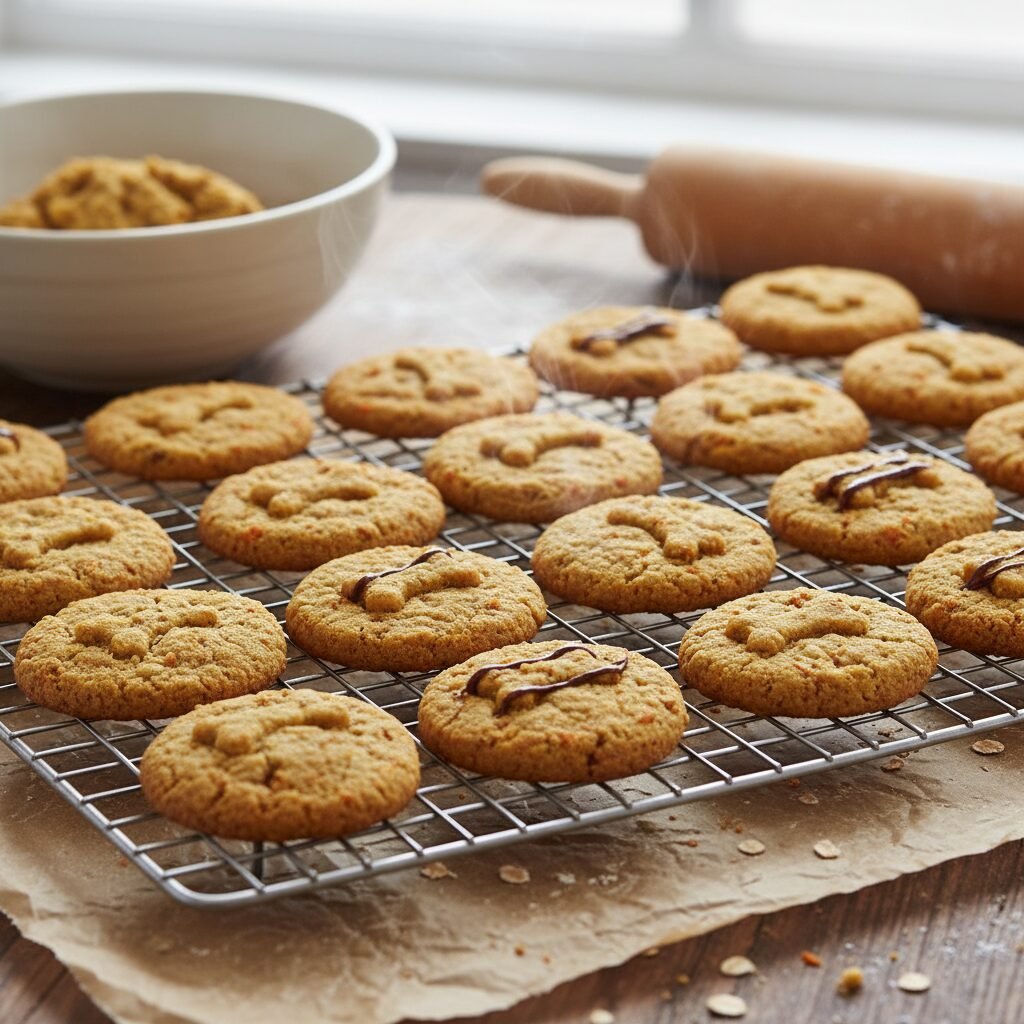
The aroma filling your kitchen will be a testament to your baking prowess, and your dog will likely be very interested!
- Bake for 15-20 minutes, or until the edges of the cookies are golden brown and they feel firm to the touch. Baking times can vary slightly depending on your oven and the thickness of your cookies, so keep an eye on them.
- Once baked, remove the baking sheet from the oven and let the cookies cool on the sheet for a few minutes. This allows them to set slightly.
- Carefully transfer the still-warm cookies to a wire rack to cool completely. This step is crucial for achieving that desired firm, crunchy texture.
Storage Tips for Freshness
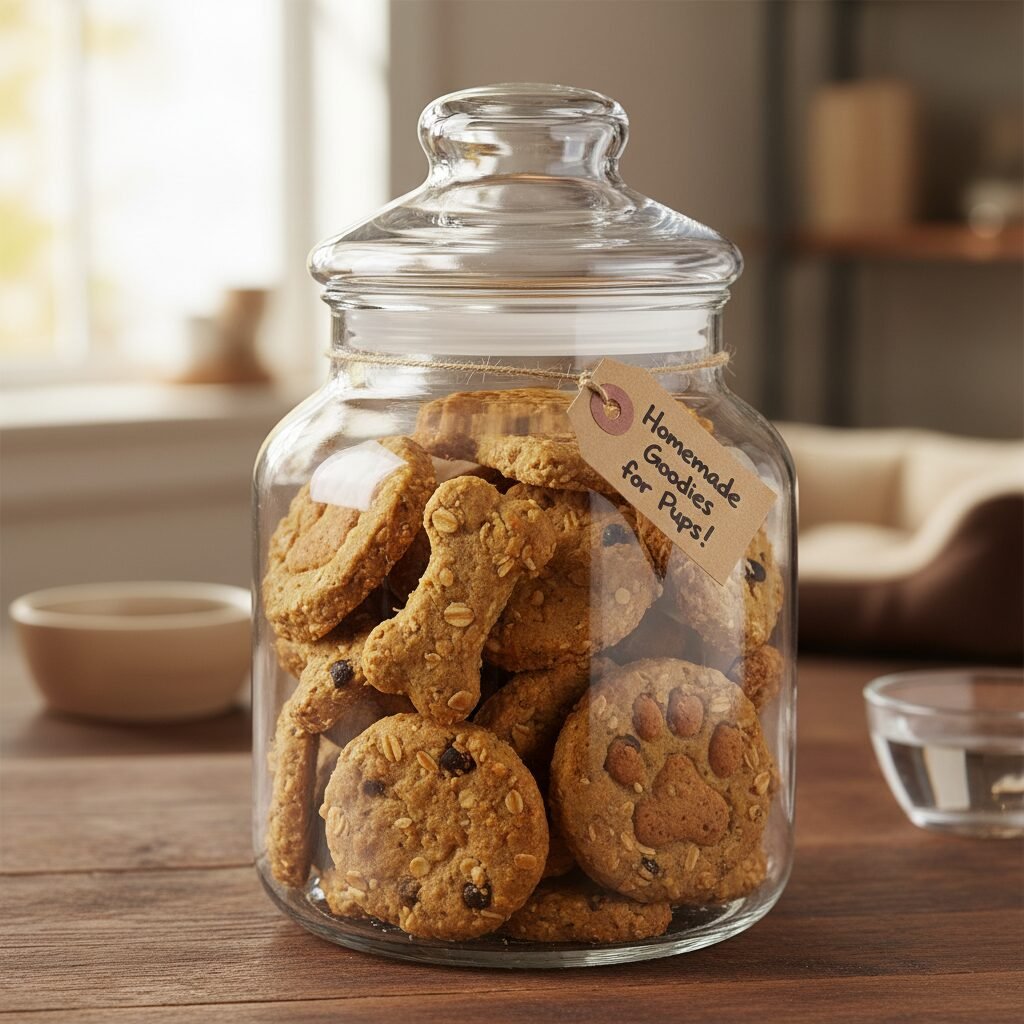
To ensure your homemade treats remain fresh and delicious for your furry friend, proper storage is key. Following these guidelines will help extend their shelf life.
- Room Temperature: Store your completely cooled cookies in an airtight container for up to 5-7 days. A cookie jar on the counter works perfectly.
- Refrigerator: For extended freshness, place the cookies in an airtight container and store them in the refrigerator for up to 2 weeks.
- Freezer: For long-term storage, arrange cooled cookies in a single layer on a baking sheet and freeze until solid. Then, transfer them to a freezer-safe bag or container and freeze for up to 2-3 months. Thaw at room temperature before serving.
Creative Variations and Add-Ins
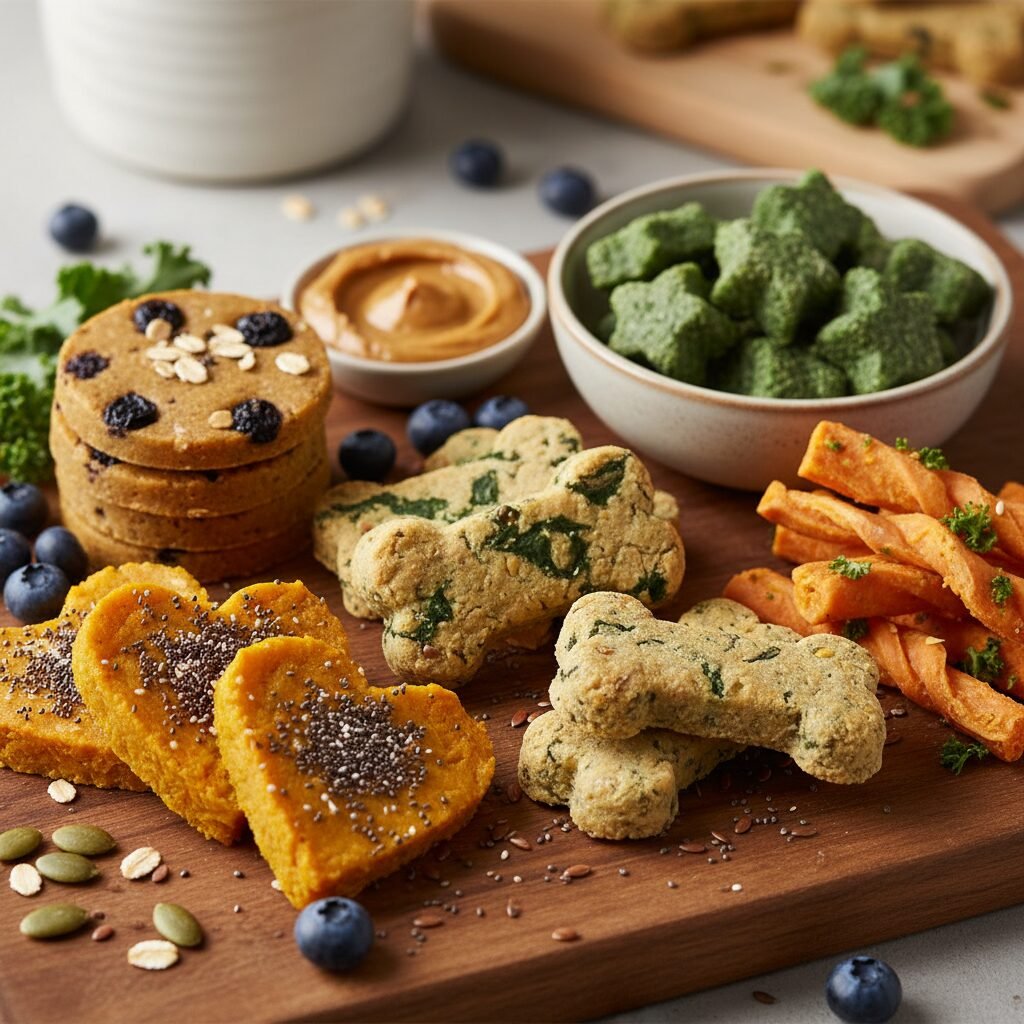
While this 3-ingredient recipe is fantastic as is, once you’re comfortable with the basic process, you might want to explore safe and healthy additions. Always introduce new ingredients slowly and in small amounts to monitor for any adverse reactions in your dog.
- Rolled Oats: Add 1/4 cup of old-fashioned rolled oats for extra fiber and a delightful chewy texture.
- Ground Flaxseed: A tablespoon of ground flaxseed can boost the omega-3 fatty acid content, beneficial for skin and coat health.
- Finely Shredded Carrots or Apples: Incorporate a quarter cup of finely shredded carrots or apple (remove core and seeds) for added vitamins, natural sweetness, and moisture.
- Fresh Herbs: A small pinch of fresh, finely chopped parsley or mint can act as a natural breath freshener and add a subtle flavor.
Important Safety Notes
Your dog’s health and well-being are always the top priority. Keep these crucial safety tips in mind whenever you’re preparing homemade treats.
- Always Check Peanut Butter Labels: This is paramount. Double-check that your peanut butter contains absolutely NO xylitol. Even small amounts can be deadly for dogs.
- Moderation is Key: Remember that treats, even homemade ones, should only constitute a small portion of your dog’s daily caloric intake. They are not meant to replace a balanced diet.
- Introduce New Treats Slowly: If your dog isn’t accustomed to homemade treats, offer a small piece first to ensure no digestive upset occurs.
- Consult Your Veterinarian: If your dog has specific dietary restrictions, allergies, or underlying health conditions, always consult with your veterinarian before introducing any new foods or treats.
Making these 3-ingredient round dog cookies is so much more than just baking; it’s a heartfelt act of love for your cherished furry family member. You’re providing them with a wholesome, delicious treat, free from questionable ingredients, all while actively strengthening the incredible bond you share. So, roll up your sleeves, gather your simple ingredients, and get ready to create some happy memories (and happy tummies!). Your dog will undoubtedly thank you with endless tail wags, joyful barks, and sloppy kisses. Happy baking, and enjoy every moment with your best friend!