As devoted dog parents, we always want the best for our furry family members. And when it comes to treats, ‘store-bought’ often means hidden additives, artificial flavors, and preservatives we can barely pronounce. What if you could whip up delicious, healthy snacks right in your own kitchen, knowing exactly what goes into every bite?
Good news- you absolutely can! Making your own natural dog treats is not only a fun and rewarding experience, but it also gives you complete control over your pup’s diet. Say goodbye to mystery ingredients and hello to wholesome goodness. Your dog will love the taste, and you’ll love knowing you’re providing them with the very best.
Get ready to unleash your inner chef! We’re about to share five incredibly easy and natural DIY dog treat recipes that your pup will undoubtedly beg for. Let’s get baking!
Why Homemade Treats are Best for Your Dog
Choosing homemade treats for your dog offers a plethora of benefits that extend beyond just a happy tail wag. It’s about nurturing their health, strengthening your bond, and even saving a little money along the way.
Control Over Ingredients- Peace of Mind
Perhaps the biggest advantage of DIY dog treats is the ability to control every single ingredient. You can select fresh, human-grade components, avoid common allergens if your dog has sensitivities, and steer clear of harmful additives, artificial colors, or excessive sugars and salts often found in commercial treats. This ensures your dog gets pure, unadulterated goodness.
Tailored Nutrition for Your Pup
Every dog is unique. With homemade treats, you can customize recipes to suit your dog’s specific dietary needs, age, or health conditions. Need low-fat options? Easy. Want to add a supplement? Simple. This personalization is something store-bought treats simply can’t offer.
Budget-Friendly and Fun
Making treats at home is often more cost-effective in the long run than repeatedly buying premium commercial options. Plus, it’s a wonderfully rewarding activity! Involving your family, especially kids, can be a fun way to teach responsibility and love for pets.
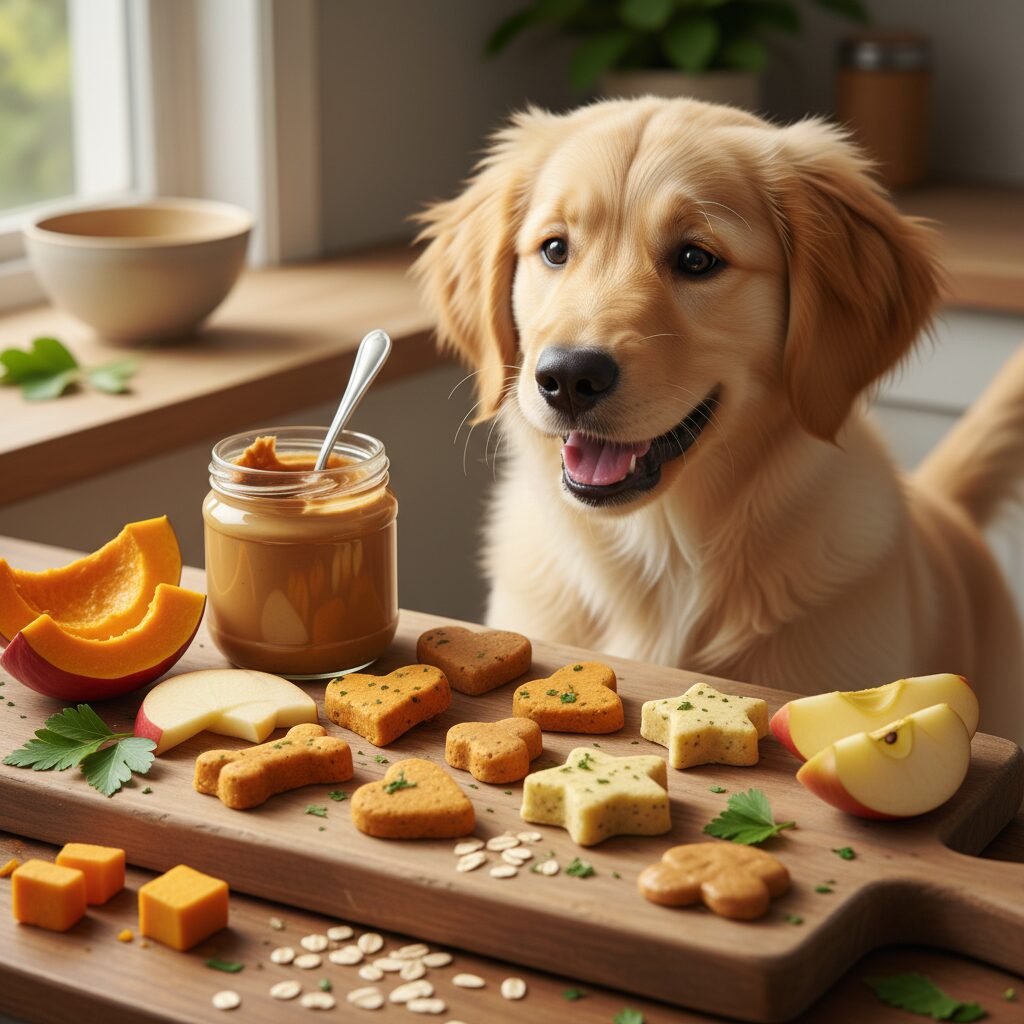
Essential Ingredients for Healthy Dog Treats
Before we dive into the recipes, let’s talk about some staple ingredients that are not only safe but also highly beneficial for dogs. Always choose organic where possible and ensure everything is plain and unsweetened.
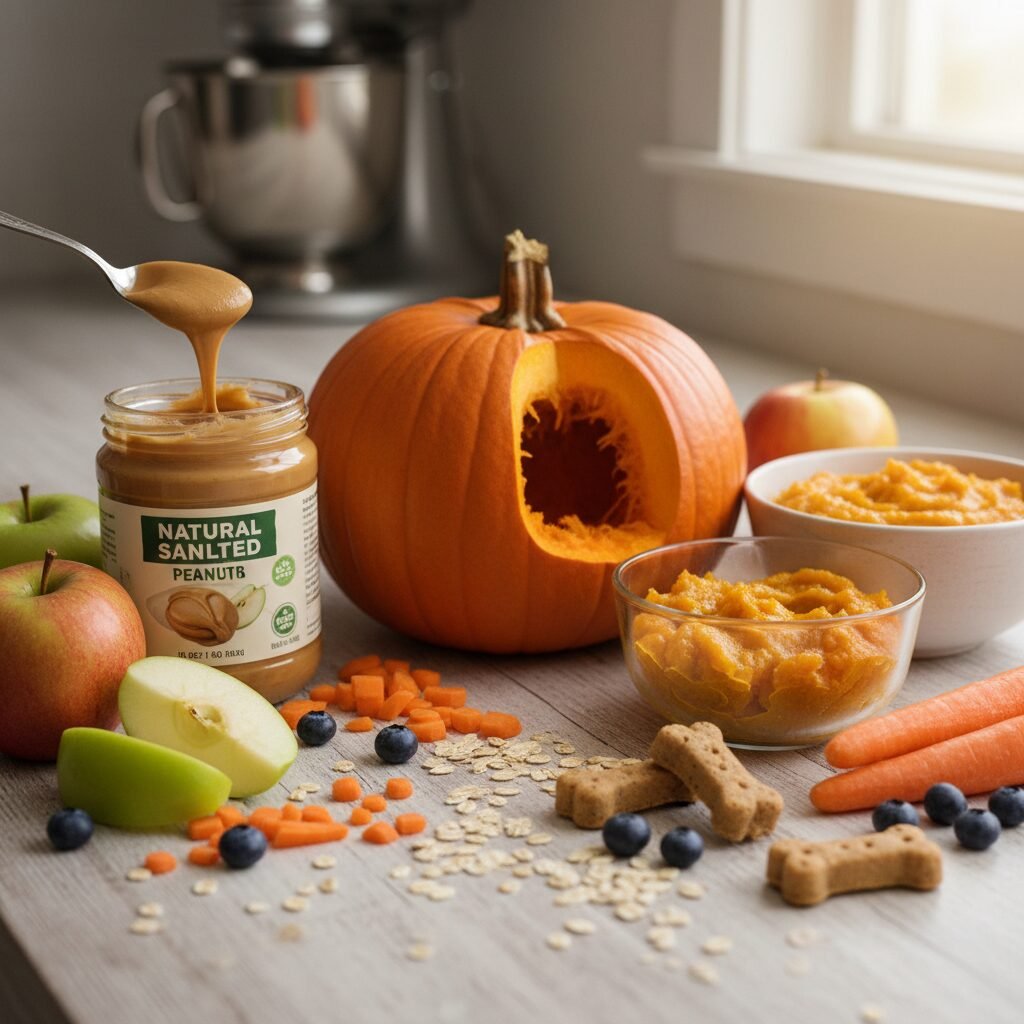
Dog-Safe Pantry Staples
- Peanut Butter– Make sure it’s xylitol-free! A great source of protein and healthy fats.
- Pumpkin Puree– Not pumpkin pie filling. Excellent for digestion, rich in fiber and Vitamin A.
- Oats– A good source of fiber, can be used as a flour substitute.
- Sweet Potatoes– Packed with vitamins, fiber, and antioxidants.
- Apples– Remove seeds and core. A crunchy, healthy snack.
- Plain Yogurt– Good for gut health (in moderation).
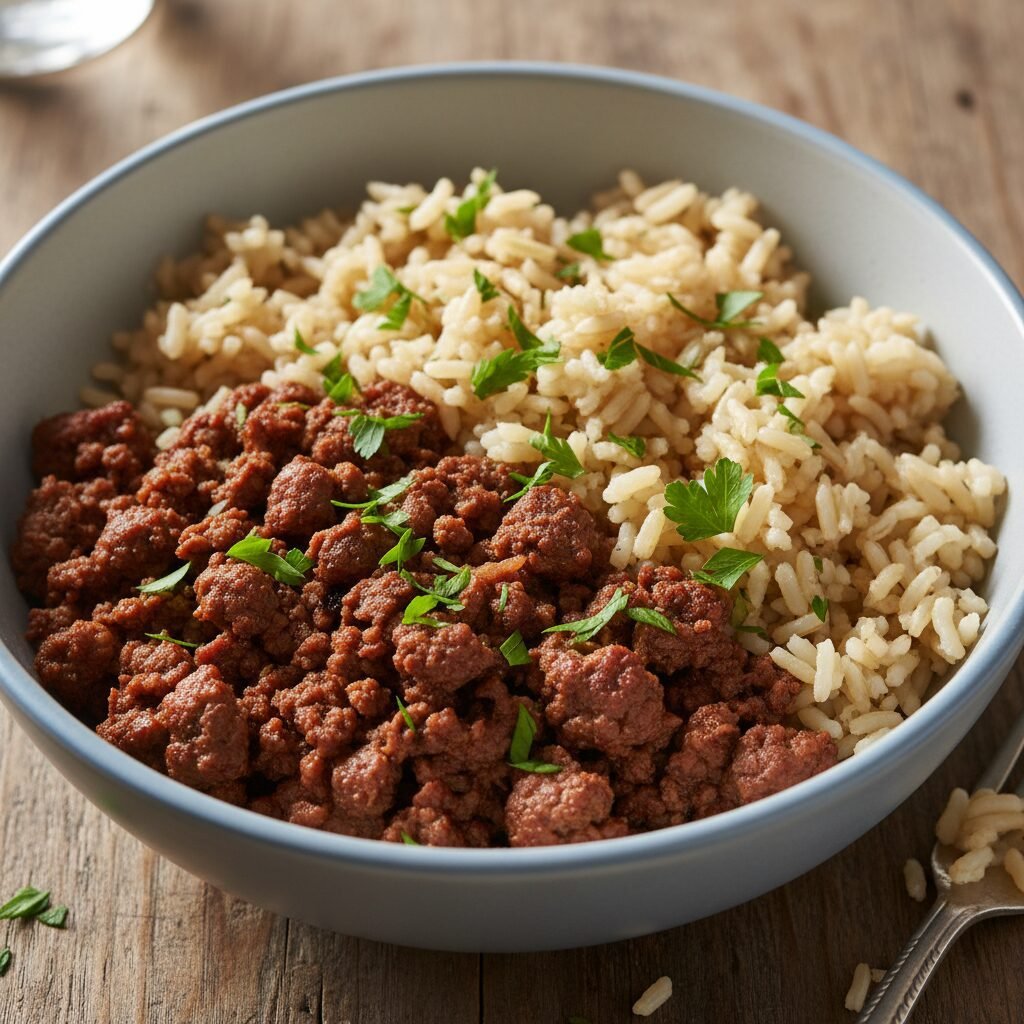
- Cooked Meats– Plain chicken, turkey, or beef (no seasonings, bones, or excessive fat).
- Eggs– A complete protein source.
- Coconut Oil– Good for skin and coat health.
Ingredients to Always Avoid
Be vigilant about these common household foods that are toxic to dogs:
- Chocolate
- Xylitol (found in many sugar-free products, including some peanut butters)
- Grapes and Raisins
- Onions and Garlic
- Avocado
- Alcohol
- Macadamia Nuts
Recipe 1 – Peanut Butter and Pumpkin Bliss Bites
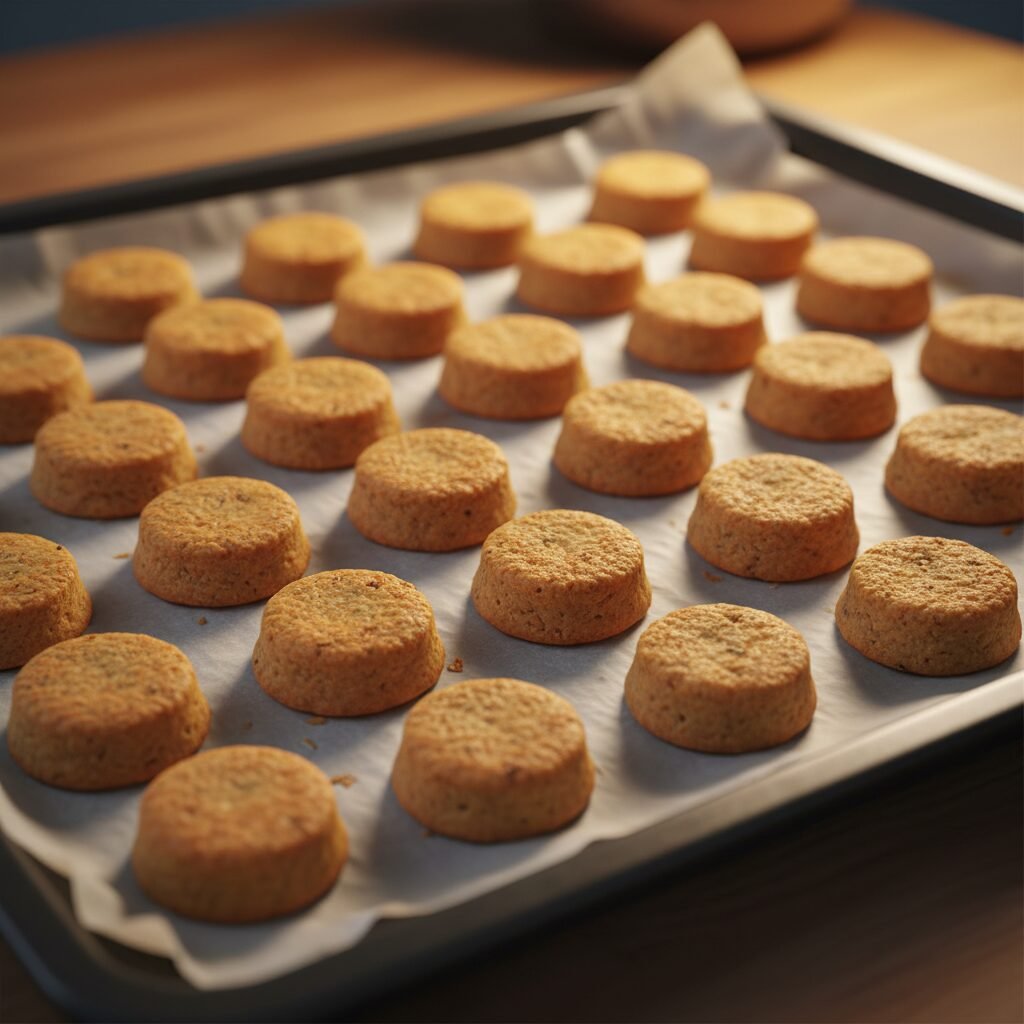
These soft, chewy treats are a canine classic, combining two dog-favorite flavors with a boost of fiber!
Ingredients
- 1 cup pumpkin puree (plain, unsweetened)
- 1/2 cup natural peanut butter (xylitol-free)
- 2 cups whole wheat flour (or oat flour for gluten-free)
- 1/2 teaspoon cinnamon (optional, aids digestion)
Instructions
- Preheat your oven to 350°F (175°C) and line a baking sheet with parchment paper.
- In a large bowl, mix the pumpkin puree, peanut butter, and cinnamon until well combined.
- Gradually add the flour, mixing until a stiff dough forms. You might need to use your hands to knead it.
- On a lightly floured surface, roll out the dough to about 1/4 inch thickness.
- Use a cookie cutter (bone shape, circle, or square) to cut out treats.
- Place the treats on the prepared baking sheet.
- Bake for 15-20 minutes, or until golden brown and firm.
- Let cool completely before serving.
Tips for Success
For extra crunch, bake for an additional 5-10 minutes. Store in an airtight container in the refrigerator for up to 2 weeks or freeze for longer storage.
Recipe 2 – Sweet Potato Chews Your Dog Will Love
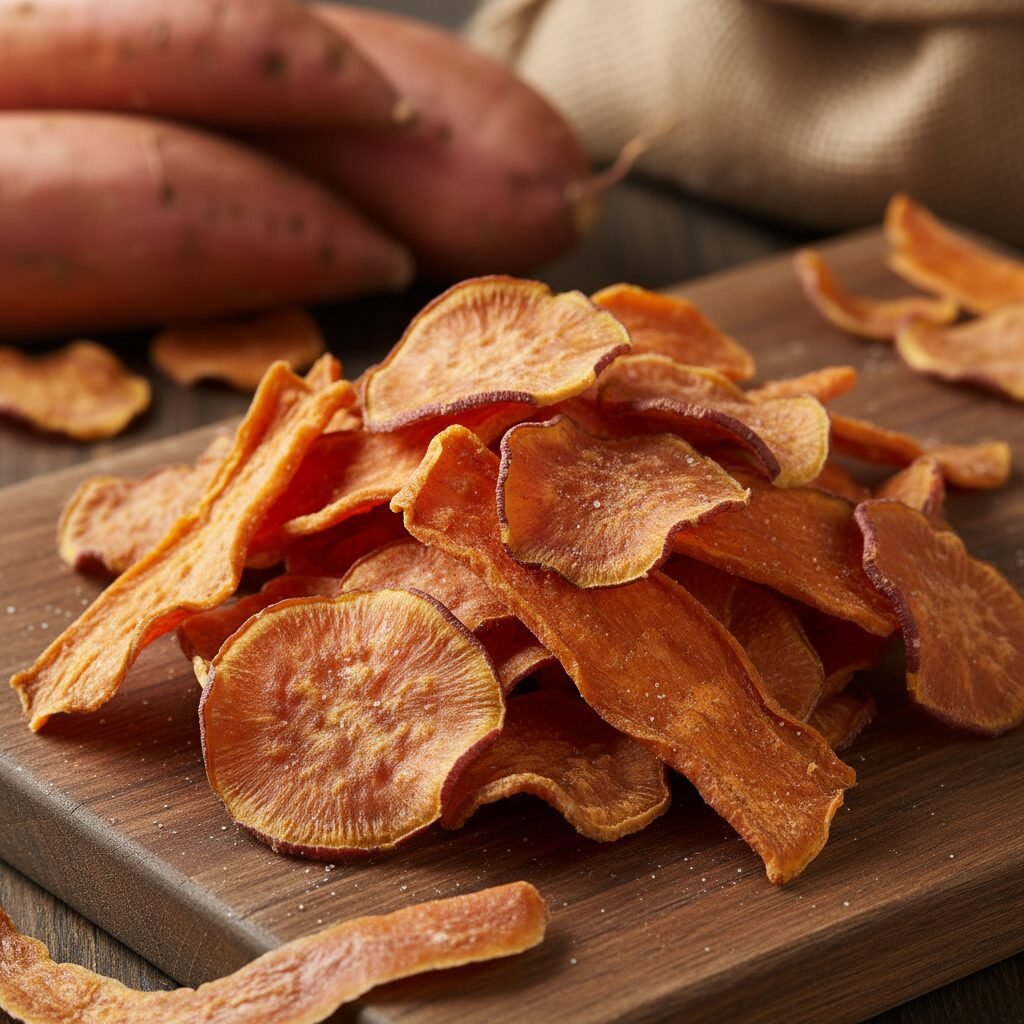
A simple, single-ingredient treat that’s naturally sweet, chewy, and packed with nutrients. Great for dental health too!
Ingredients
- 1-2 medium sweet potatoes
Instructions
- Preheat your oven to 250°F (120°C).
- Wash the sweet potatoes thoroughly. You can peel them or leave the skin on for extra fiber (ensure it’s clean).
- Slice the sweet potatoes into 1/4 inch thick rounds or sticks. Uniform slices will ensure even baking.
- Arrange the slices in a single layer on a baking sheet lined with parchment paper.
- Bake for 2-3 hours, flipping halfway through, until the chews are dry and firm but still pliable. The longer you bake, the crispier they’ll be.
- Turn off the oven and let the sweet potato chews cool inside the oven as it cools down, which helps them dry out further.
Tips for Success
These chews should be completely dry to prevent mold. Store in an airtight container at room temperature for up to 3 weeks, or refrigerate for longer.
Recipe 3 – Apple and Oat Crunchies for Fresh Breath
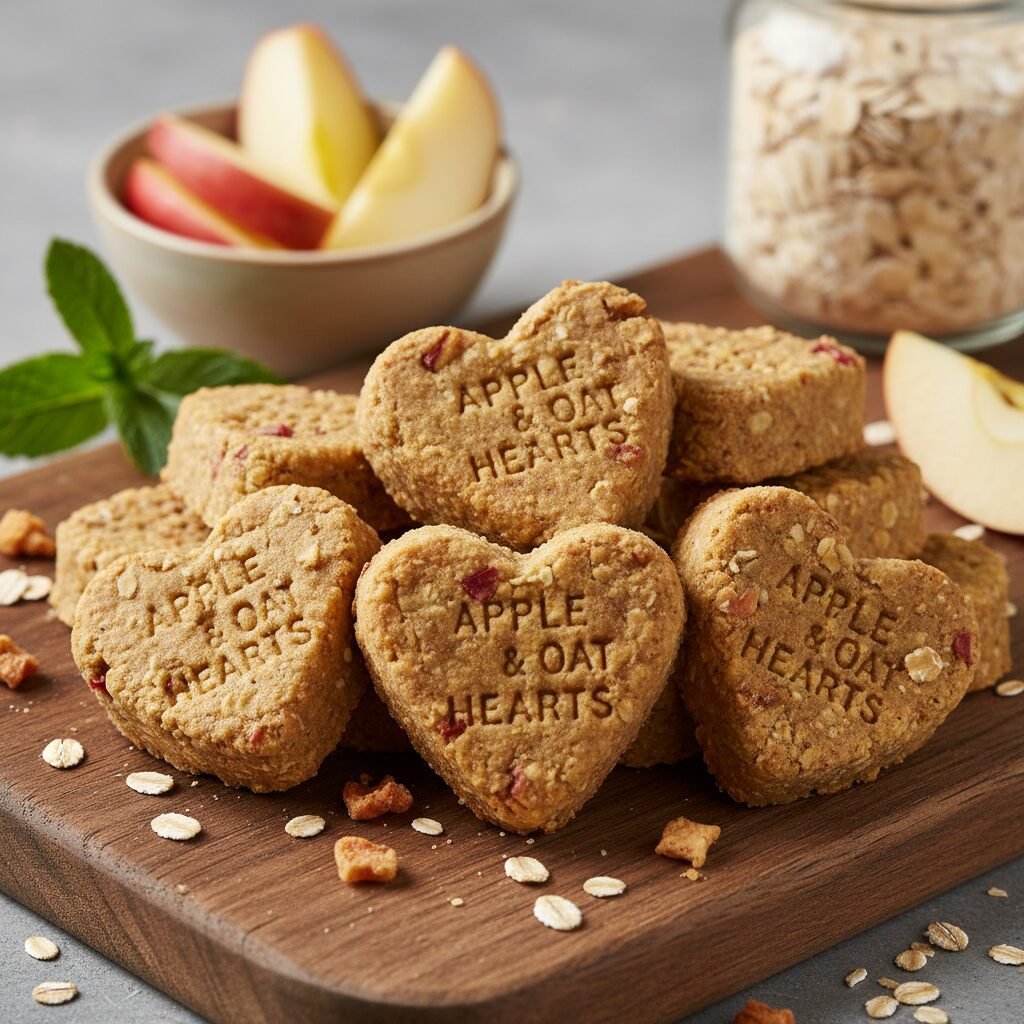
These crunchy treats are perfect for a quick snack and the apples can even help with your dog’s dental hygiene and breath!
Ingredients
- 1 large apple (cored and deseeded, skin on or off)
- 1/2 cup unsweetened applesauce
- 1 1/2 cups rolled oats
- 1/2 cup whole wheat flour
- 1 egg
Instructions
- Preheat your oven to 350°F (175°C). Line a baking sheet with parchment paper.
- Finely dice or grate the apple.
- In a large bowl, combine the diced apple, applesauce, rolled oats, flour, and egg. Mix until a firm dough forms.
- Roll out the dough to about 1/4 inch thickness on a lightly floured surface.
- Cut out treats using a cookie cutter.
- Place treats on the prepared baking sheet and bake for 20-25 minutes, or until golden brown and firm.
- Let cool completely before storing.
Tips for Success
For an extra boost of flavor and nutrition, consider adding a pinch of dried parsley to the dough, which is great for fresh breath. Store in an airtight container in the refrigerator for up to 10 days.
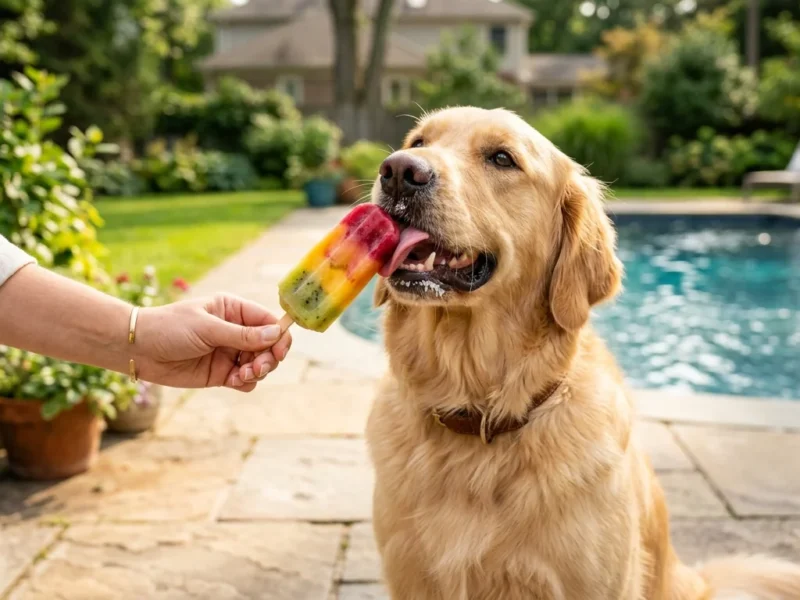
Recipe 4 – Frozen Fruity Pupsicles for Summer Fun
Perfect for cooling down on a hot day, these pupsicles are refreshing, hydrating, and packed with vitamins!
Ingredients
- 1 cup plain, unsweetened yogurt (dairy or non-dairy, ensure no xylitol)
- 1/2 cup mixed dog-safe fruits (strawberries, blueberries, banana, watermelon-seedless)
- A few drops of water or a splash of dog-friendly broth if needed for consistency
Instructions
- In a blender or food processor, combine the yogurt and fruits until smooth. Add a little water or broth if the mixture is too thick.
- Pour the mixture into silicone molds (ice cube trays work great) or small paper cups.
- For a fun chew, you can insert a small dog biscuit or a sturdy carrot stick into each mold before freezing to serve as a ‘handle’.
- Freeze for at least 4 hours, or until completely solid.
- Once frozen, pop them out of the molds and serve immediately.
Tips for Success
Always introduce new treats in moderation. These are best enjoyed outdoors to avoid messy drips! Store leftover pupsicles in a freezer-safe bag or container for up to 2 months.
Recipe 5 – Chicken and Veggie Meatballs – A Savory Delight
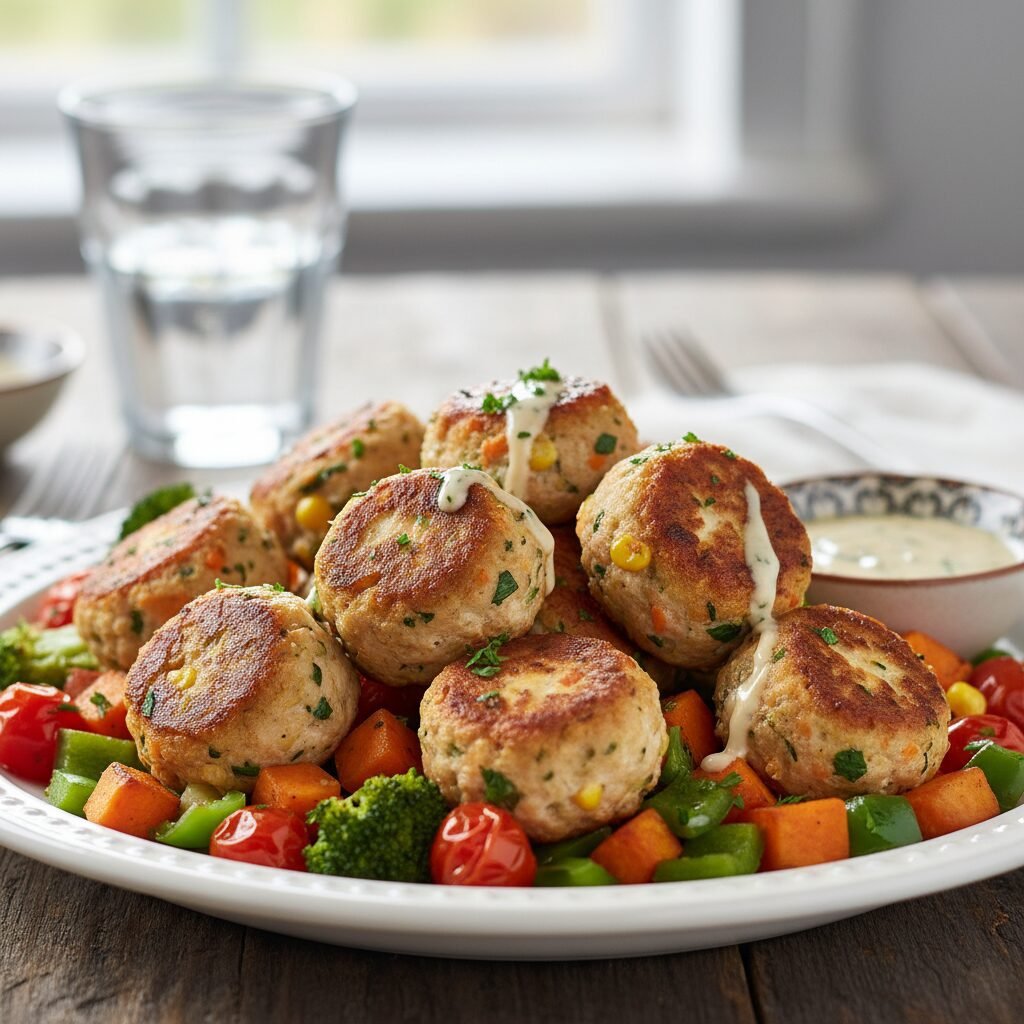
For the meat-loving pup, these savory meatballs are packed with protein and hidden veggies, making them a nutritious and irresistible treat or meal topper.
Ingredients
- 1 pound ground chicken (or turkey)
- 1/2 cup finely grated carrots
- 1/2 cup finely chopped spinach
- 1/4 cup rolled oats (as a binder)
- 1 egg
Instructions
- Preheat your oven to 375°F (190°C) and line a baking sheet with parchment paper.
- In a large bowl, combine the ground chicken, grated carrots, chopped spinach, rolled oats, and egg. Mix thoroughly with your hands until all ingredients are well incorporated.
- Roll the mixture into small, bite-sized meatballs (about 1 inch in diameter).
- Place the meatballs on the prepared baking sheet.
- Bake for 20-25 minutes, or until cooked through and lightly golden brown.
- Let cool completely before serving.
Tips for Success
These meatballs can be served as treats or crumbled over your dog’s regular food for an extra boost of flavor and nutrition. Store in an airtight container in the refrigerator for up to 4 days, or freeze for up to 3 months.
Tips for Storing and Serving Your DIY Treats
Proper storage is key to ensuring your homemade treats stay fresh and safe for your furry friend.
Storage Guidelines
- Refrigeration– Most baked treats made with fresh ingredients (like pumpkin, peanut butter, or meat) should be stored in an airtight container in the refrigerator for 1-2 weeks.
- Freezing– For longer storage, freeze treats in a single layer on a baking sheet, then transfer them to a freezer-safe bag or container. They can last for 2-3 months. Thaw in the refrigerator before serving.
- Dry Treats– Very dry or dehydrated treats, like the sweet potato chews, can often be stored at room temperature in an airtight container for up to 3 weeks, provided they are completely devoid of moisture.
Serving with Care
Always introduce new treats slowly and in moderation. Even healthy treats should only make up a small portion of your dog’s daily caloric intake. Remember to adjust their main meal portions accordingly to prevent overfeeding.
Conclusion
There’s nothing quite like the joy of seeing your dog’s happy tail wag in anticipation of a delicious, homemade treat. By taking a few moments in your kitchen, you’re not just baking a snack; you’re crafting love, care, and health into every bite. You’re ensuring your beloved companion gets the purest ingredients, free from any hidden nasties, tailored perfectly to their needs.
So go ahead, pick a recipe, gather your ingredients, and start baking! You’ll not only delight your pup with these irresistible treats but also gain immense satisfaction knowing you’re providing them with the very best. Happy baking, and here’s to many more wagging tails and happy, healthy pups!