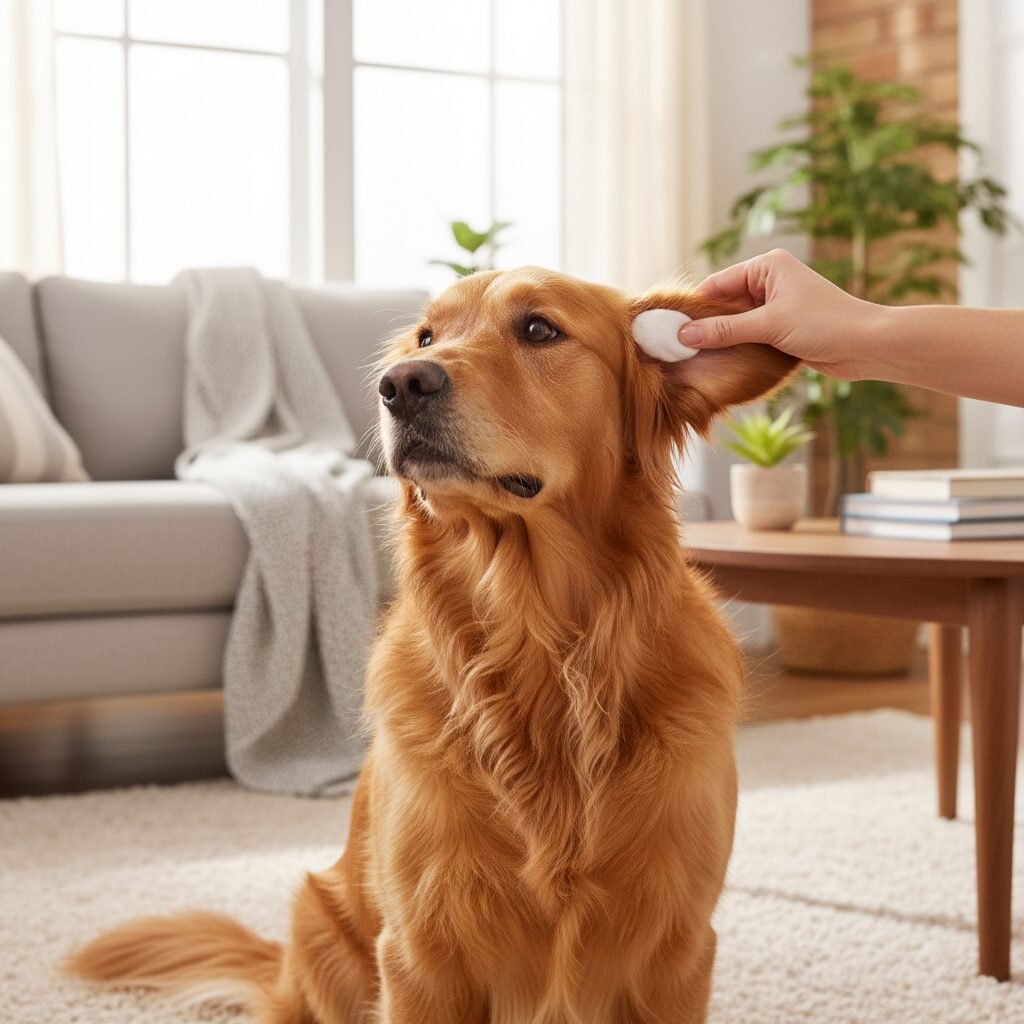
As devoted dog parents, we want nothing more than for our furry companions to be happy and healthy. And while we often focus on things like diet, exercise, and regular vet check-ups, one crucial aspect of their well-being sometimes gets overlooked – ear hygiene. Your dog’s ears are more complex than you might think, and proper care is essential to prevent discomfort, infections, and more serious health issues. Ignoring ear care can lead to painful problems for your beloved pet.
But don’t worry! Keeping your dog’s ears clean doesn’t have to be a daunting task. With the right approach and a little patience, you can master the techniques that veterinarians recommend. This guide will walk you through five vet-approved methods to ensure your dog’s ears stay in tip-top shape, promoting their overall health and happiness.
Why Ear Hygiene is Crucial for Your Dog
A dog’s ear is a marvel of nature, but its unique L-shaped canal design, while excellent for hearing, can also trap moisture, debris, and wax. This creates a warm, dark, and humid environment – the perfect breeding ground for bacteria, yeast, and mites. Regular ear cleaning helps to remove this buildup, preventing painful infections that can lead to discomfort, hearing loss, and even costly veterinary visits.
Think of it as preventive medicine. By proactively caring for your dog’s ears, you’re not only saving them from potential pain but also strengthening your bond through gentle, caring interactions.
Understanding Your Dog’s Ear Anatomy
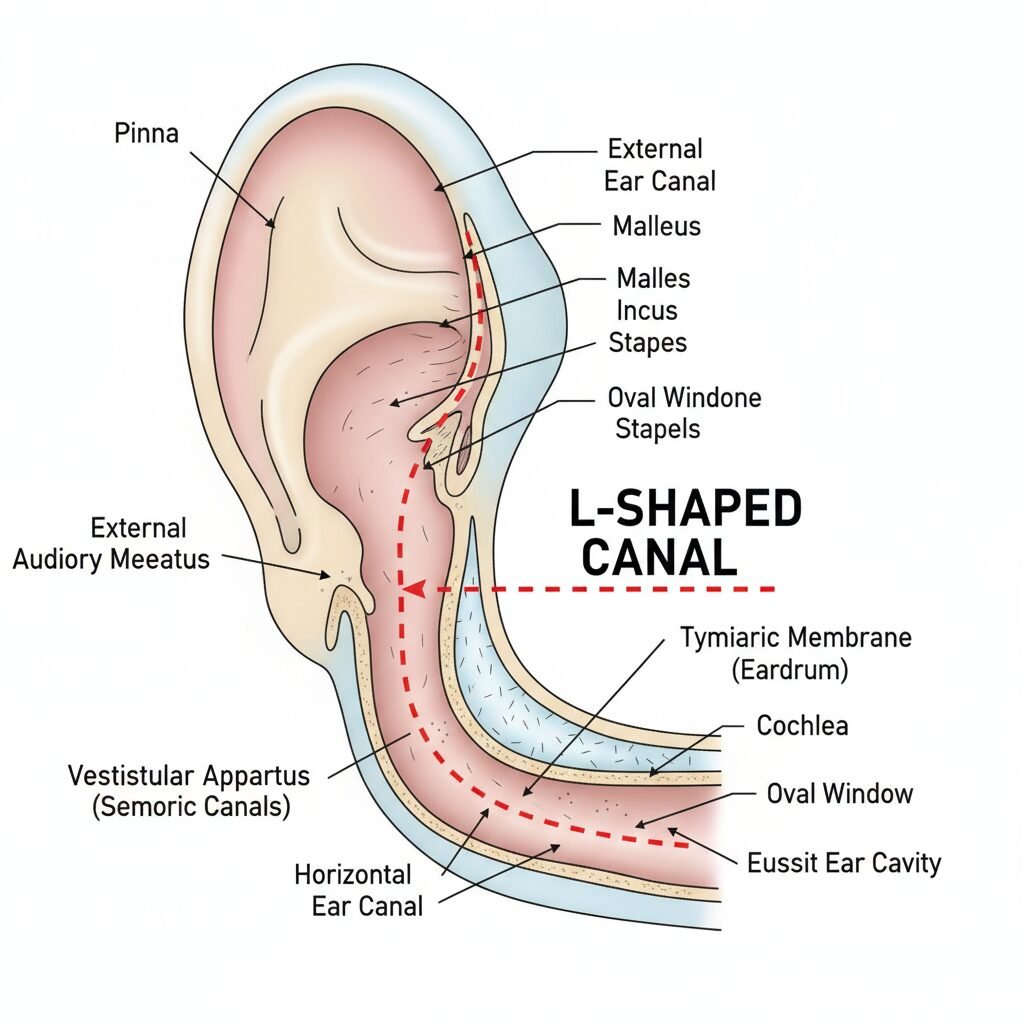
Before you start cleaning, it helps to understand what you’re working with. A dog’s ear canal is much longer and more angular than a human’s. It first goes vertically down and then takes a sharp turn horizontally towards the eardrum. This L-shape makes it difficult for debris to exit naturally and for air to circulate, which is why regular intervention is often necessary, especially for breeds with floppy ears or those prone to allergies.
Knowing this anatomy will help you clean effectively without causing harm, reinforcing why you should never insert anything deep into your dog’s ear canal.
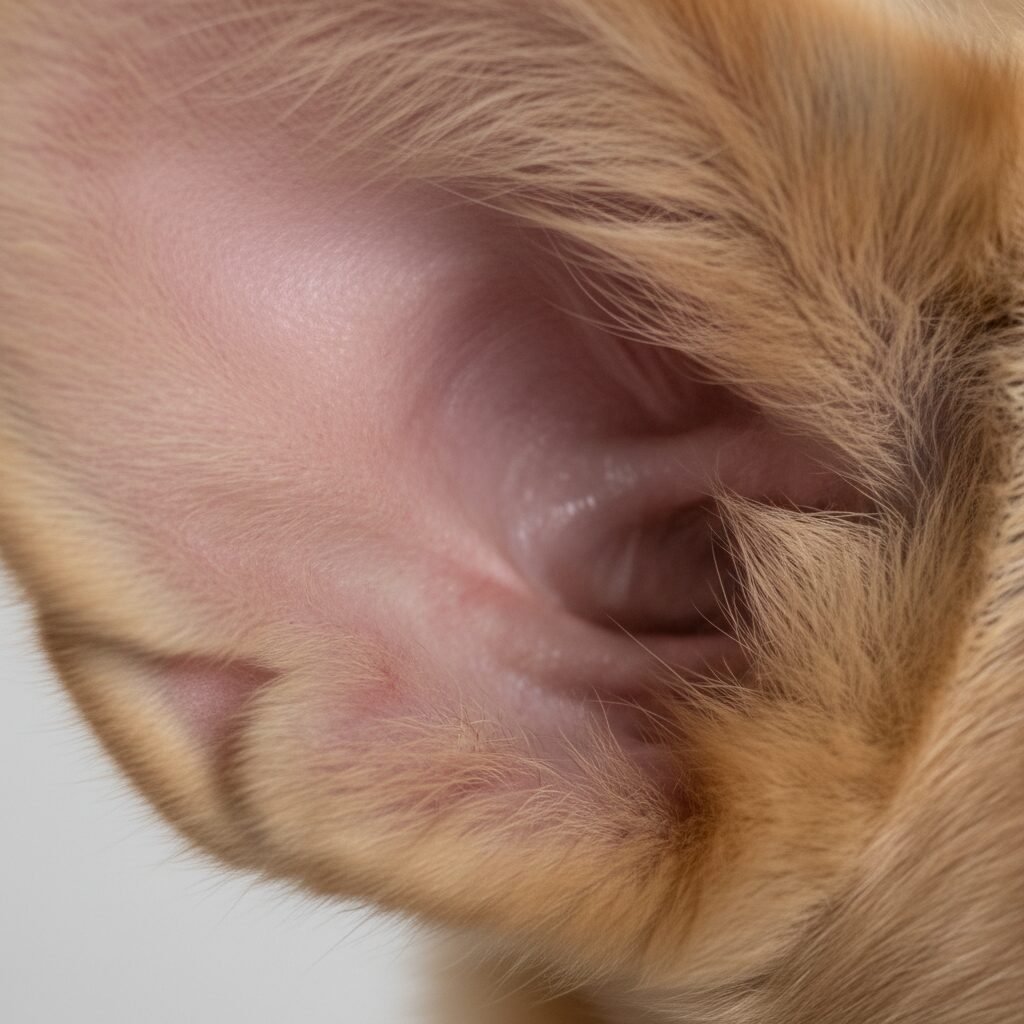
Spotting the Signs of Ear Problems
Before you even consider cleaning, it’s important to know if your dog already has an ear problem that needs veterinary attention. Cleaning an infected ear can be painful and potentially make the situation worse. Here are common signs that might indicate an ear infection or other issue:
- Frequent scratching or pawing at the ears
- Head shaking or tilting
- Redness or swelling inside the ear flap
- Unpleasant odor emanating from the ears
- Dark discharge (waxy, crusty, or pus-like)
- Sensitivity or pain when you touch their ears
- Changes in behavior such as lethargy or irritability
If you observe any of these symptoms, please consult your veterinarian before attempting any cleaning at home. They can diagnose the issue and prescribe appropriate treatment.
Technique 1 – Gathering the Right Supplies
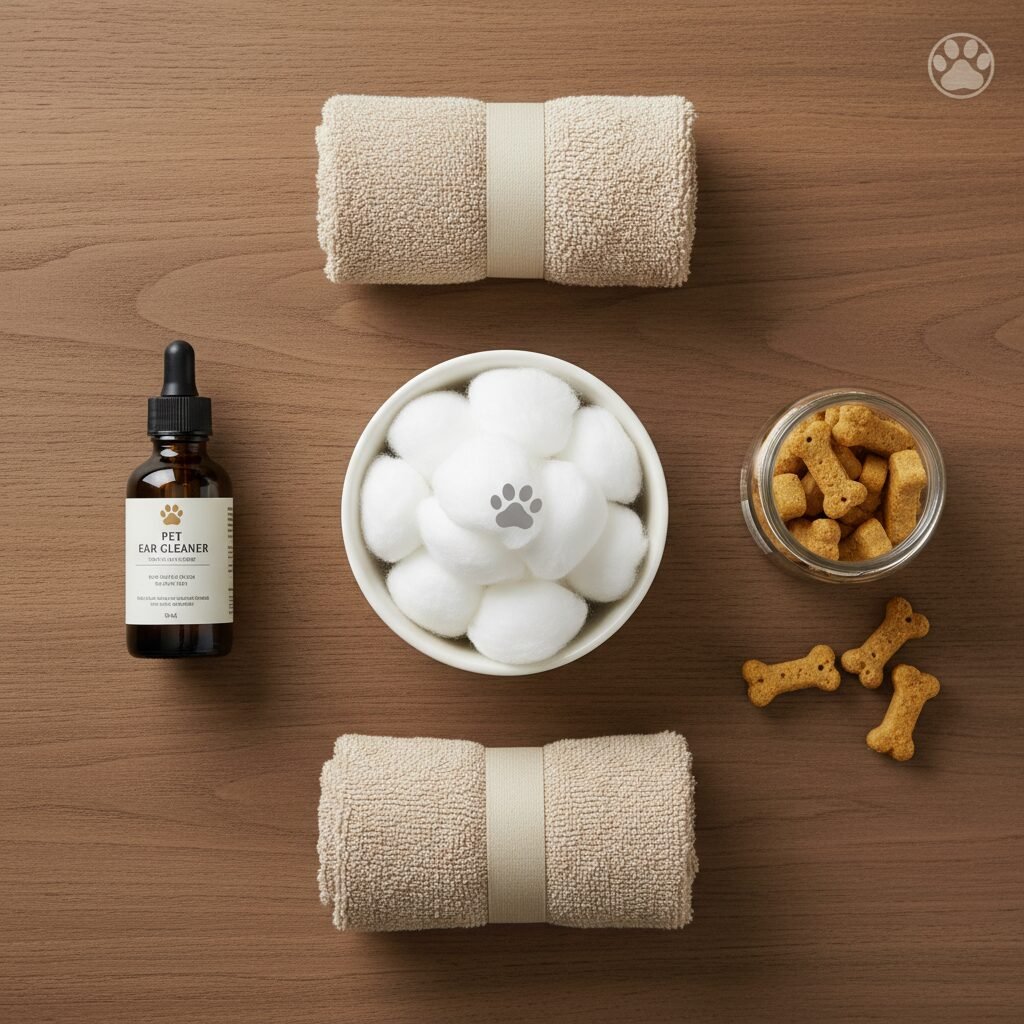
Preparation is key for a smooth ear cleaning experience. Having everything ready beforehand minimizes stress for both you and your dog. Here’s what you’ll need:
- Vet-approved ear cleaner– Ask your vet for a recommendation. Do NOT use rubbing alcohol, hydrogen peroxide, or harsh soaps, as these can irritate the ear.
- Cotton balls or gauze squares– Avoid cotton swabs (Q-tips) as they can push debris further into the ear canal and potentially damage the eardrum.
- Soft towels– To protect your clothes and wipe up any excess cleaner.
- Plenty of treats– For positive reinforcement and making the experience enjoyable.
- Optional- A headlamp or flashlight– To better visualize the ear canal.
Choose a quiet, well-lit area where your dog feels comfortable and you have enough space to work.
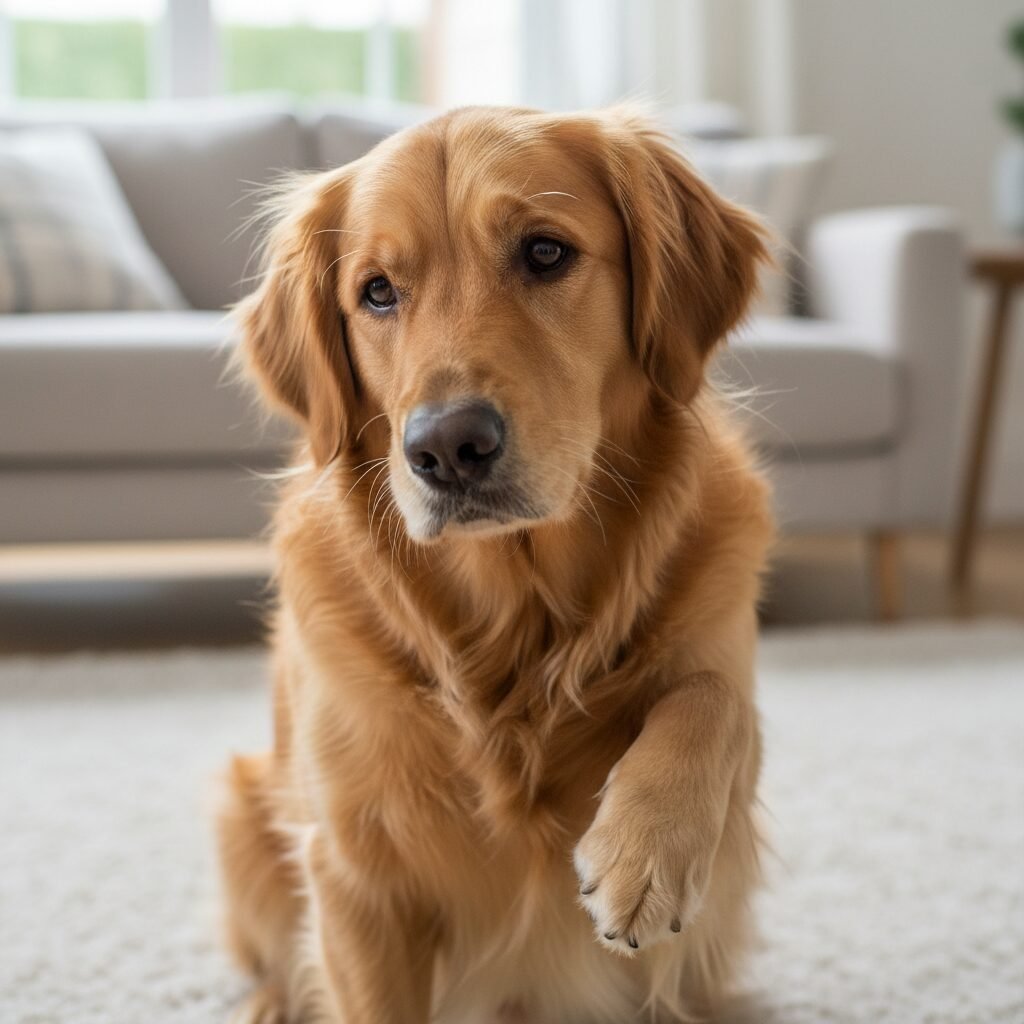
Technique 2 – Creating a Calm Environment
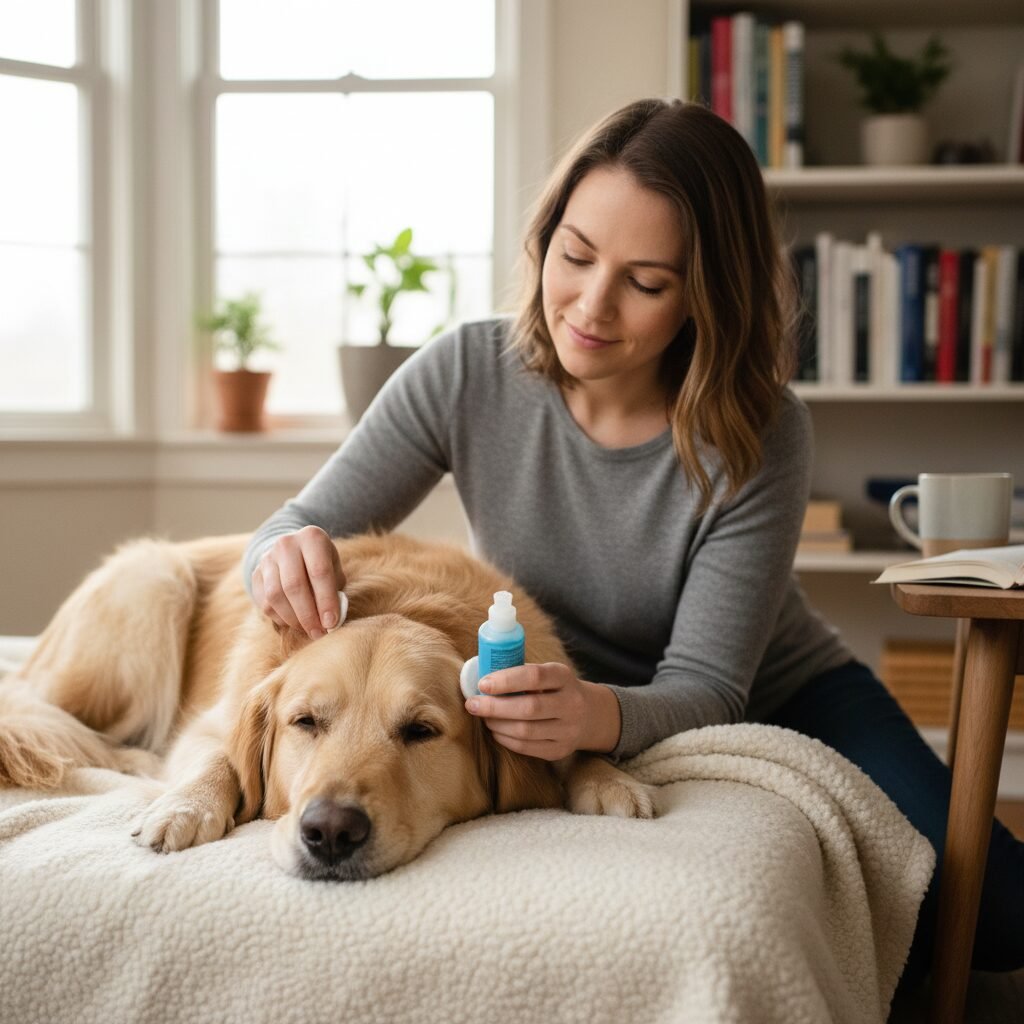
Ear cleaning should be a positive experience. Start by petting your dog and speaking to them in a calm, reassuring voice. If your dog is anxious, consider doing short, positive sessions where you just touch their ears and reward them, gradually building up to a full cleaning session. Timing is also important- choose a time when your dog is relaxed, perhaps after a walk or playtime.
If your dog is particularly wiggly, you might need a helper to gently hold them. Never force your dog into a position that makes them uncomfortable, as this can create a negative association with ear care.
Technique 3 – The Gentle Cleaning Process
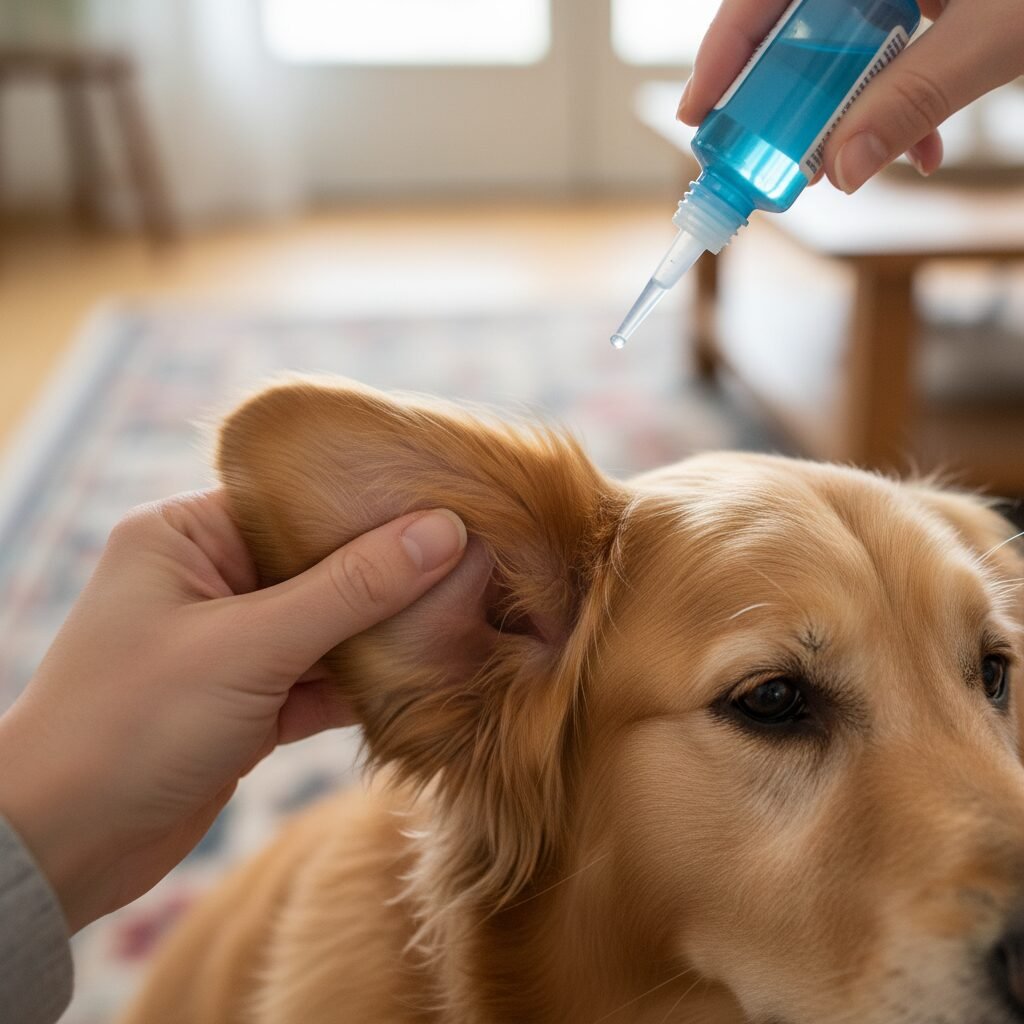
Now that you have your supplies and a relaxed dog, you can begin the actual cleaning. Follow these steps carefully:
- Position your dog– Have them sit or lie down comfortably. Gently hold the ear flap up to expose the ear canal.
- Apply the cleaner– Following the instructions on your vet-approved ear cleaner, carefully fill the ear canal with the solution. Do not insert the tip of the bottle deep into the ear.
- Massage the base of the ear– Gently massage the base of your dog’s ear for about 20-30 seconds. You should hear a squishy sound as the cleaner breaks up wax and debris.
- Allow your dog to shake their head– After massaging, step back and let your dog shake their head. This helps to dislodge the loosened debris from deeper in the canal.
- Wipe the outer ear– Use a fresh cotton ball or gauze square to gently wipe away any excess cleaner and visible debris from the outer part of the ear flap and the entrance of the ear canal. Clean only what you can see.
- Reward, reward, reward– Shower your dog with praise and treats throughout and especially after the process.
Repeat the process for the other ear. Remember, patience is key, and a positive attitude from you will make a huge difference.
Technique 4 – Knowing When to Stop

It’s important not to over-clean or go too deep. The goal is to clean the accessible parts of the ear, not to sterilize it. Over-cleaning can strip the ear of its natural protective oils and potentially cause irritation. You should only clean as far as your finger can comfortably reach into the ear canal with a cotton ball wrapped around it.
Never use cotton swabs inside the ear canal, as they can push debris deeper, compact wax, or even rupture the eardrum. If you’re unsure, always err on the side of caution and consult your vet.
Technique 5 – Regularity and Observation
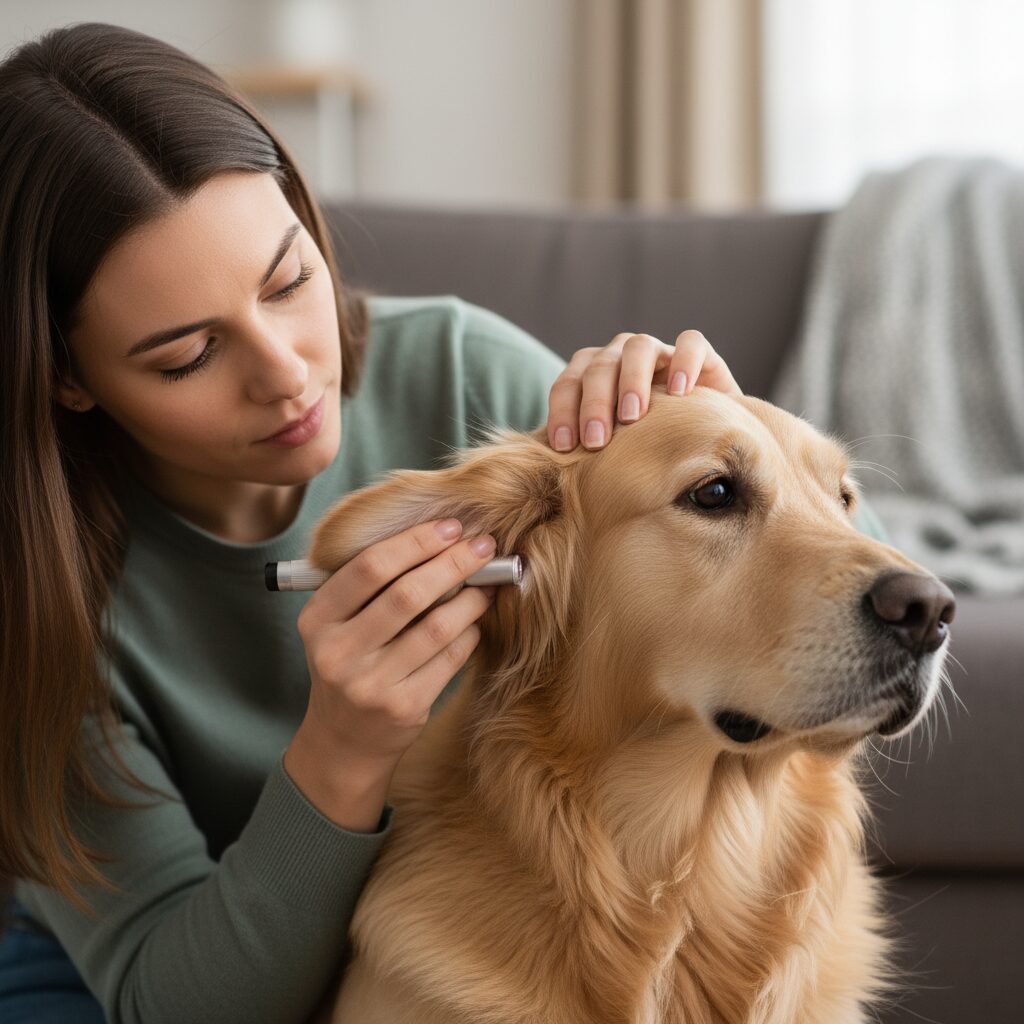
Consistency is vital for maintaining good ear hygiene. The frequency of cleaning depends on your dog’s breed, activity level, and propensity for ear issues. Some dogs may need their ears cleaned weekly, while others only require it monthly or every few months. Your vet can provide guidance tailored to your dog’s specific needs.
Beyond regular cleaning, make it a habit to visually inspect your dog’s ears daily or every few days. Look for any changes in appearance, odor, or behavior that might signal a developing problem. Early detection can prevent minor issues from becoming major ones.
When to Consult Your Veterinarian
Even with the best at-home care, sometimes professional intervention is necessary. If you notice any persistent signs of infection, severe pain, or if you’re uncomfortable performing the cleaning yourself, do not hesitate to contact your veterinarian. They have the tools and expertise to properly diagnose and treat ear conditions, ensuring your dog receives the best possible care.
Remember, your vet is your best partner in your dog’s health journey. Never attempt to treat a suspected infection with home remedies without professional advice.
Conclusion
Providing proper ear hygiene for your dog is a loving act that contributes significantly to their overall health and comfort. By following these five vet-approved techniques – gathering the right supplies, creating a calm environment, performing a gentle cleaning, knowing when to stop, and maintaining regularity with observation – you’ll become a pro at keeping those precious ears healthy and happy. It’s a small investment of your time that pays off in a big way, ensuring your furry best friend lives a life free from ear discomfort.
Embrace these practices with patience and positive reinforcement, and you’ll not only safeguard your dog’s ear health but also deepen the bond you share. Your dog trusts you to care for them, and mastering ear hygiene is just one more way to show them how much you truly care.