Intro
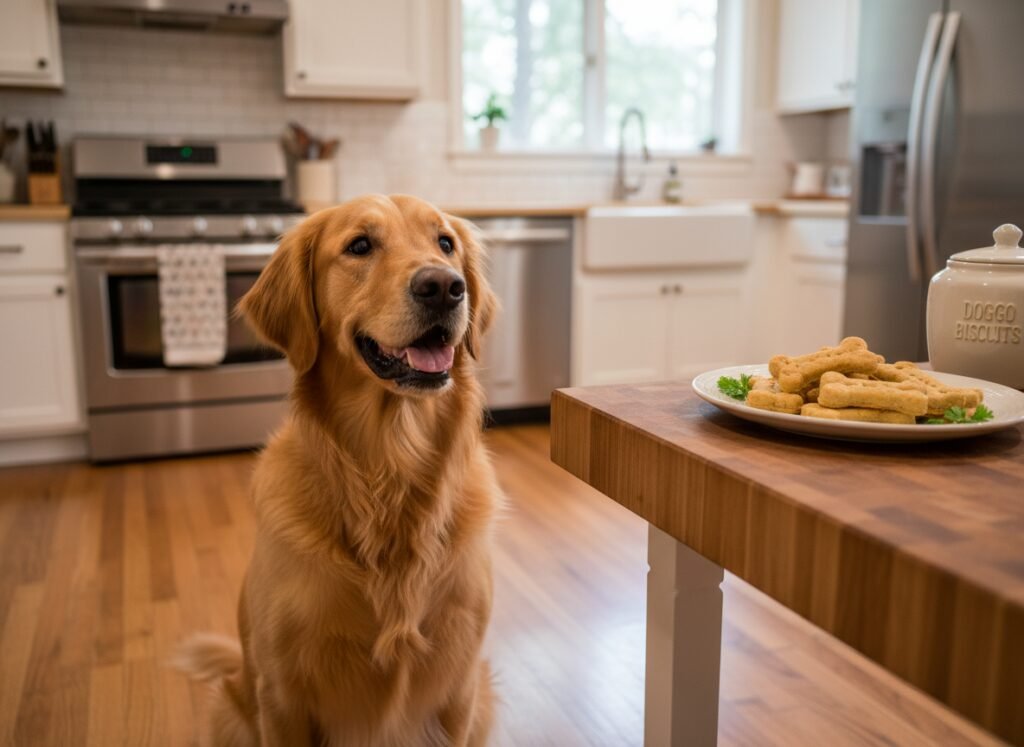
Honestly, there is nothing quite like the look on your dog’s face when they smell something delicious cooking in the kitchen. You know the look—the head tilt, the wagging tail, and those soulful eyes that practically beg for a taste. We all want the best for our furry best friends, but store-bought treats can be so expensive and filled with weird ingredients we can’t even pronounce. You’ll love this list because I have put together five of my favorite, super simple recipes that you can whip up in no time. Making your own treats is such a great way to bond with your pup and ensure they are getting healthy, wholesome snacks without the mystery fillers. I have spent a lot of time testing these in my own kitchen, and let me tell you, my dogs are very happy testers. Whether you have a tiny chihuahua or a massive Great Dane, these treats are going to be a massive hit. We are keeping things very casual and easy here because life is busy enough as it is. No fancy equipment is needed, just some basic kitchen staples and a lot of love. Let’s get right into the good stuff.
Vibe
The whole vibe of these recipes is simplicity. I really believe that feeding our pets shouldn’t be a chore. It should be fun! When you start making these, you will see how fast it goes. Most of these take less than ten minutes of actual work. The rest is just waiting for the oven or the freezer to do its thing. Honestly, your dog won’t even mind the wait because they will be sitting right by the kitchen door the whole time. You’ll love this approach because it takes the stress out of pet care. We are using ingredients like peanut butter, pumpkin, and oats—things you probably already have in your pantry right now. It is so satisfying to see your dog enjoy something you made from scratch. Plus, you can customize these to fit your dog’s specific needs or allergies. If they don’t like one thing, you can usually swap it for another. It is all about making your pup happy while keeping things easy for you.
Peanut
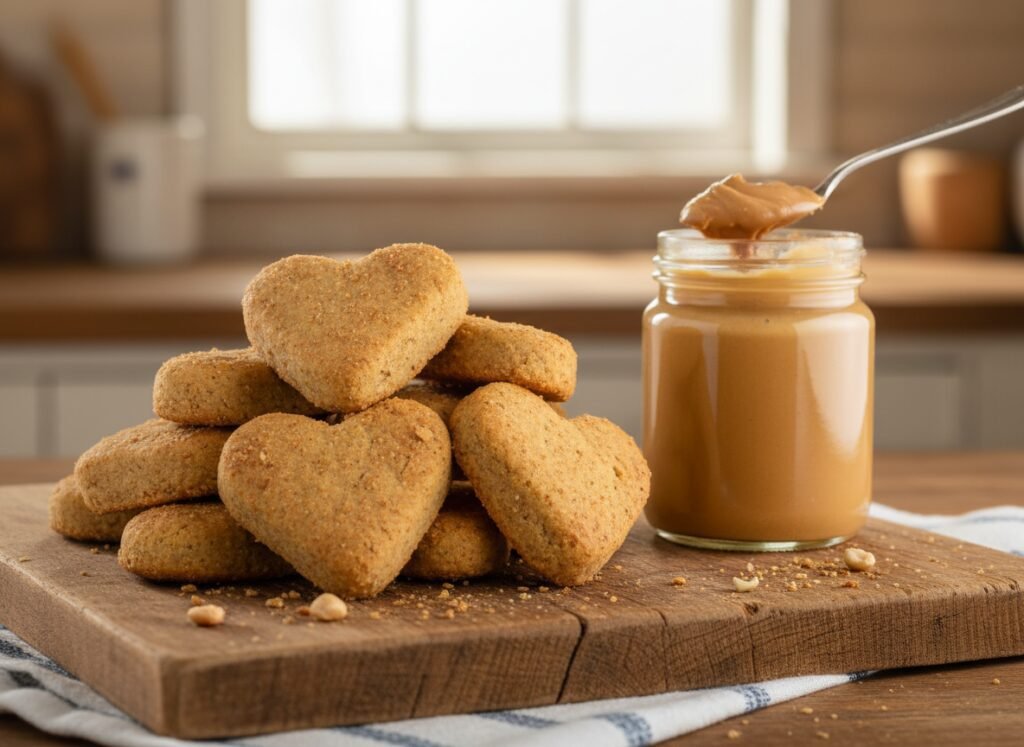
Peanut butter is basically the gold standard for dog treats. I have yet to meet a dog that doesn’t go absolutely crazy for it. These biscuits are crunchy, savory, and smell amazing while they bake. Honestly, you might even be tempted to try one yourself. Just make sure your peanut butter doesn’t have xylitol in it, as that is super dangerous for dogs. Always check the label! You’ll love this recipe because it only requires three main ingredients. It is the perfect starting point for anyone new to making homemade dog snacks. My dogs start doing circles the moment I pull the peanut butter jar out of the cupboard. These cookies stay fresh for a long time too, so you can make a big batch and keep them in a jar for whenever your dog is a good boy or girl.
Ingredients
For these peanut butter delights, you are going to need two cups of whole wheat flour, half a cup of creamy peanut butter, and two large eggs. If the dough feels a bit too dry, you can add a little bit of water or even some unsweetened applesauce to help it bind together. Whole wheat flour is great for giving the treats some structure, but if your dog is sensitive to grains, you can easily swap this for oat flour or coconut flour. Just keep in mind that different flours absorb moisture differently, so you might need to play around with the liquid levels until you get a dough that is easy to roll out. I like to use natural peanut butter because it doesn’t have added sugars or oils, which is much better for your dog’s tummy.
Steps
First, preheat your oven to 350 degrees Fahrenheit. While that is warming up, grab a large bowl and mix together your flour, eggs, and peanut butter. I usually start with a spoon and then switch to using my hands because it is just easier to get everything combined that way. Once you have a nice ball of dough, roll it out on a lightly floured surface until it is about half an inch thick. You can use fun cookie cutters like bone shapes or hearts, or just cut them into small squares with a knife if you are in a rush. Place them on a baking sheet lined with parchment paper and bake for about 20 minutes. You’ll love this part because your whole house will smell like a bakery. Let them cool completely before giving one to your pup so they don’t burn their tongue!
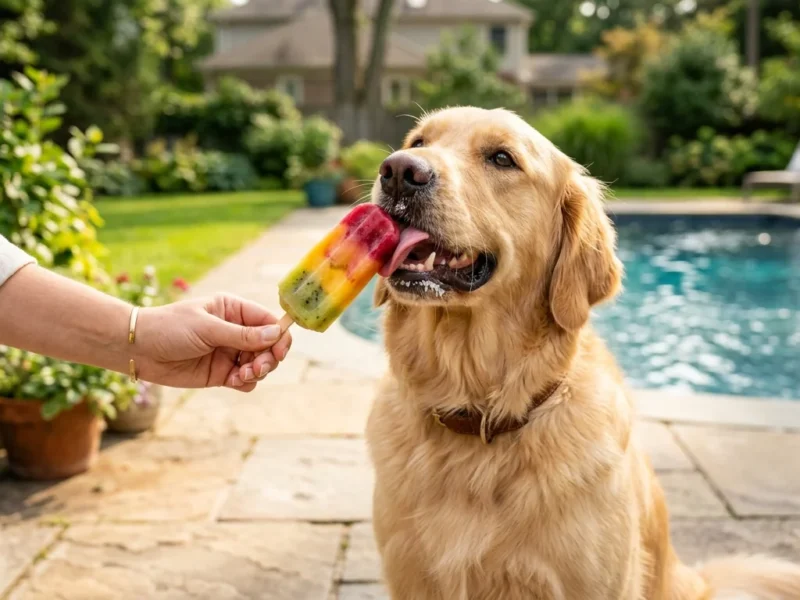
Yogurt

When the weather gets hot, there is nothing better than a cold treat. These frozen yogurt bites are a lifesaver in the summer months. Honestly, I make these all the year round because my dogs just love the texture. They are creamy, cold, and refreshing. It is like a little popsicle just for them. You’ll love this because there is zero baking involved. You just mix, pour, and freeze. It is the ultimate low-effort recipe for a busy afternoon. Plus, yogurt is full of probiotics which can be really good for your dog’s digestion. Just make sure you are using plain, unsweetened yogurt. No vanilla or fruit flavors that have added sugar or artificial sweeteners. We want to keep it as natural as possible for our furry friends.
Ingredients
All you need for this one is a large container of plain Greek yogurt and some fresh or frozen blueberries. You can also use strawberries or bits of banana if that’s what you have on hand. Some people like to add a teaspoon of honey for a little extra sweetness, but honestly, the fruit usually provides enough flavor on its own. If your dog is a fan of pumpkin, you can even swirl some pumpkin puree into the yogurt for a different flavor profile. The possibilities are really endless here. I like using blueberries because they are small and fit perfectly into silicone molds, and they are packed with antioxidants which are great for your dog’s health.
Steps
This is so easy it barely counts as a recipe. Grab some silicone molds—the ones shaped like paws or bones are super cute, but an ice cube tray works perfectly fine too. Drop a few blueberries into each slot. Then, spoon the yogurt over the top until the molds are full. Give the tray a little tap on the counter to get rid of any air bubbles. Pop the whole tray into the freezer for at least three or four hours, or until they are completely solid. Once they are frozen, you can pop them out and store them in a freezer bag. You’ll love this because you can just grab one whenever your dog needs to cool down. It is a healthy, hydrating snack that they will absolutely obsess over.
Potato
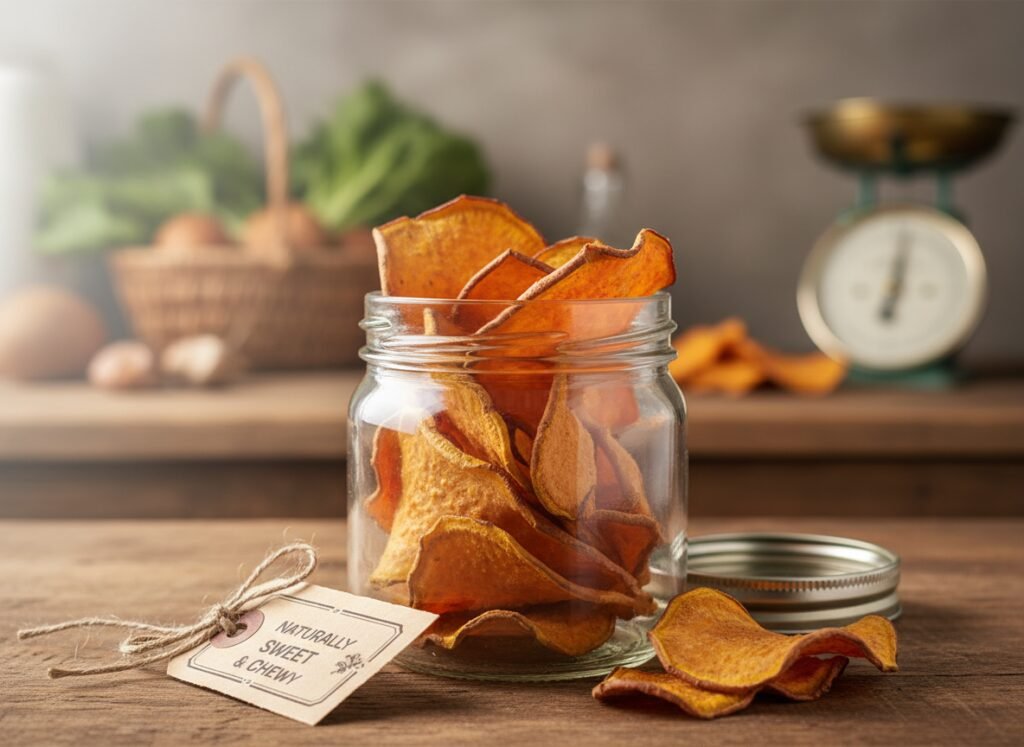
If you are looking for a single-ingredient treat, this is it. Sweet potato chews are a fantastic alternative to those store-bought rawhides which can sometimes be hard for dogs to digest. These are chewy, sweet, and full of vitamins. Honestly, it is amazing how a simple vegetable can be turned into such a high-value treat. You’ll love this because it is incredibly cheap to make. You can buy a giant bag of sweet potatoes for a few dollars and make enough treats to last for weeks. It is a great way to provide a chewy snack that keeps your dog occupied for a little while without any of the nasty additives found in processed chews. My dogs go nuts for the natural sweetness of the potato once it has been slow-baked.
Ingredients
Literally just sweet potatoes. That is it! You don’t need oil, salt, or spices. In fact, it is better to avoid all of those. If you want to get fancy, you could sprinkle a tiny bit of cinnamon on them, but it isn’t necessary. Make sure you pick out firm, large sweet potatoes because they are easier to slice. You want them to be thick enough that they don’t just turn into chips, but thin enough that they dehydrate properly in the oven. Sweet potatoes are packed with fiber, Vitamin A, and Vitamin C, so you can feel really good about giving these to your pup as a healthy supplement to their diet.
Steps
Start by washing your sweet potatoes thoroughly. You don’t even need to peel them unless you really want to. Slice them lengthwise into strips about a quarter-inch thick. You want them to look like long, flat fries. Preheat your oven to its lowest setting, usually around 200 or 250 degrees Fahrenheit. Line a baking sheet with parchment paper and lay the slices out in a single layer. Bake them for about two and a half to three hours, flipping them halfway through. The goal is to dry them out until they are tough and chewy, not crispy like a potato chip. Once they are done, let them cool down. You’ll love this because they have a great shelf life when stored in an airtight container. Your dog will love the chewy texture that helps clean their teeth too.
Chicken
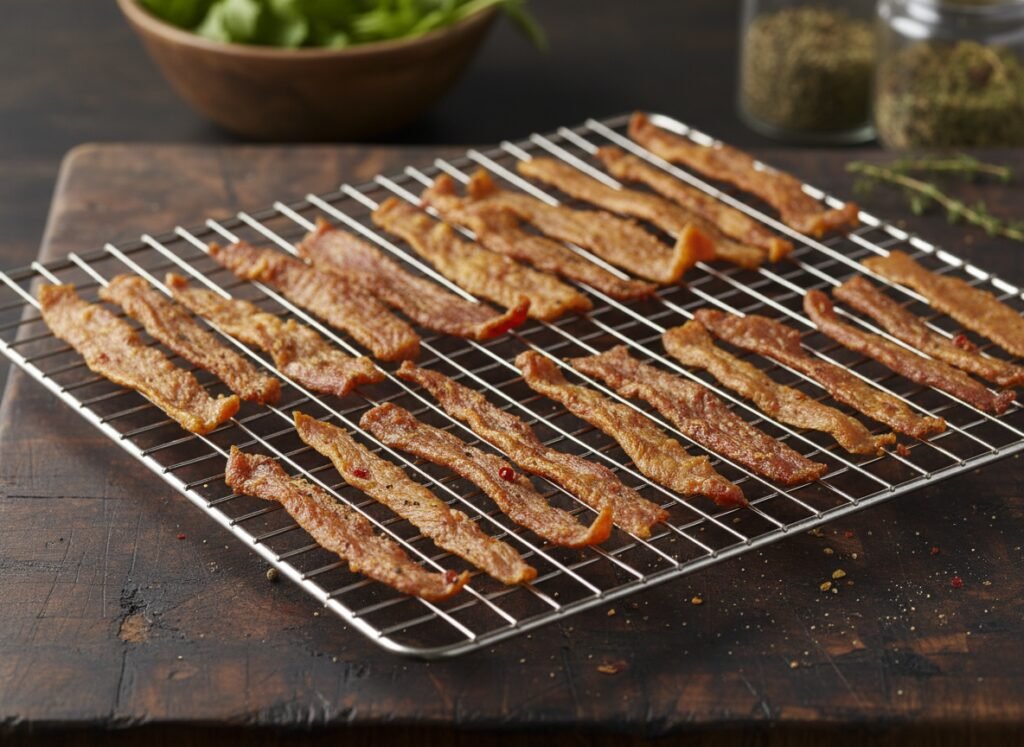
Most dogs are huge fans of meat, obviously. These chicken jerky strips are way better than the ones you buy at the store because there are no preservatives or hidden salts. Honestly, store-bought jerky can be really sketchy sometimes, with recalls and weird sourcing. When you make it yourself, you know it is just 100% pure protein. You’ll love this because it is a high-value treat that works wonders for training. If you have a stubborn pup who won’t listen, pull out a piece of this chicken jerky and watch how quickly they become the most obedient dog in the world. It is lean, healthy, and super satisfying for them to chew on.
Ingredients
You just need some boneless, skinless chicken breasts. I try to get the leanest ones possible because fat doesn’t dehydrate well and can cause the treats to go bad faster. You don’t need any seasoning at all. Dogs have a much stronger sense of smell and taste than we do, so the plain chicken is more than enough for them. If you want to make the slicing easier, you can pop the chicken in the freezer for about 30 minutes before you start. This firms up the meat so you can get nice, even strips without it sliding around under your knife. It is a simple trick that makes a huge difference in the final result.
Steps
Slice the chicken into thin strips, following the grain of the meat. This makes the jerky extra chewy. Just like the sweet potatoes, you want to bake these at a very low temperature—around 200 degrees Fahrenheit. Place the strips on a wire rack set over a baking sheet; this allows the air to circulate all around the meat so it dries out evenly. Bake them for about two to three hours. You are looking for a firm, dry texture. They should be flexible but not soft. Once they are finished, let them cool and then store them in the fridge. Because there are no preservatives, these won’t last as long on the counter as the other treats, so the refrigerator is your best friend here. You’ll love this because your dog will do literally anything for a piece of this chicken.
Pumpkin
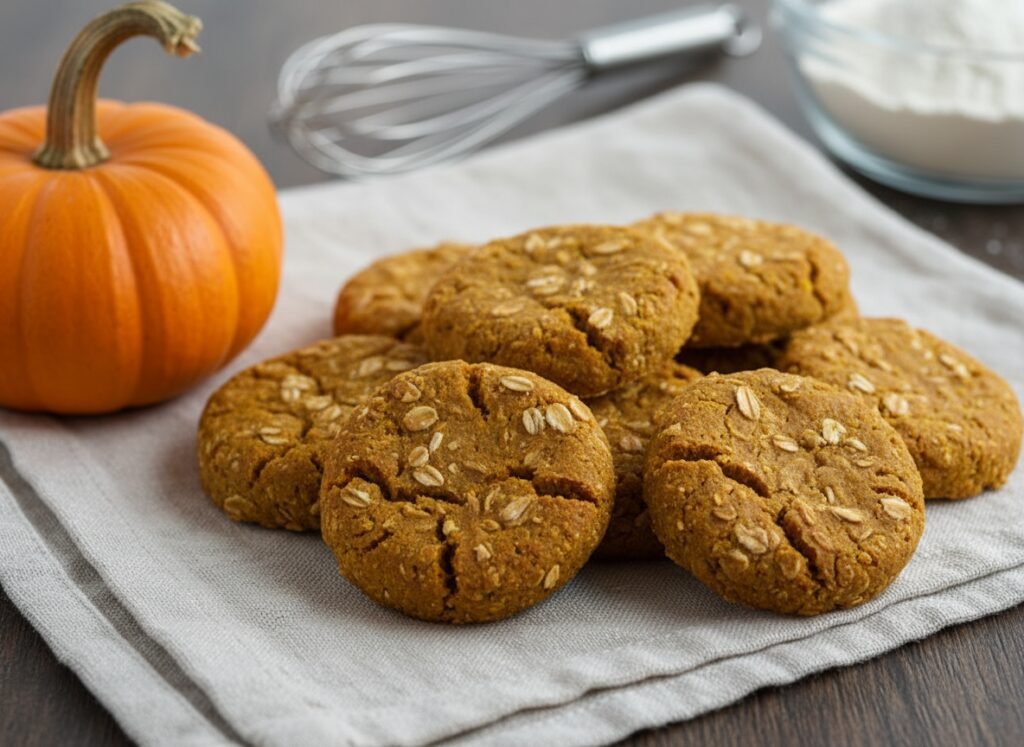
Pumpkin is a superstar ingredient for dogs. It is so good for their tummies and most of them really enjoy the flavor. These pumpkin cookies are soft, easy to chew, and perfect for older dogs who might have a bit of trouble with hard biscuits. Honestly, I always keep a can of pumpkin puree in my pantry just for this reason. You’ll love this recipe because it is very forgiving. If the dough is too wet, add more oats. If it is too dry, add a splash of water. It is very hard to mess this up! These treats are bright orange and look so festive, making them a great gift for your friends who have dogs too.
Ingredients
You will need one cup of pumpkin puree (make sure it is not pumpkin pie filling, which has spices and sugar!), two eggs, and about three cups of whole wheat flour or oats. I actually prefer using rolled oats that I have pulsed in a blender to make a coarse flour. It gives the treats a nice texture and is often easier on a dog’s stomach than wheat. You can also add a tablespoon of honey or a little bit of cinnamon if you want to make them extra special. Pumpkin is loaded with fiber, which helps keep everything moving along nicely in your dog’s digestive system. It is a win-win for everyone.
Steps
Preheat your oven to 350 degrees. In a big bowl, mix the pumpkin puree and the eggs together until they are well combined. Gradually stir in your flour or oats until a stiff dough forms. Scoop out small spoonfuls and roll them into balls, then flatten them with a fork on your baking sheet. They won’t spread much while baking, so you can put them fairly close together. Bake for about 25 to 30 minutes. If you want them to be crunchier, you can leave them in the oven after you turn it off for another ten minutes. Let them cool down before the taste test. You’ll love this because the house will smell like autumn, and your dog will be waiting by the oven door the entire time.
Storage
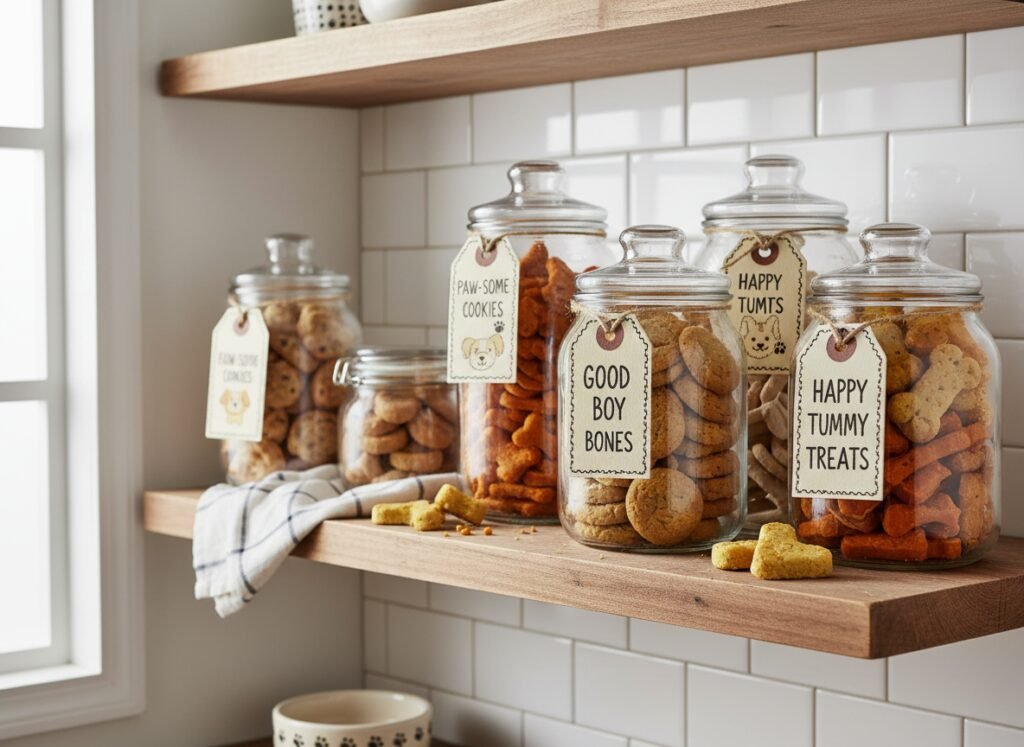
Once you have spent the time making these awesome treats, you want to make sure they stay fresh. Honestly, since these don’t have the preservatives that commercial treats have, you need to be a little more careful with how you store them. You’ll love this feeling of having a stash of healthy snacks ready to go. For the dry biscuits like the peanut butter and pumpkin ones, an airtight glass jar on the counter is usually fine for about a week. If you made a huge batch, you can keep half of them in the freezer and just pull them out as needed. This keeps them from going stale or getting moldy. It is a simple way to make your hard work last much longer.
Freezing
Freezing is definitely the best way to keep homemade treats fresh for the long haul. Most of these recipes will stay good in the freezer for up to three months. Just make sure you use a freezer-safe bag or container to prevent freezer burn. For the frozen yogurt bites, they obviously have to stay in the freezer until the very moment you give them to your dog. For the jerky and the potato chews, I usually recommend keeping them in the fridge if you are going to use them within a week, or the freezer for anything longer. It is always better to be safe than sorry when it comes to fresh food for your pup. They will still taste just as good to your dog even if they are a little cold!
Safety
When you are baking for your dog, safety is the most important thing. Honestly, it is so easy to accidentally include something that isn’t good for them. You’ll love this peace of mind knowing you’ve checked everything. Never use chocolate, grapes, raisins, onions, garlic, or anything with xylitol. If you are ever unsure about an ingredient, a quick search or a call to your vet is always a good idea. Also, remember that treats should only make up about ten percent of your dog’s daily calories. It is easy to go overboard because they are so cute, but we want to keep them at a healthy weight too! Watch for any signs of allergies when you introduce a new treat, like itching or an upset tummy. Every dog is different, so start with small pieces to see how they react.
Farewell
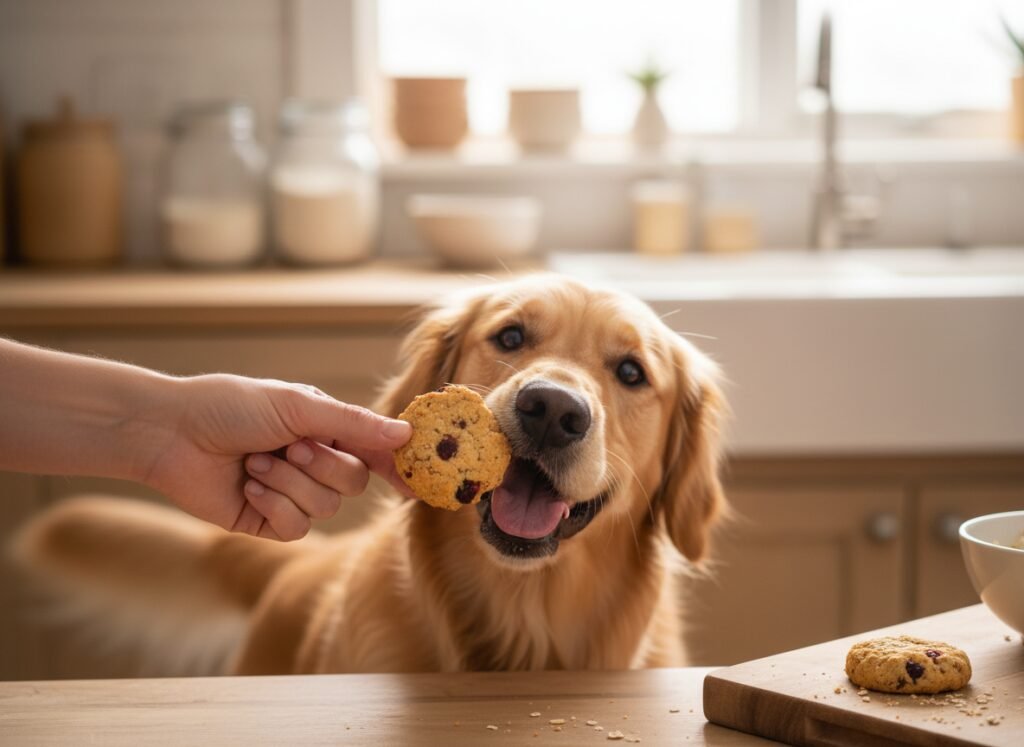
I really hope you and your pup enjoy these recipes as much as we do. Making treats at home is such a rewarding experience, and honestly, it is just plain fun. You’ll love this new hobby because it makes your dog so incredibly happy. There is a certain kind of joy in seeing your pet enjoy something healthy that you made with your own two hands. Don’t be afraid to experiment with different shapes and safe ingredients. Your dog isn’t a food critic—they will think you are a five-star chef no matter what! Thanks for hanging out and talking about dog snacks with me today. Now, go get in the kitchen and start baking! Your dog is waiting for that first bite, and I promise they are going to love it. Happy baking and give your pup a scratch behind the ears for me!