
Providing your canine companion with healthy treats is essential for their long-term well-being. Many commercial dog treats are filled with fillers and artificial preservatives that can trigger allergies or digestive upset. These homemade sweet potato biscuits use only five wholesome ingredients, making them a perfect choice for dogs with sensitive stomachs or specific dietary needs. By preparing snacks at home, you ensure the highest quality control and eliminate hidden allergens that are often found in processed pet foods.
1. The Nutritional Power of Sweet Potatoes

Sweet potatoes serve as the primary ingredient in this recipe because they are a rich source of dietary fiber and essential vitamins like A, B6, and C. Fiber is crucial for maintaining a healthy digestive system in dogs, while antioxidants support immune function. Unlike white potatoes, sweet potatoes have a lower glycemic index, which helps maintain steady energy levels and prevents blood sugar spikes. This makes them an ideal base for dogs that need a nutrient-dense, easily digestible carbohydrate source.
2. Oat Flour as a Gluten-Free Base
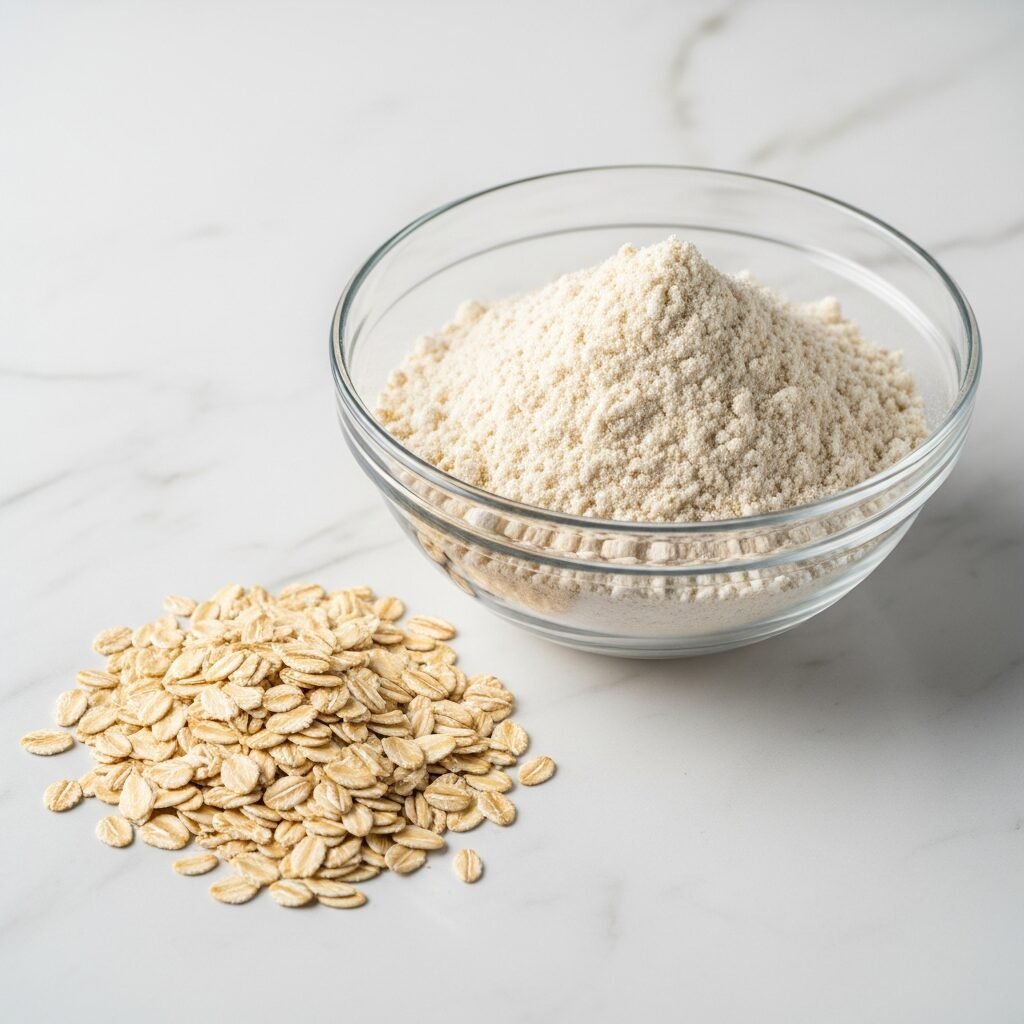
Many dogs suffer from wheat or gluten sensitivities, which can manifest as skin irritation or gastrointestinal issues. Oat flour provides a fantastic, gluten-free alternative that is gentle on the stomach. It is packed with protein and soluble fiber, making it an excellent structural component for these biscuits without the risk associated with common grain allergens. Using oat flour also adds a pleasant texture that helps the biscuits maintain their shape during the baking process while providing a satisfying crunch.
3. Natural Binding with Egg or Applesauce

To keep the biscuits together, a binding agent is required to ensure the dough does not crumble. While eggs are a common choice due to their high protein content and essential fatty acids, unsweetened applesauce can be used as a substitute for dogs with poultry-related allergies. Both options ensure the dough is pliable and easy to shape while adding a touch of moisture and additional nutrients to the final product. Selecting the right binder depends on your dog’s specific health profile and taste preferences.
4. Healthy Fats from Coconut Oil

Including a small amount of organic coconut oil provides medium-chain triglycerides that can improve your dog’s coat shine and overall skin health. Coconut oil is also known for its anti-inflammatory properties, which can be beneficial for older dogs or those with joint concerns. It adds a subtle aroma that dogs find irresistible, making the baking process an exciting event for your pet. Furthermore, these healthy fats aid in the absorption of the fat-soluble vitamins found in the sweet potatoes.
5. The Step-by-Step Baking Process

To prepare these treats, start by mashing cooked sweet potato until completely smooth. Incorporate the oat flour, your chosen binder, and the coconut oil until a firm, non-sticky dough forms. Roll the dough to a half-inch thickness on a lightly floured surface and use cookie cutters to create fun shapes. Bake at 350 degrees Fahrenheit for approximately 25 to 30 minutes until the biscuits are firm and slightly golden. Allow them to cool completely on a wire rack before serving to ensure they reach the perfect hardness for dental health.
Conclusion
Homemade treats allow pet owners to take full control of their dog’s nutrition and avoid the pitfalls of commercial processing. By focusing on these five simple, allergy-friendly ingredients, you are providing a snack that is both delicious and therapeutic. These sweet potato biscuits are a testament to the fact that healthy eating for pets does not have to be complicated or expensive, ensuring your dog stays happy and energetic for years to come.