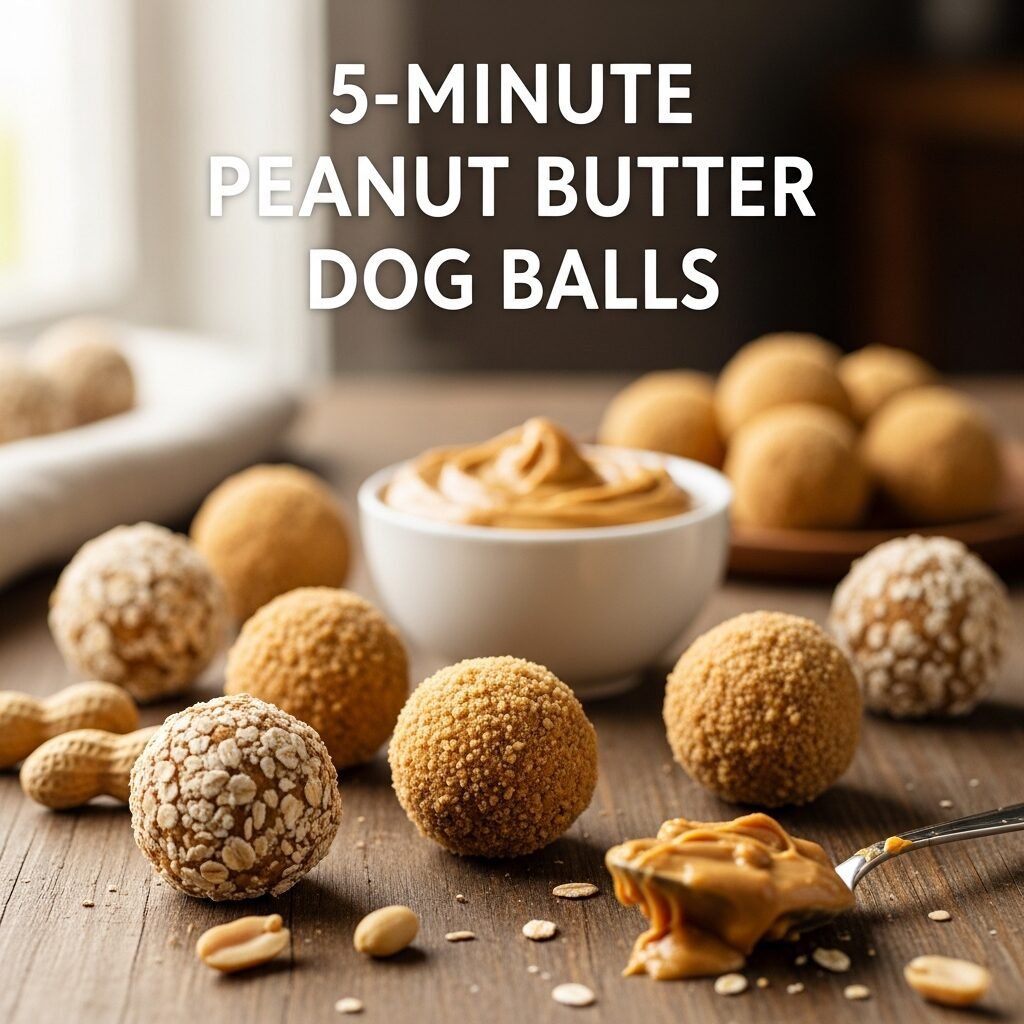
Every dog parent knows the joy of seeing their furry friend’s tail wagging at treat time. But finding a healthy, quick, and truly delicious treat that you can feel good about giving can sometimes be a challenge. That’s where homemade treats come in! And among them, the 5-minute peanut butter dog balls stand out as a super easy, incredibly fast, and undeniably popular choice.
Imagine whipping up a batch of wholesome, dog-approved snacks in less time than it takes to brew your morning coffee. These simple peanut butter balls are not just a treat; they’re a way to show your dog some extra love with ingredients you can trust. They’re perfect for training rewards, a quick snack, or just because your best friend deserves something special.
In this article, we’ll dive into why these treats are a game-changer for busy dog owners, walk you through the super simple recipe, explore fun variations, and give you all the tips for serving and storing them safely. Get ready to become your dog’s favorite chef!
Why Homemade Dog Treats Are a Win-Win
Opting for homemade dog treats like these peanut butter balls offers a lot of benefits for both you and your canine companion. It’s a wonderful way to take control of what your dog eats and adds a personal touch to their diet.
You get to control all the ingredients that go into your dog’s snacks. This means no mystery fillers, artificial preservatives, or added sugars that are often found in store-bought options. Knowing exactly what your dog is consuming brings peace of mind.
Making treats at home is also generally kinder to your wallet. High-quality dog treats can get expensive, especially if you have a big dog or multiple pets. Simple recipes using common kitchen staples can save you a significant amount over time.
There’s a special kind of bond that forms when you make something specifically for your dog. They sense your care and attention, and there’s a unique satisfaction in seeing them happily munch on something you’ve created. It’s a small act of love that strengthens your connection.
Homemade treats are excellent if your dog has specific dietary needs or allergies. You can easily tailor the ingredients to avoid common allergens like specific grains or proteins. This flexibility ensures your dog gets a safe and enjoyable snack.
The Magic Ingredients for Your 5-Minute Treats
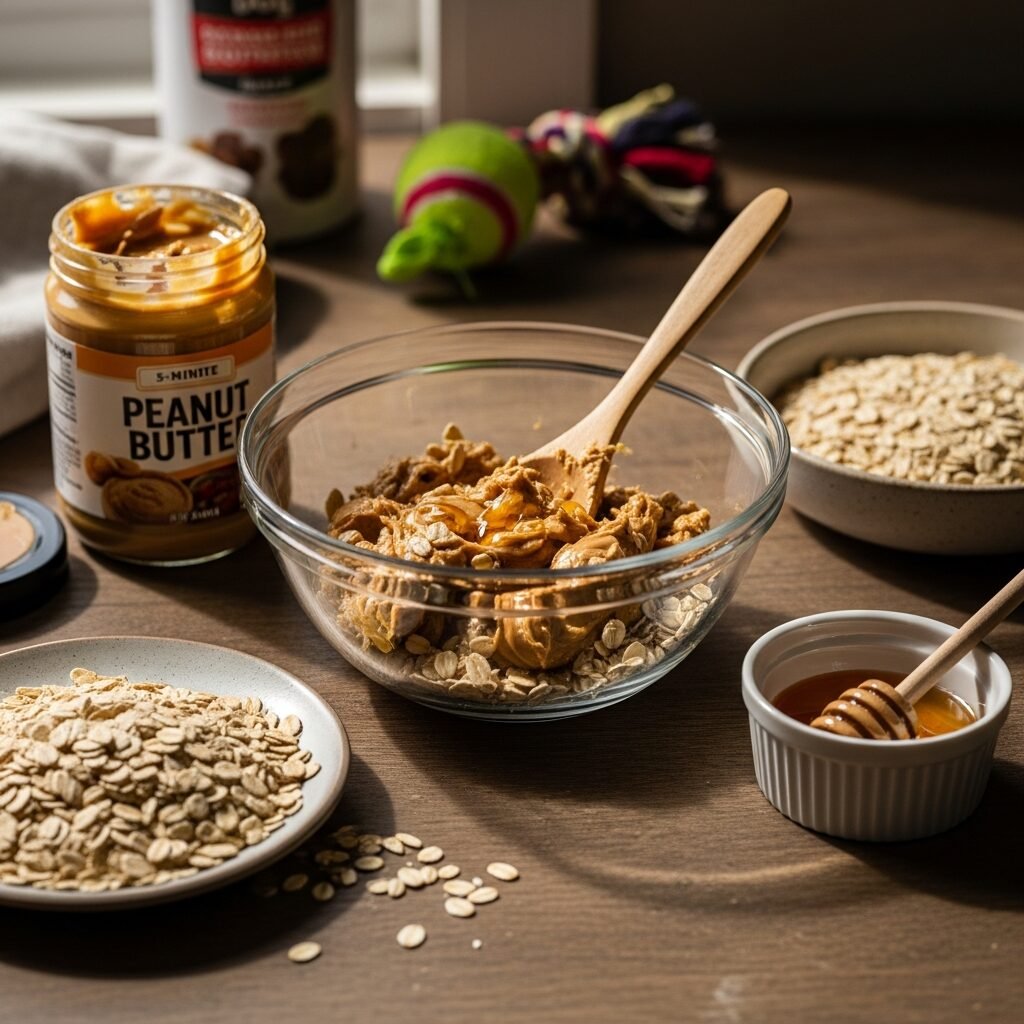
The beauty of these peanut butter dog balls lies in their simplicity. You only need a few basic ingredients that you likely already have in your pantry. The star of the show, of course, is peanut butter, a flavor almost universally adored by dogs.
The key to a safe and healthy treat is choosing the right type of peanut butter. We’ll focus on natural, unsweetened options to ensure your dog gets only the good stuff. The other main component, oats, adds fiber and helps create the perfect texture.
Always remember that ingredient quality matters, especially when it comes to your dog’s health. We’ll guide you through selecting the best choices to keep your furry friend happy and healthy.
Essential Ingredient Checklist
To make these quick and tasty treats, you will need just two main ingredients. Any optional additions can be chosen based on your dog’s preferences and dietary needs.
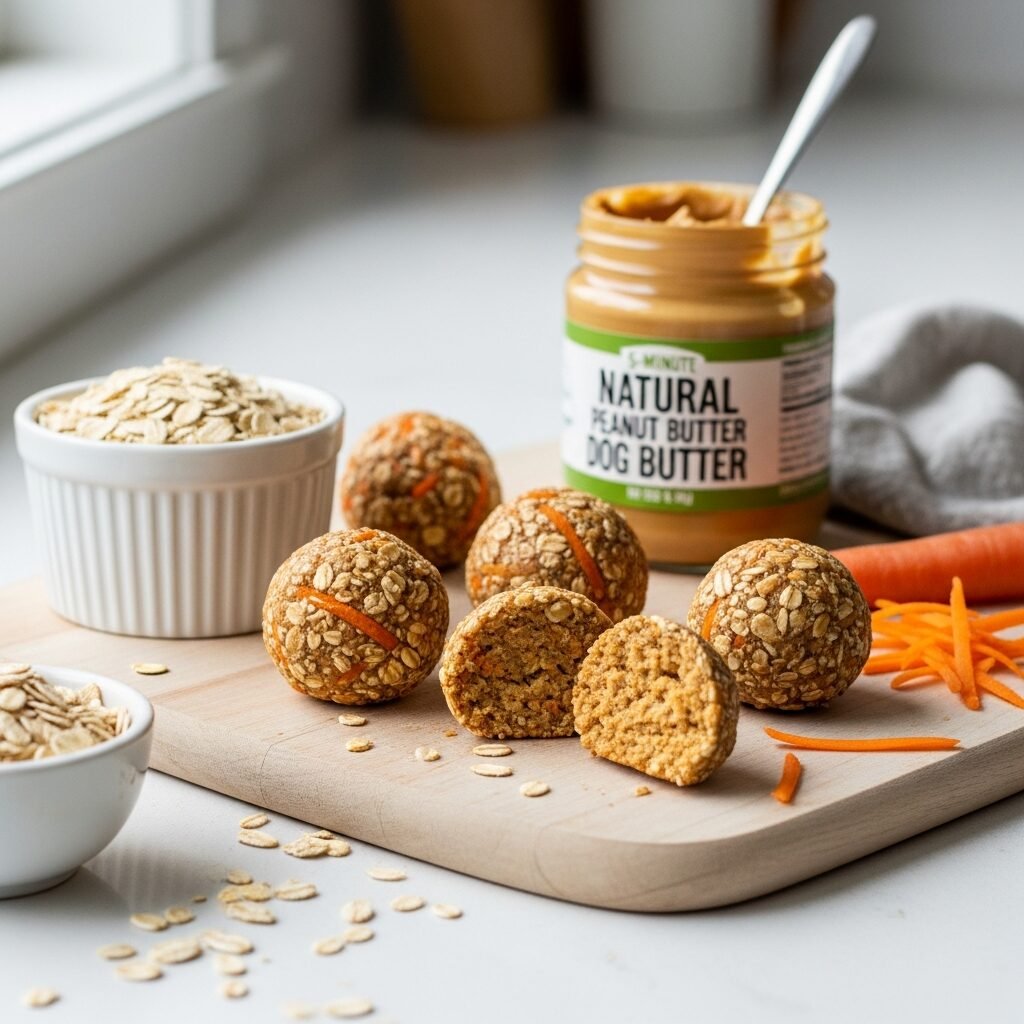
Peanut Butter: About 1/2 cup of natural, unsweetened, and xylitol-free peanut butter. This is the glue and the main flavor.
Oats: Approximately 1 cup of old-fashioned rolled oats. These bind everything together and add healthy fiber.
A Word on Peanut Butter Safety
This is the most crucial part of making any peanut butter-based dog treat. Many popular human peanut butter brands now contain an artificial sweetener called xylitol. Xylitol is extremely toxic to dogs, even in small amounts, and can cause a rapid drop in blood sugar, liver failure, and even death.
Always, always check the ingredient label of your peanut butter to ensure it does not contain xylitol. Look for brands that list only peanuts, or peanuts and a small amount of salt, as ingredients. Natural, unsweetened peanut butter is your safest bet. If you’re unsure, it’s best to err on the side of caution and choose a dog-specific peanut butter that explicitly states it’s xylitol-free.
Your Step-by-Step Guide to 5-Minute Peanut Butter Dog Balls
Getting these treats ready is so quick, it almost feels like magic. You’ll be surprised how fast you can go from thinking about making treats to having a fresh batch ready for your dog. No baking required, just a bit of mixing and rolling.
This recipe is designed for speed and ease, perfect for those moments when you want to whip up a thoughtful treat without spending a lot of time in the kitchen. Your dog will appreciate the effort, and you’ll love the simplicity.
Gather Your Tools
Before you start, make sure you have these basic kitchen items ready. They will help make the process even smoother and faster.
A medium-sized mixing bowl
A sturdy spoon or spatula for mixing
Measuring cups (for peanut butter and oats)
A plate or small baking sheet lined with parchment paper (optional, for chilling)
The Quick Mix Method
Follow these simple steps, and you’ll have delicious peanut butter dog balls in hand in no time. The key is to mix well until everything comes together into a workable dough.
1. Combine Peanut Butter and Oats: In your mixing bowl, add 1/2 cup of xylitol-free peanut butter. Gradually add 1 cup of old-fashioned rolled oats. You might need slightly less or more oats depending on the consistency of your peanut butter.
2. Mix Until a Dough Forms:Using your spoon or spatula, mix the ingredients together thoroughly. At first, it might seem crumbly, but keep mixing and pressing the ingredients together. The natural oils from the peanut butter will help bind the oats. You want a firm, sticky dough that holds its shape. If it’s too sticky, add a touch more oats; if it’s too dry, a tiny bit more peanut butter.
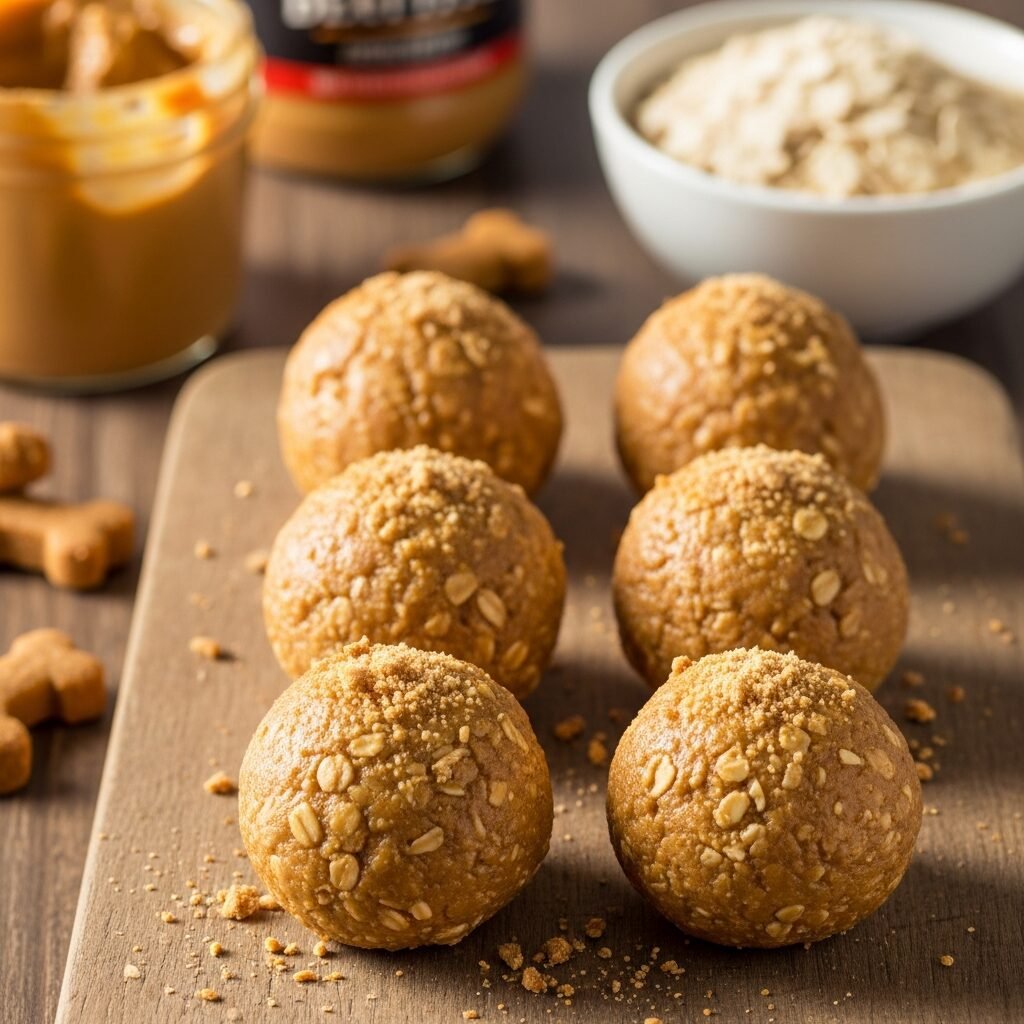
3. Roll into Balls: Once your dough is ready, take small portions and roll them between your palms to form bite-sized balls. The size of the balls can vary based on your dog’s size – think smaller for toy breeds, a bit larger for big dogs. Aim for uniform sizes for consistent treating.
4. Chill (Optional but Recommended): For firmer treats, place the rolled balls on a plate or a parchment-lined baking sheet. Pop them into the refrigerator for at least 15-30 minutes. This helps them hold their shape better and makes them less messy to handle, especially if your kitchen is warm.
That’s it! In just about five minutes of active prep time, you’ve created a batch of wholesome, homemade treats for your beloved canine.
Beyond the Basics: Fun Variations and Add-Ins

While the basic peanut butter and oat recipe is a hit, you can easily customize these treats to add more flavor, nutrients, or simply to switch things up for your dog. Just remember to always choose dog-safe ingredients.
Adding other healthy ingredients can make these treats even more beneficial. It’s a great way to sneak in extra vitamins, minerals, and fiber into your dog’s diet, all while keeping the treats exciting and tasty.
Flavor Boosters
These additions can enhance the taste and provide extra nutrients. Always use unsweetened and plain versions of these ingredients.
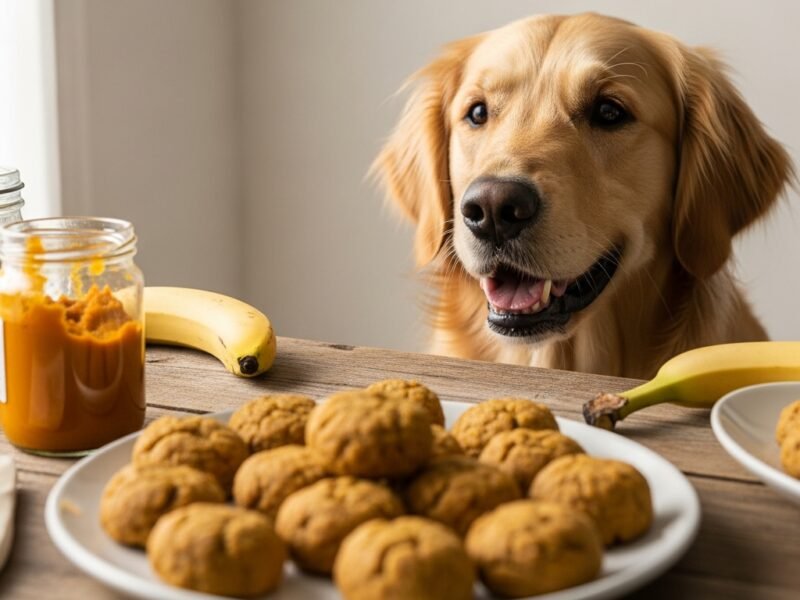
Pumpkin Puree (Not Pie Filling): A tablespoon or two of plain canned pumpkin puree can add moisture, flavor, and digestive benefits. It’s packed with fiber.
Mashed Banana: A small, ripe mashed banana is a natural sweetener and provides potassium. It also helps bind the mixture.
Applesauce (Unsweetened): A spoonful of unsweetened applesauce adds a touch of fruity flavor and moisture. Ensure it has no added sugar or spices like cinnamon.
Nutritional Power-Ups
For an extra health boost, consider these nutrient-rich add-ins. A little goes a long way.
Ground Flaxseed:A teaspoon of ground flaxseed provides Omega-3 fatty acids for a healthy coat and skin.
Chia Seeds: Half a teaspoon of chia seeds is a superfood packed with fiber, Omega-3s, and antioxidants.
Coconut Oil (Small Amount): A tiny bit (1/2 teaspoon) of melted coconut oil can offer healthy fats and aid in digestion, but use sparingly as it’s calorie-dense.
Chopped Carrots (Finely Grated): Small amounts of finely grated carrots add crunch, vitamins, and a touch of sweetness.
How to Incorporate Add-Ins
When adding extra ingredients, simply mix them in with the peanut butter before adding the oats. You might need to adjust the amount of oats slightly to achieve the right dough consistency. If the mixture becomes too wet, add a little more oats; if it’s too dry, a tiny bit more peanut butter or a splash of water will help.
Serving Suggestions and Portions
These homemade peanut butter dog balls are a fantastic treat, but like all good things, they should be enjoyed in moderation. Knowing how and when to serve them ensures your dog gets the most benefit without overindulging.
Always remember that treats should only make up a small portion of your dog’s daily caloric intake. The bulk of their diet should come from a balanced, high-quality dog food.
Treating with Care
These versatile treats can be used in several ways, making them a useful addition to your dog parenting toolkit.
As a Reward for Training: Their small size and high palatability make them excellent motivators during training sessions. Break them into even smaller pieces for frequent rewards.
Special Snack: Offer one as a special surprise during the day or after a walk.
Puzzle Toy Filler: Stuff a Kong or another puzzle toy with a peanut butter ball for a longer-lasting enrichment activity. This can keep your dog occupied and mentally stimulated.
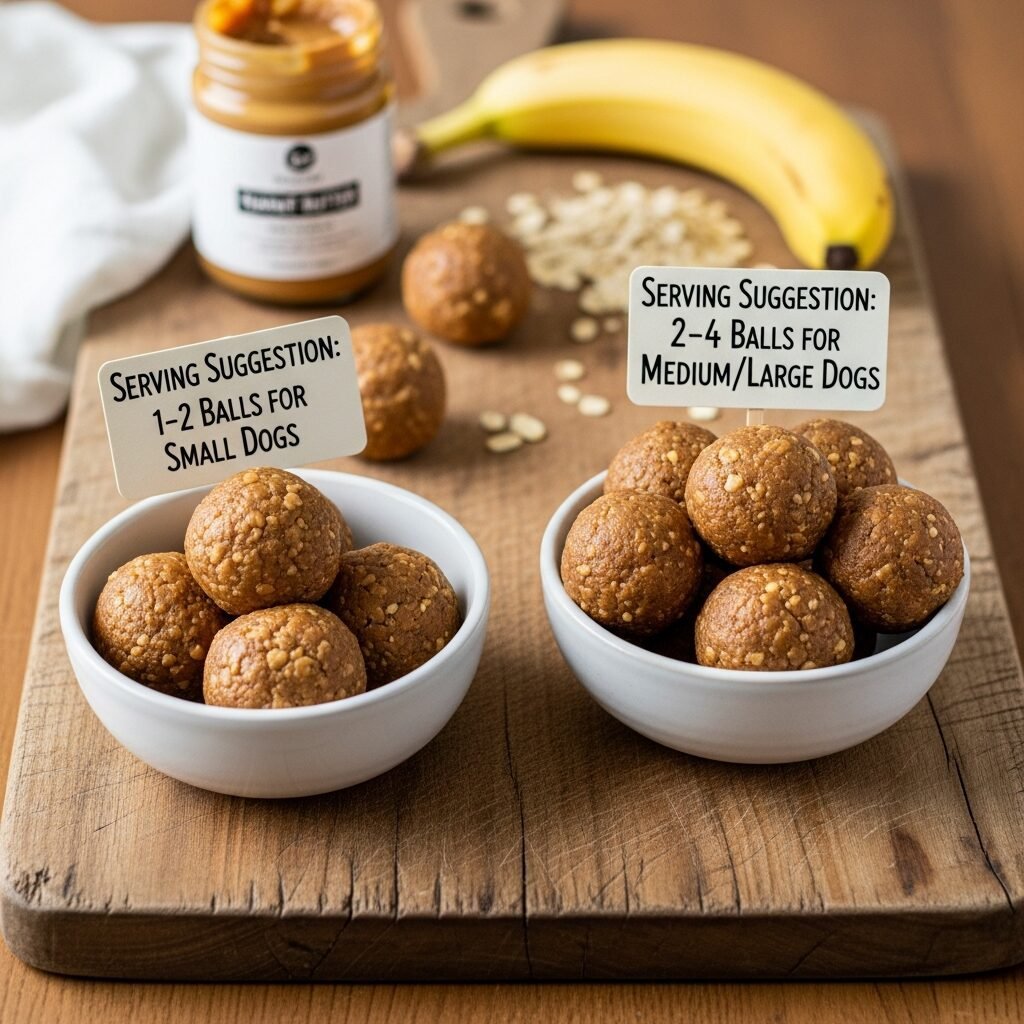
How Many Is Too Many?
The right portion size depends heavily on your dog’s size, activity level, and overall diet. It’s always a good idea to discuss treat portions with your veterinarian, especially if your dog has any health conditions.
| Dog Size | Recommended Daily Treat Portions | Important Notes |
| :———- | :——————————- | :————————————————— |
| Small | 1 small ball | For breeds like Chihuahuas, Pomeranians, Pugs |
| Medium | 1-2 medium balls | For breeds like Beagles, Corgis, French Bulldogs |
| Large | 2-3 medium balls | For breeds like Labradors, Golden Retrievers, German Shepherds |
These are general guidelines. Always observe your dog’s weight and adjust accordingly. If your dog is gaining weight, cut back on treats. These treats are calorie-dense due to the peanut butter, so moderation is key to maintaining a healthy weight.
Storage Tips to Keep Treats Fresh
Once you’ve made a batch of these delicious peanut butter dog balls, you’ll want to store them properly to maintain their freshness and ensure they remain safe for your dog to eat. Proper storage helps extend their shelf life and prevents spoilage.
Because these treats are made without preservatives, they won’t last as long as store-bought varieties. But with the right storage methods, you can enjoy them for several days or even weeks.
Short-Term Storage
For treats you plan to use within a day or two, simple counter storage is often sufficient, especially after a quick chill.
Airtight Container: Place the peanut butter balls in an airtight container.
Countertop: Store them at room temperature for up to 1-2 days. If your home is very warm, consider refrigerating them even for short-term use.
Longer-Term Storage
For a fresher taste and to extend their shelf life beyond a couple of days, the refrigerator or freezer are your best friends.
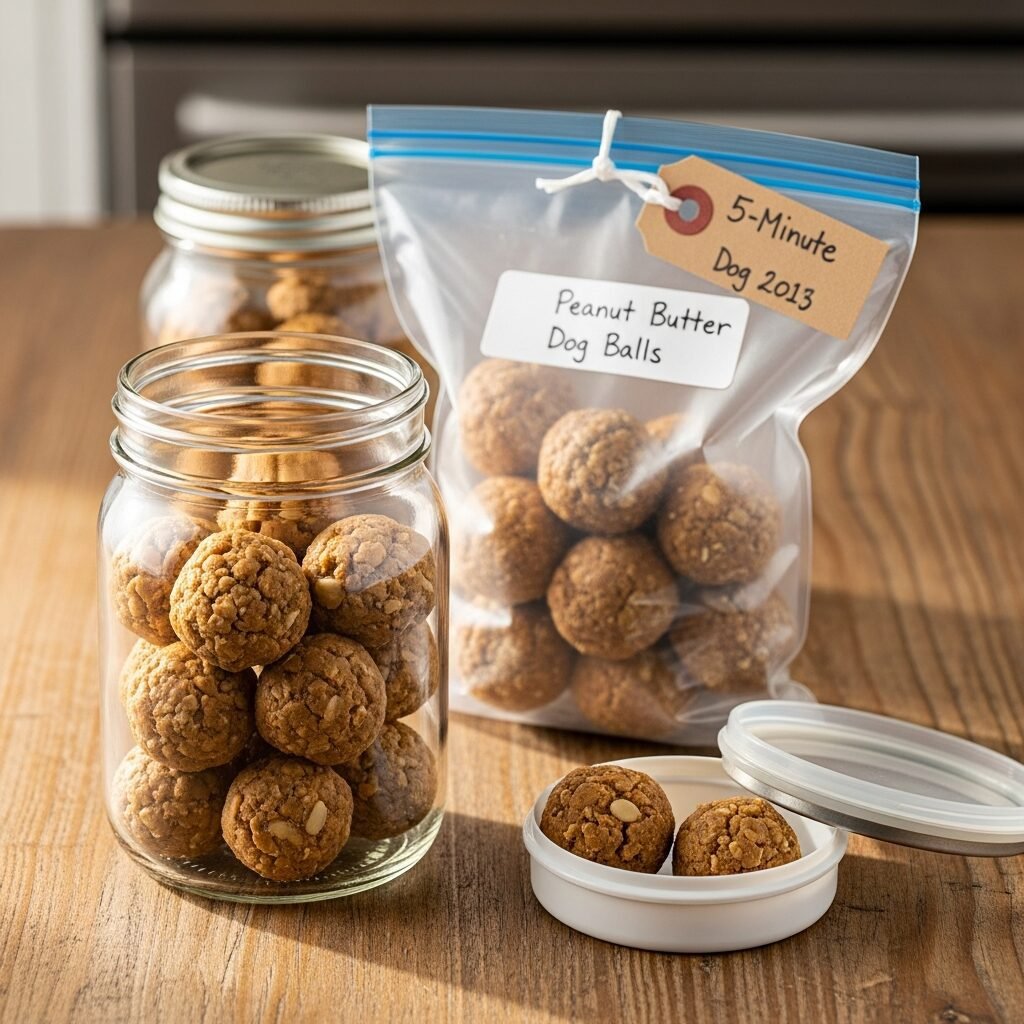
Refrigerator: Store the treats in an airtight container in the refrigerator for up to 1 week. The cold temperature will keep them firm and prevent them from spoiling.
Freezer Storage: For the longest shelf life, these treats freeze beautifully.
1. Place the rolled balls on a baking sheet lined with parchment paper and freeze them for an hour or two until they are solid. This prevents them from sticking together.
2. Once frozen solid, transfer the balls to a freezer-safe, airtight container or a heavy-duty freezer bag.
3. They can be stored in the freezer for up to 2-3 months.
4. Thawing Instructions: When you’re ready to use them, simply take out a few and let them thaw in the refrigerator for an hour or at room temperature for about 15-30 minutes.
Remember to always label your containers with the date they were made to keep track of freshness. Discard any treats that show signs of mold, unusual odor, or discoloration.