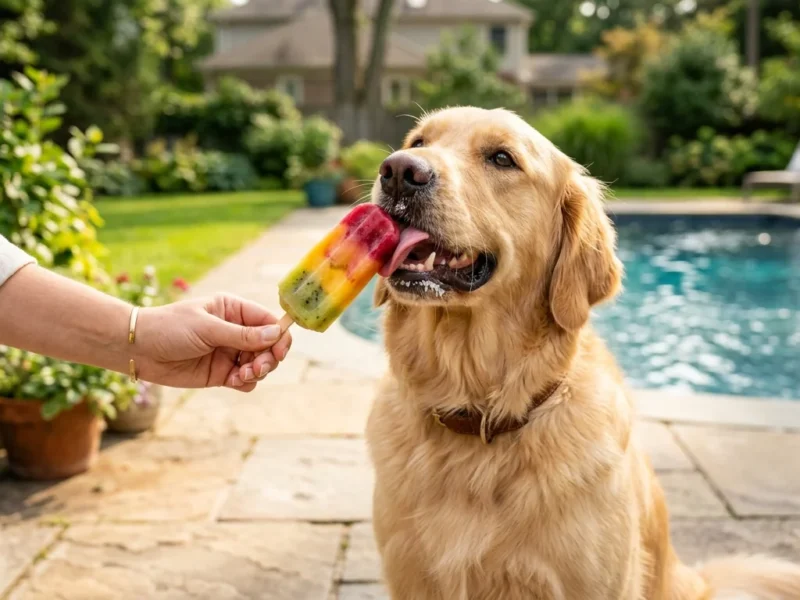
Every dog parent loves to see their furry friend happy, and nothing lights up their eyes quite like a special treat! While there are countless options on the market, sometimes the best treats are the ones made with love right in your own kitchen. Apple peanut butter dog cookies are a fantastic choice. They are wholesome, delicious, and give you complete control over what your beloved pup is munching on.
Imagine the joy of offering your dog a warm, freshly baked cookie, knowing every ingredient is safe and good for them. These delightful homemade cookies combine two dog-friendly favorites – crisp apples and creamy peanut butter – into a perfect, tail-wagging snack. Let’s dive into why these cookies are such a hit and how you can easily whip up a batch for your best friend.
Why Homemade Dog Treats Are a Pawsome Idea
Choosing to bake treats for your dog instead of always buying them offers a world of benefits. It’s more than just saving a few dollars; it’s about providing the best for your pet and strengthening your bond.
Control Over Ingredients
When you make treats at home, you become the head chef and the quality control manager all in one. You know exactly what goes into your dog’s snacks.
Avoiding Unwanted Additives
Many commercial dog treats, unfortunately, can contain ingredients we’d rather our dogs didn’t eat. These might include artificial colors, flavors, preservatives, or fillers that offer little to no nutritional value. By baking at home, you can steer clear of these questionable additives and stick to pure, wholesome ingredients. This often means a happier, healthier digestive system for your dog.
Tailored to Your Dog’s Needs
Every dog is unique, and their dietary needs can vary greatly. Homemade treats give you the flexibility to cater to these individual requirements.
For instance, if your dog has specific allergies to grains like wheat or proteins like chicken, you can easily substitute ingredients to make a treat that’s safe for them. If your pup needs to watch their weight, you can adjust the fat content or portion sizes. You can also make treats softer for senior dogs or smaller for puppies.
A Bonding Experience
Making treats for your dog is a wonderfully rewarding experience. From selecting the ingredients to the delightful smells filling your kitchen, it’s a small act of love. Your dog will likely be right there, underfoot, watching your every move with hopeful eyes, especially once they smell the delicious aroma of baking. This shared activity, even if they’re just supervising, deepens your connection and shows them how much you care.
The Wonderful Ingredients: Apples and Peanut Butter
The stars of our cookie show are two ingredients that most dogs adore and that offer great health benefits when prepared correctly: apples and peanut butter.
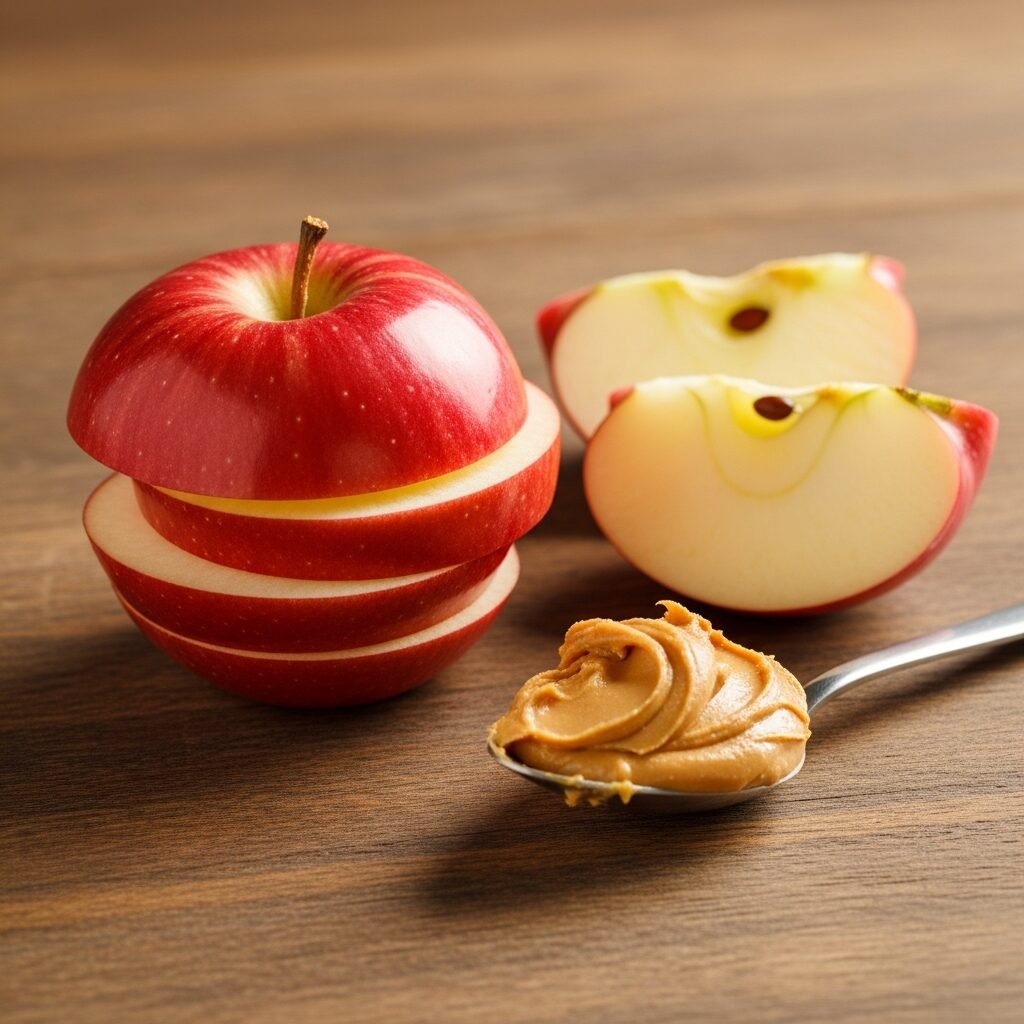
Apples: A Crunchy, Healthy Treat
Apples are a fantastic source of fiber, which aids in digestion, and they also contain vitamins A and C, important for your dog’s immune system and skin health. Their crunchy texture can also help clean your dog’s teeth.
However, it’s very important to remember one safety tip: always remove the core and seeds from apples before giving them to your dog. Apple seeds contain a small amount of cyanide, which can be harmful if consumed in large quantities. For these cookies, we’ll be using peeled and grated apple flesh.
Peanut Butter: A Yummy Protein Boost
Peanut butter is a beloved treat for many dogs, packed with protein and healthy fats that provide energy. It also contains vitamins B and E, and niacin. It’s an excellent source of healthy fats.
Crucially, when choosing peanut butter, you must always make sure it does NOT contain xylitol. Xylitol is an artificial sweetener that is extremely toxic to dogs, even in small amounts. Always read the label carefully and opt for natural, unsweetened peanut butter that lists only peanuts (and maybe a little salt) as ingredients.
Other Safe & Healthy Additions
Beyond apples and peanut butter, our cookie recipe will include other common, safe ingredients:
Whole Wheat Flour: Provides healthy carbohydrates and fiber. If your dog has a wheat sensitivity, oat flour or rice flour are good alternatives.
Eggs: Act as a binder and add a little extra protein.
Water: Helps bring the dough together to the right consistency.
Oats (optional): A great source of fiber and can add a nice texture.
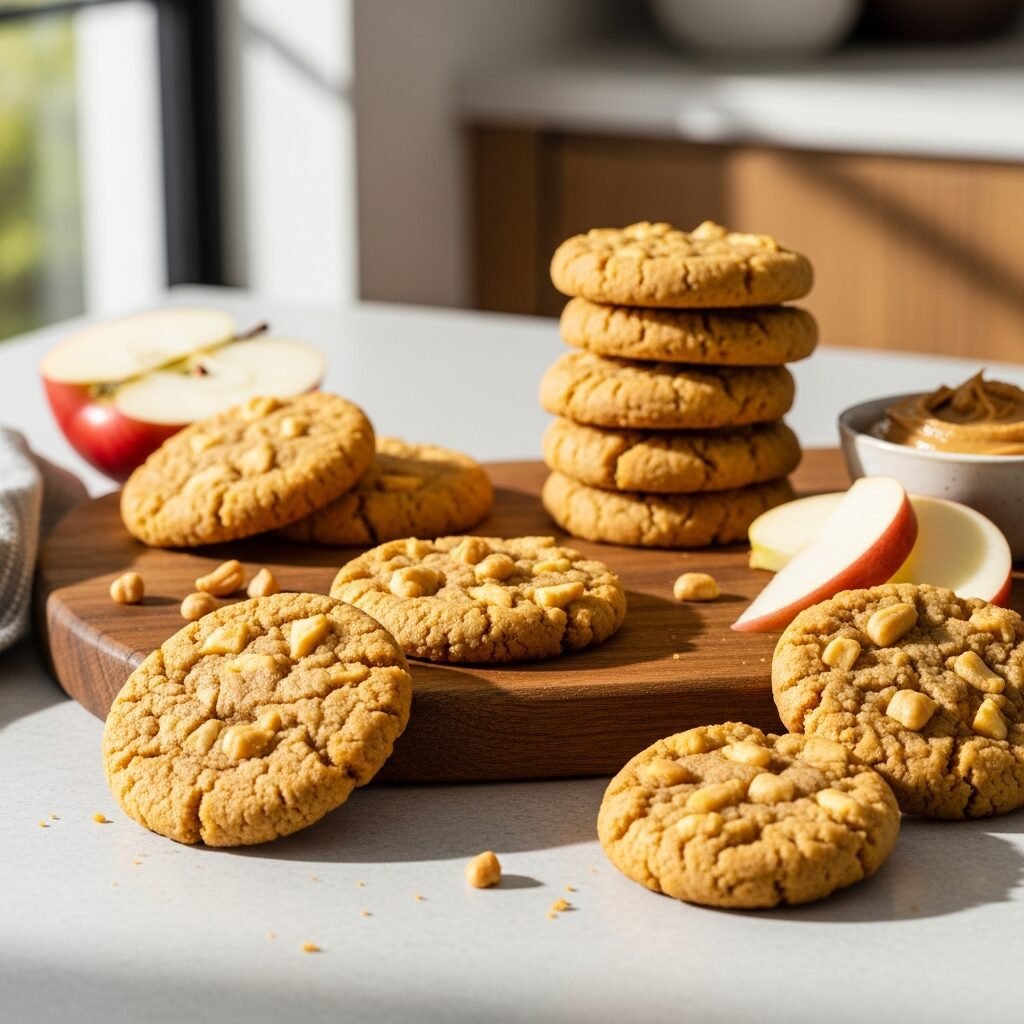
Crafting Your Apple Peanut Butter Dog Cookies: The Recipe
Now for the fun part – getting your hands a little messy and baking these irresistible treats! This recipe is straightforward and doesn’t require any fancy baking skills.
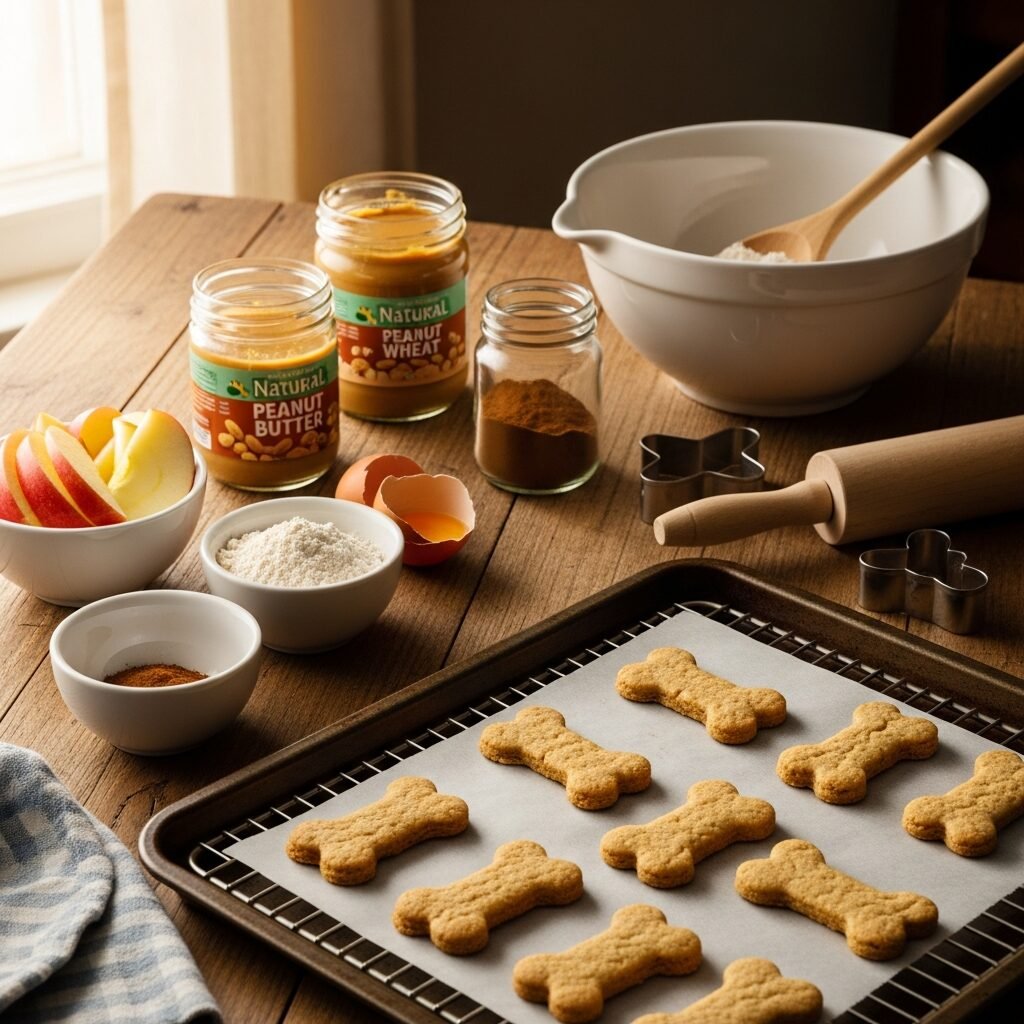
What You’ll Need
Gathering your tools and ingredients before you start makes the baking process much smoother.
Kitchen Tools
* Large mixing bowl
* Grater (for the apple)
* Wooden spoon or sturdy spatula
* Rolling pin
* Cookie cutters (any shape your heart desires!)
* Baking sheet
* Parchment paper
Ingredients List
* 2 cups whole wheat flour (or oat flour for a gluten-free option)
* 1 medium apple, peeled, cored, and grated
* 1/2 cup natural, xylitol-free peanut butter
* 1 large egg
* 1/4 cup water (or more if needed)
* Optional: 1/2 teaspoon cinnamon (safe for dogs in small amounts)
Step-by-Step Baking Guide
Follow these simple steps, and you’ll have a batch of delicious dog cookies ready in no time.
Prep Work
1. Preheat Your Oven: Set your oven to 350°F (175°C).
2. Prepare Baking Sheet: Line a baking sheet with parchment paper. This prevents sticking and makes cleanup a breeze.
3. Get the Apple Ready: Peel your apple, remove the core and seeds, then grate it finely. Set aside.
Mixing It All Together
1. Combine Wet Ingredients: In your large mixing bowl, combine the peanut butter, egg, and grated apple. Mix well until everything is thoroughly combined. If you’re adding cinnamon, mix it in now.
2. Add Flour: Gradually add the whole wheat flour to the wet mixture, mixing with your spoon or hands until a crumbly dough forms.
3. Add Water: Slowly add the water, one tablespoon at a time, mixing after each addition, until the dough comes together and is firm enough to roll out without being too sticky. You might not need all the water, or you might need a tiny bit more – it depends on your peanut butter’s consistency and the moisture in your apple.
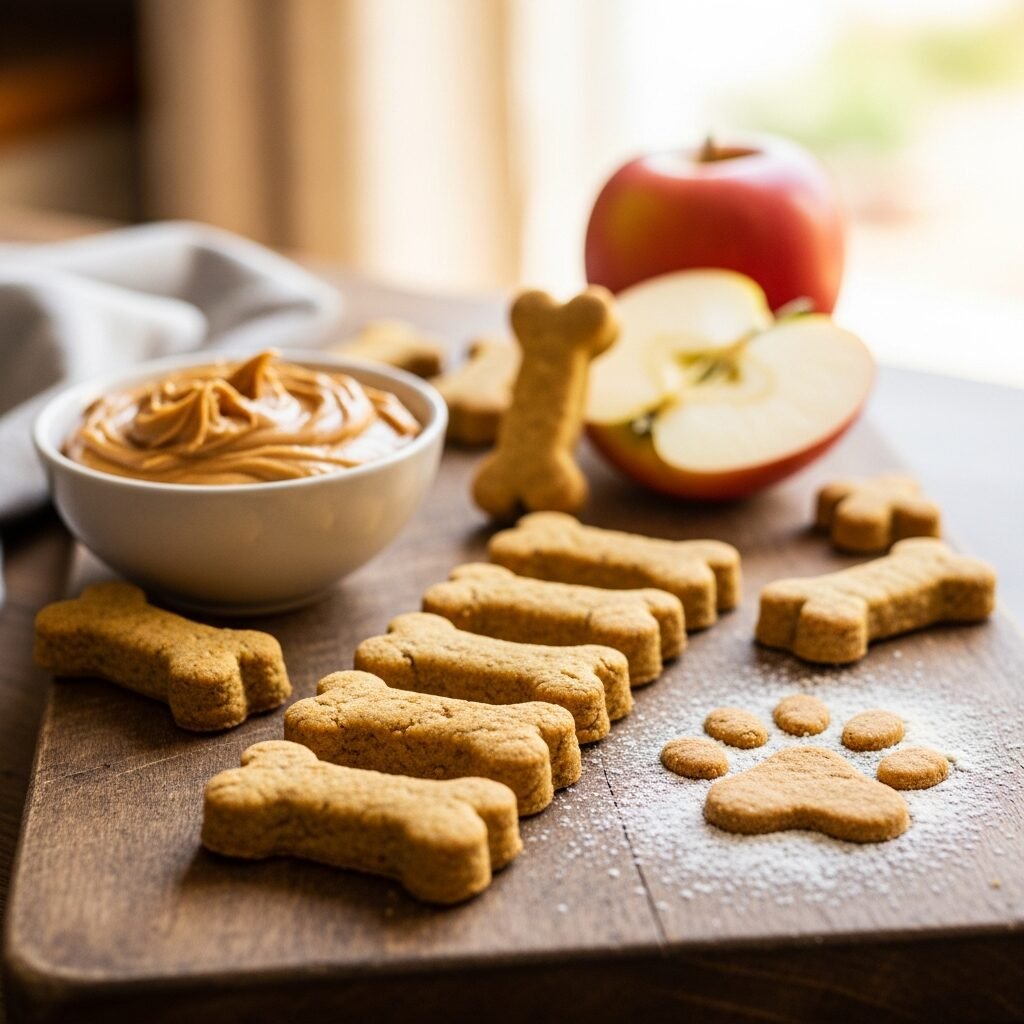
Rolling and Cutting
1. Dust Your Surface: Lightly flour your countertop or a large cutting board.
2. Roll the Dough: Place the dough on the floured surface and roll it out with your rolling pin to about 1/4 inch thick. This thickness is good for sturdy cookies that aren’t too hard.
3. Cut the Cookies: Use your favorite cookie cutters to cut out shapes. Place the cut-out cookies onto your prepared baking sheet. Re-roll any dough scraps until all the dough is used.
Baking to Perfection
1. Bake: Place the baking sheet in the preheated oven and bake for 20-25 minutes.
2. Check for Doneness: The cookies should be golden brown and firm to the touch. The baking time can vary slightly depending on your oven and the thickness of your cookies.
Cooling Down
Cool Completely: Once baked, remove the cookies from the oven and transfer them to a wire rack to cool completely. This is a very important step! Warm cookies can be too soft and might crumble, and storing them before they are fully cool can lead to spoilage. Patience is a virtue here, even if your dog is giving you puppy-dog eyes!