Every dog parent knows the pure joy of watching their furry friend gobble down a delicious treat. It’s a small way we show our love, reward good behavior, and simply make their day a little brighter. But what happens when your beloved pup has allergies? Suddenly, treat time can become a source of worry, filled with label reading and anxiety over hidden ingredients that might cause an upset tummy or itchy skin.
Dealing with a dog who has sensitivities can feel overwhelming, especially when it comes to finding safe and tasty snacks. Many commercial dog treats, even those marketed as “natural,” can contain common allergens like wheat, corn, soy, chicken, or beef. The good news is, you don’t have to miss out on treat-giving fun! Making your own hypoallergenic dog treats at home is easier than you think, incredibly rewarding, and ensures you know exactly what your pup is eating.
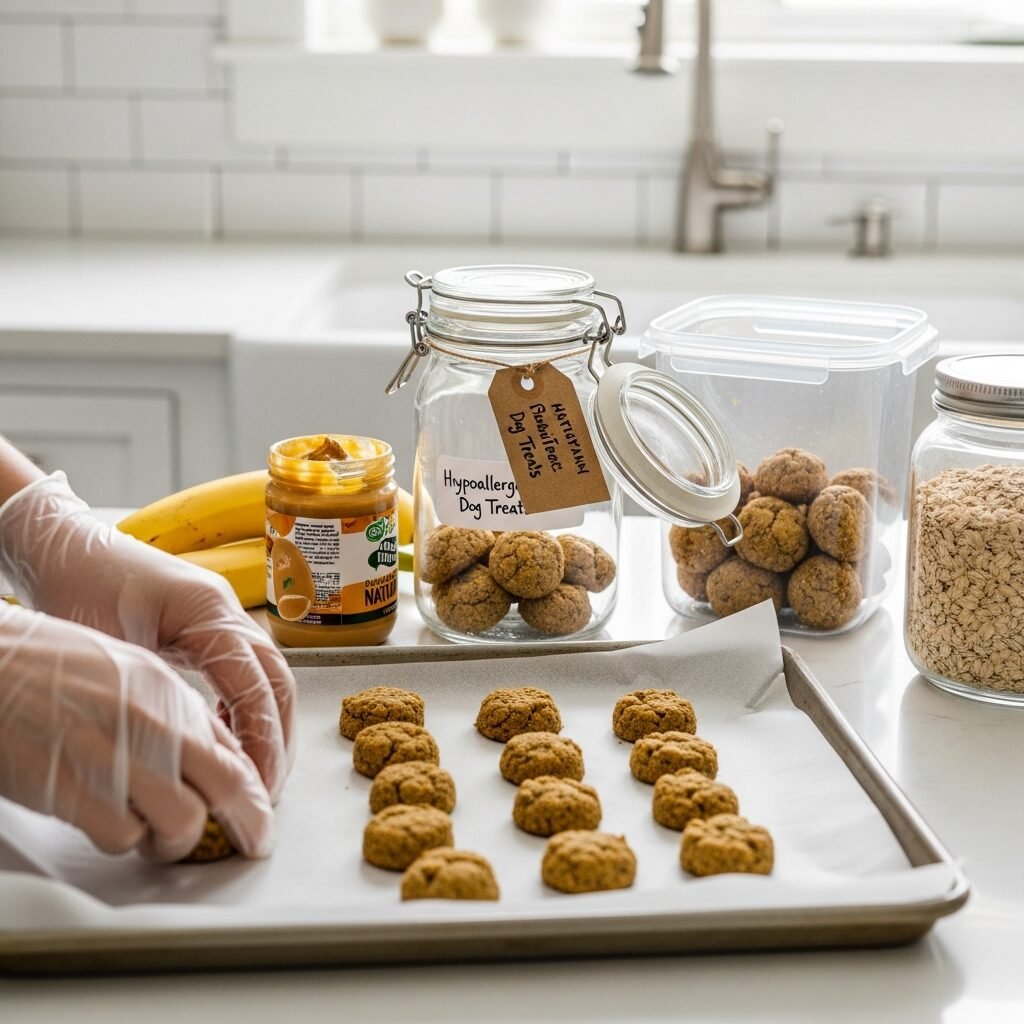
This article will guide you through the wonderful world of homemade, 3-ingredient hypoallergenic dog treats. We’ll explore why simple is best, share some fantastic recipes, and give you all the tips you need to keep your sensitive dog happy, healthy, and delightfully treated.
Understanding Dog Allergies: Why Hypoallergenic Matters
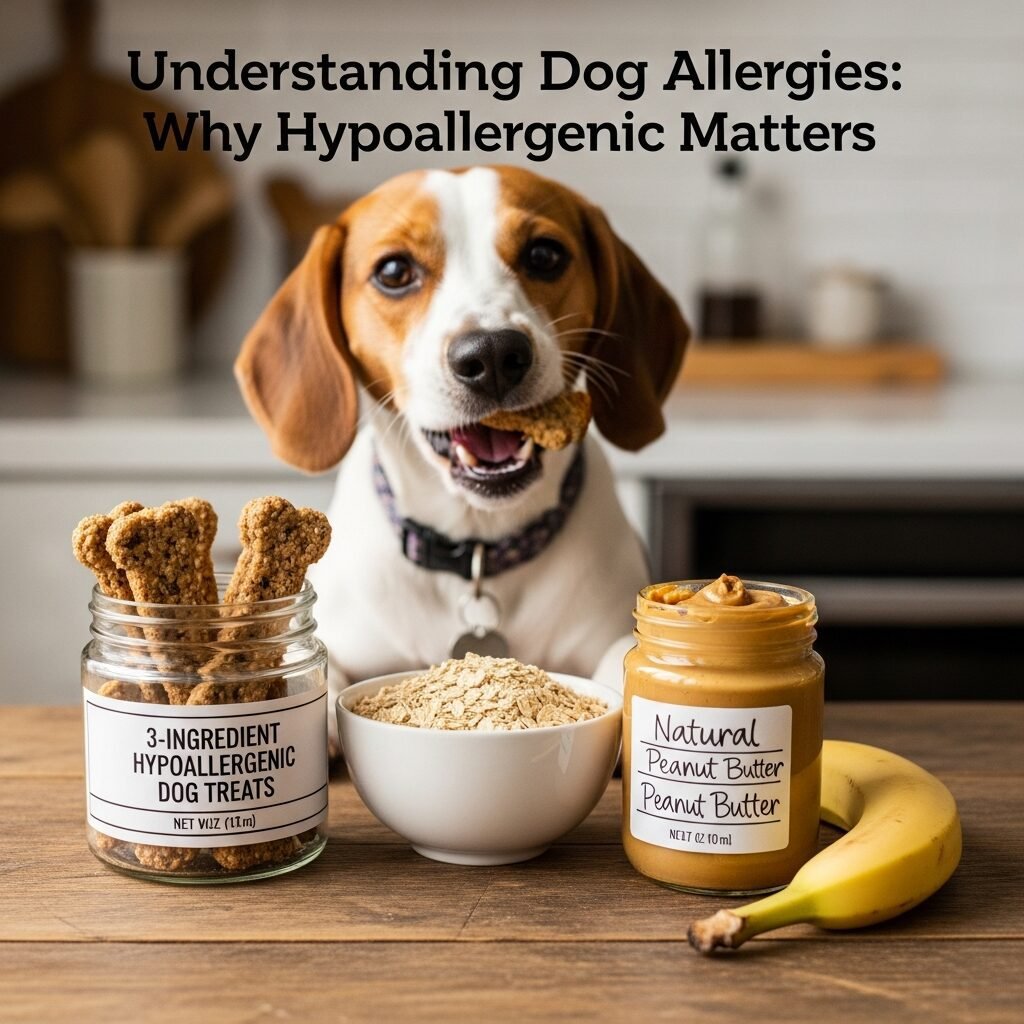
Just like people, dogs can develop allergies to certain foods or environmental factors. When a dog has a food allergy, their immune system mistakenly identifies a common ingredient as a threat, triggering an adverse reaction. This can lead to a range of uncomfortable symptoms for your canine companion.
Common Food Allergens in Dogs
While any food can potentially cause an allergy, some ingredients are more commonly associated with adverse food reactions in dogs. These often include:
* Chicken
* Beef
* Dairy products
* Wheat
* Soy
* Corn
* Eggs
It’s important to remember that a food sensitivity is different from an allergy. A sensitivity might cause mild digestive upset, while a true allergy involves an immune response and can have more severe symptoms.
Symptoms of Food Allergies
Recognizing the signs of a food allergy is crucial for your dog’s well-being. Look out for:
* Itchy skin, often manifesting as excessive scratching, licking, or chewing, especially on paws, ears, and hindquarters.
* Red, inflamed skin, or recurrent skin infections.
* Chronic ear infections that don’t respond well to treatment.
* Gastrointestinal issues like vomiting, diarrhea, or frequent gas.
* Hair loss or dull coat.
* In some cases, behavioral changes due to discomfort.
If you suspect your dog has food allergies, always consult your veterinarian. They can help you properly diagnose the issue and guide you through an elimination diet or other testing to identify the specific triggers.
The Benefits of Homemade Hypoallergenic Treats
Once you’ve identified your dog’s allergies, preparing treats at home becomes a fantastic solution. Here’s why it’s so beneficial:
Full Control Over Ingredients
This is the biggest advantage. You choose every single component, ensuring no hidden fillers, artificial colors, preservatives, or allergens.
Avoid Hidden Additives
Commercial treats can contain a long list of ingredients that aren’t always necessary or beneficial, and some might even be harmful. Homemade treats cut out the guesswork.
Freshness and Quality Ingredients
When you bake at home, you’re using fresh, human-grade ingredients that often surpass the quality found in many store-bought options.
Cost-Effective
Buying specialty hypoallergenic treats can be expensive. Making them yourself, especially with just three ingredients, is often much more budget-friendly.
Tailored to Your Dog’s Specific Needs
You can customize recipes based on your dog’s unique allergies, preferences, and even their current health needs.
Bonding Experience
There’s something incredibly special about preparing food for your beloved pet. It’s a true act of love and strengthens the bond you share.
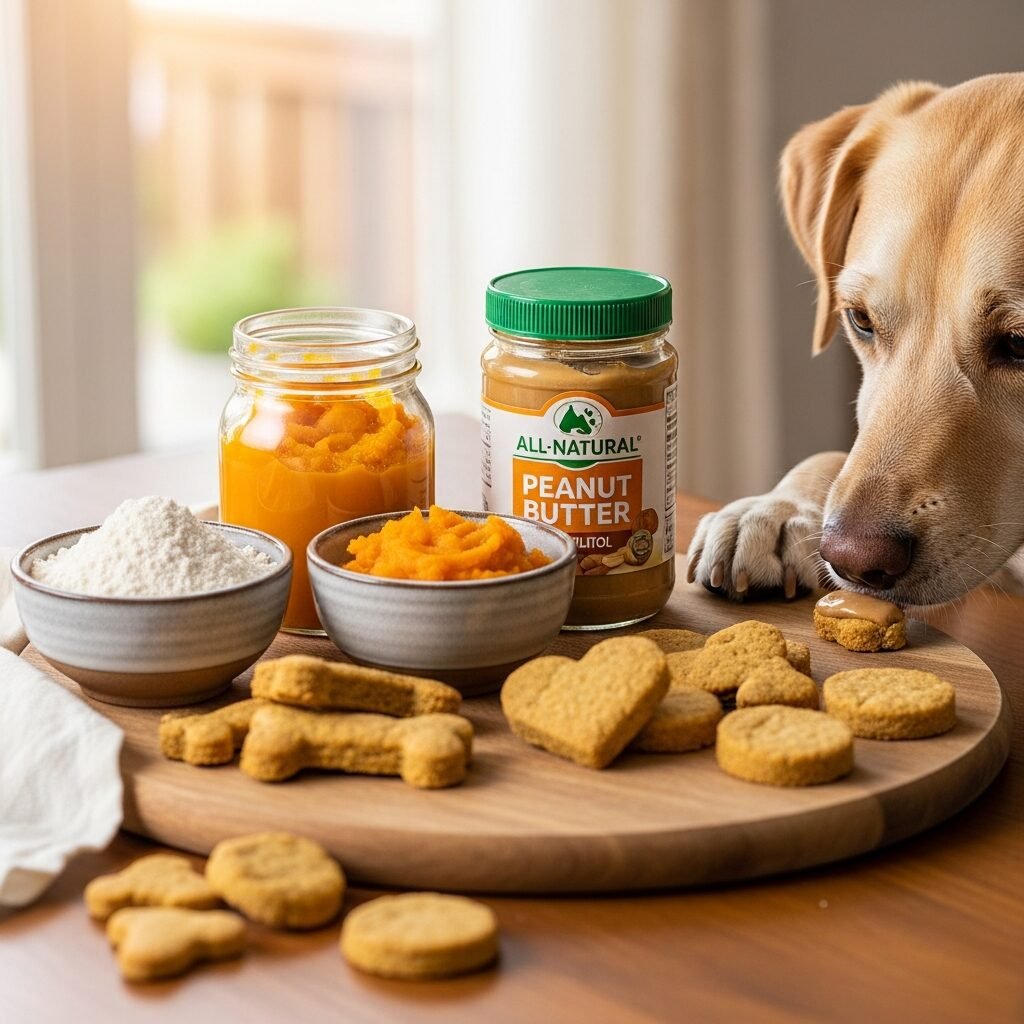
Essential Ingredients for Hypoallergenic Treats
The beauty of 3-ingredient treats lies in their simplicity. Focusing on limited, safe components is key to avoiding allergic reactions. When choosing ingredients, think whole, unprocessed foods.
Safe & Simple Ingredient Ideas
Here are some excellent choices that are generally well-tolerated and can form the base of your hypoallergenic recipes:
* Pureed Pumpkin: Make sure it’s 100% pure pumpkin puree, not pie filling, which contains sugar and spices. It’s great for digestion and a good source of fiber.
* Sweet Potato: Cooked and mashed sweet potato is another fantastic option. It’s packed with vitamins and antioxidants.
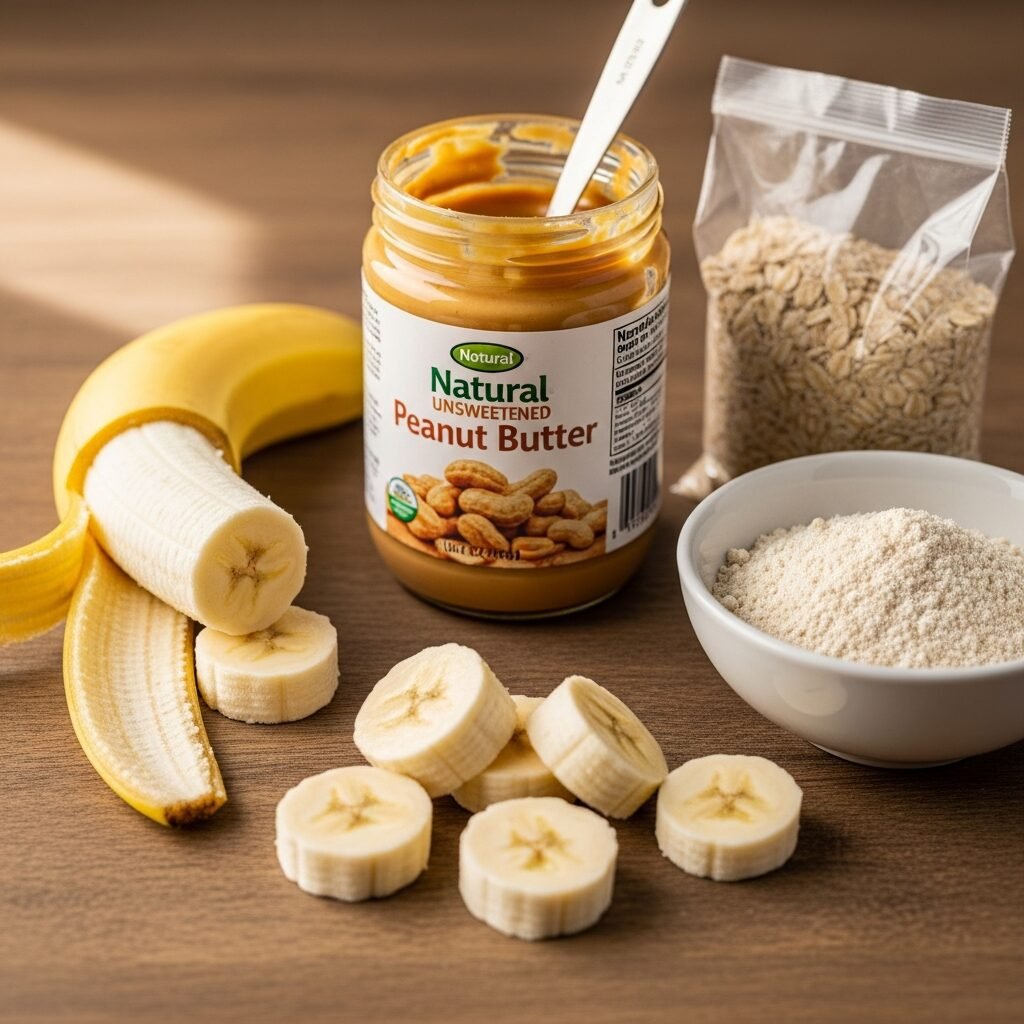
* Bananas: Ripe bananas are naturally sweet, full of potassium, and make an excellent binder for treats.
* Unsweetened Applesauce: A great source of vitamins and fiber, ensuring it’s unsweetened is important.
* Xylitol-Free Peanut Butter: A favorite for many dogs, but ALWAYS check the label for xylitol, which is highly toxic to dogs. Natural, unsalted, unsweetened peanut butter is best.
* Oat Flour: A naturally gluten-free option, ideal for dogs sensitive to wheat. You can easily make it by grinding rolled oats in a blender or food processor.
* Coconut Flour: Another gluten-free flour alternative that is high in fiber.
* Coconut Oil: A healthy fat that can aid in binding and adds a boost of beneficial medium-chain triglycerides.
Safety First: Tips for Ingredient Selection
When selecting your ingredients, always prioritize your dog’s safety and specific dietary needs.
* Read Labels Carefully: Even for seemingly simple ingredients like peanut butter or applesauce, double-check labels to ensure there are no added sugars, artificial sweeteners (especially xylitol!), or other potential allergens.
* Avoid Xylitol: This artificial sweetener is found in many human foods (including some “natural” peanut butters) and is extremely toxic to dogs, even in small amounts. Always, always check.
* Introduce New Ingredients Slowly: If your dog hasn’t had a particular ingredient before, introduce it in very small quantities and monitor for any adverse reactions.
* Consult Your Vet: If you are unsure about whether an ingredient is safe for your dog, especially if they have other health conditions, always check with your veterinarian first.
Our Top 3-Ingredient Hypoallergenic Dog Treat Recipes

Here are three super simple, delicious, and hypoallergenic recipes that you and your dog will love. Each one uses just three key ingredients.
Recipe 1: Pumpkin & Peanut Butter Power Bites
These soft, chewy treats are a hit with most dogs and are packed with gut-healthy pumpkin and delicious peanut butter.
* Why it’s great: Combines fiber-rich pumpkin with a high-protein, flavorful binder. It’s naturally sweet and easy to digest.
* Ingredients:
* 1 cup pureed pumpkin (100% pure, NOT pie filling)
* 1/2 cup xylitol-free peanut butter (natural, unsalted, unsweetened)
* 1 1/2 cups oat flour (or finely ground rolled oats)
* Instructions:
1. Preheat your oven to 350°F (175°C) and line a baking sheet with parchment paper.
2. In a large bowl, combine the pumpkin puree and peanut butter. Mix thoroughly until well combined and smooth.
3. Gradually add the oat flour, mixing until a stiff dough forms. If the dough is too sticky, add a little more oat flour, one tablespoon at a time, until it’s workable.
4. On a lightly floured surface (using oat flour), roll out the dough to about 1/4-inch thickness.
5. Use a small cookie cutter (bone shape, circle, or square) to cut out treats. Re-roll scraps and cut more until all dough is used.
6. Place the cut treats on the prepared baking sheet.
7. Bake for 15-20 minutes, or until the edges are lightly golden and the treats are firm.
8. Let the treats cool completely on a wire rack before serving or storing.
* Storage Tips: Store in an airtight container in the refrigerator for up to 1 week, or freeze for up to 2-3 months.
Recipe 2: Sweet Potato & Applesauce Chews
These treats are wonderfully soft, making them great for older dogs or puppies, and are naturally sweet with no added sugars.
* Why it’s great: Sweet potato provides essential vitamins, and applesauce adds natural sweetness and moisture. It’s gentle on the stomach.
* Ingredients:
* 1 cup cooked and mashed sweet potato (ensure it’s fully cooled)
* 1/2 cup unsweetened applesauce
* 1 cup coconut flour
* Instructions:
1. Preheat your oven to 350°F (175°C) and line a baking sheet with parchment paper.
2. In a mixing bowl, combine the mashed sweet potato and unsweetened applesauce. Mix until smooth.
3. Gradually add the coconut flour, mixing until a thick, firm dough forms. Coconut flour is very absorbent, so the dough will firm up quickly.
4. Roll the dough out to about 1/4-inch thickness on a surface lightly dusted with coconut flour.
5. Cut into desired shapes using cookie cutters or a knife.
6. Place the treats on the prepared baking sheet.
7. Bake for 20-25 minutes, or until the treats are firm to the touch and slightly dry.
8. Turn off the oven and leave the treats inside for another 15-20 minutes to further dry out and become chewier.
9. Let them cool completely on a wire rack.
* Storage Tips: Store in an airtight container in the refrigerator for up to 5-7 days. For longer storage, freeze them for up to 2 months.
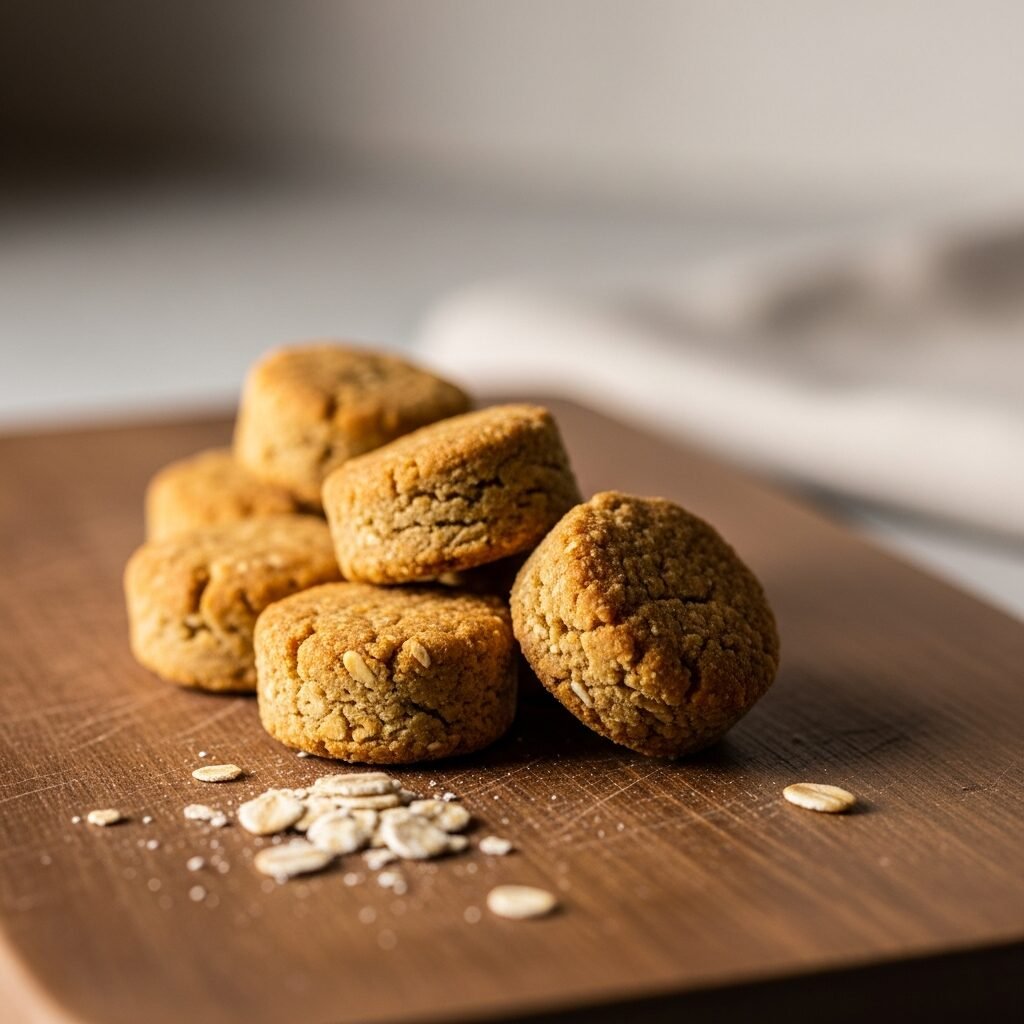
Recipe 3: Banana & Oat Drop Cookies
These are incredibly easy to make, require no rolling or cutting, and are perfect for a quick batch of treats.
* Why it’s great: Bananas provide natural sweetness and potassium, while oats offer healthy fiber. It’s a simple, wholesome option.
* Ingredients:
* 2 ripe bananas, mashed
* 1 cup rolled oats (quick or old-fashioned)
* 1 tablespoon coconut oil, melted (optional, but helps with texture)
* Instructions:
1. Preheat your oven to 325°F (160°C) and line a baking sheet with parchment paper.
2. In a medium bowl, mash the ripe bananas thoroughly until smooth.
3. Add the rolled oats and melted coconut oil (if using) to the mashed bananas. Mix well until all the oats are coated and the mixture is uniform.
4. Drop spoonfuls of the mixture onto the prepared baking sheet, flattening them slightly with the back of a spoon to form cookie shapes. These won’t spread much, so you can place them relatively close.
5. Bake for 15-20 minutes, or until the edges are golden brown and the cookies are set.
6. Allow the cookies to cool completely on the baking sheet before transferring them to a wire rack. They will firm up as they cool.
* Storage Tips: Store in an airtight container at room temperature for 3-4 days, or in the refrigerator for up to 1 week. These also freeze well for up to 2 months.
Preparing and Storing Your Homemade Treats
Proper preparation and storage are key to ensuring your homemade treats stay fresh and safe for your dog.
Baking vs. No-Bake Options
While all the recipes above involve baking, many 3-ingredient combinations can be no-bake! Think mashed banana and oat balls, or sweet potato and peanut butter mixed then frozen into cubes. No-bake treats are often softer and best kept refrigerated or frozen.
Proper Cooling
Always allow baked treats to cool completely on a wire rack. This prevents condensation, which can make them soggy and prone to spoilage.
Air-Tight Containers
Once cooled, store your treats in an airtight container. This keeps them fresh and prevents them from drying out or becoming stale.
Refrigeration and Freezing Tips
* Refrigerate: Most homemade dog treats, especially those with fresh ingredients and no preservatives, will last longer in the refrigerator. Check individual recipe guidelines.
* Freeze: For longer storage, freeze treats in a single layer on a baking sheet before transferring them to a freezer-safe bag or container. This prevents them from sticking together. You can then grab individual treats as needed.
Shelf Life
The shelf life of homemade treats is generally shorter than commercial ones. Always go by the “smell test” – if they smell off or show any signs of mold, discard them immediately.
Serving Hypoallergenic Treats Safely
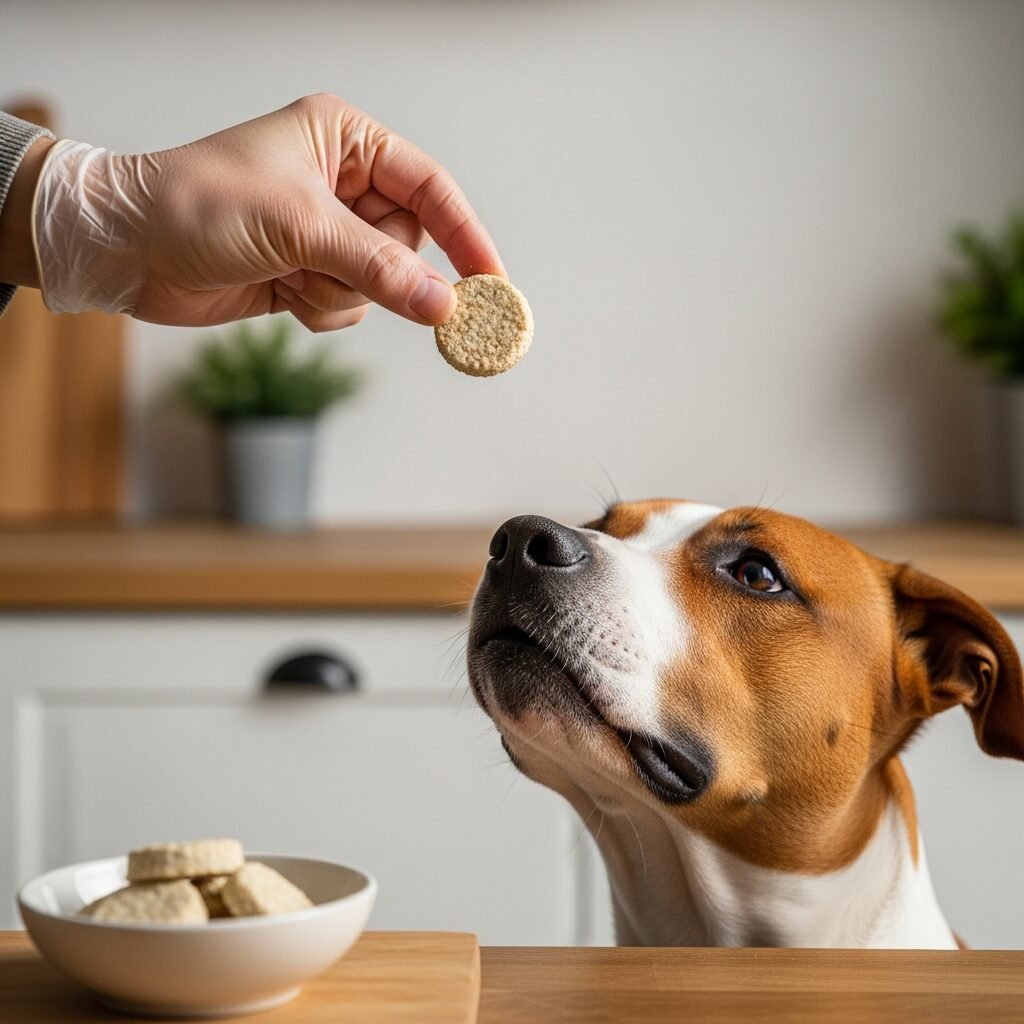
Even with the best intentions and the safest ingredients, moderation and mindful serving are important.
Moderation is Key
Treats, no matter how healthy, should never make up a significant portion of your dog’s daily caloric intake. They are supplements to a balanced diet, not meal replacements.
Treat Size Appropriate for Your Dog
Consider your dog’s size and breed when making or serving treats. Large treats for a small dog can lead to overeating or choking hazards. Cut treats into smaller pieces if necessary.
Not a Meal Replacement
Reinforce that these delicious treats are for rewarding and occasional spoiling, not for replacing their regular, nutritionally complete meals.
Monitor for Any New Reactions
Even with hypoallergenic ingredients, every dog is unique. Keep an eye on your dog after introducing new treats to ensure they don’t develop any unexpected sensitivities.
Integration into a Balanced Diet
Ensure your dog’s main diet is also high-quality and free of their known allergens. Homemade treats should complement, not compensate for, a poor diet.