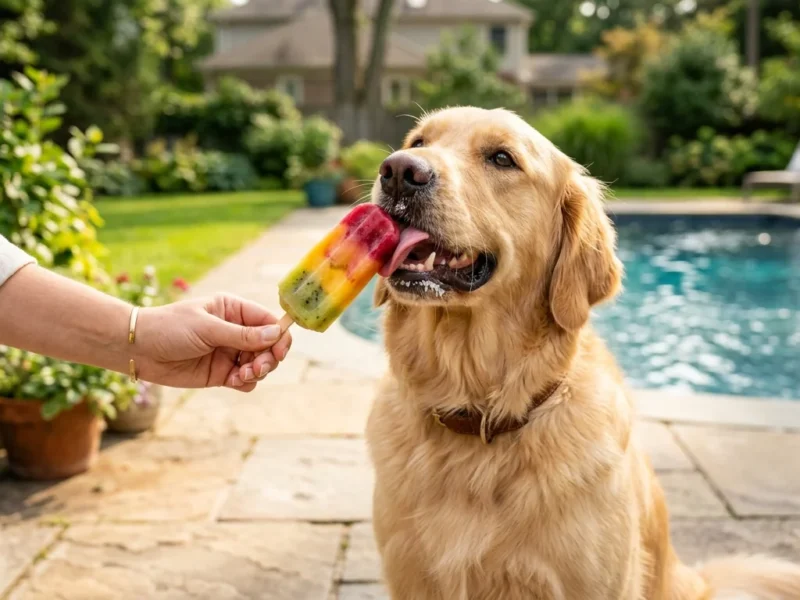
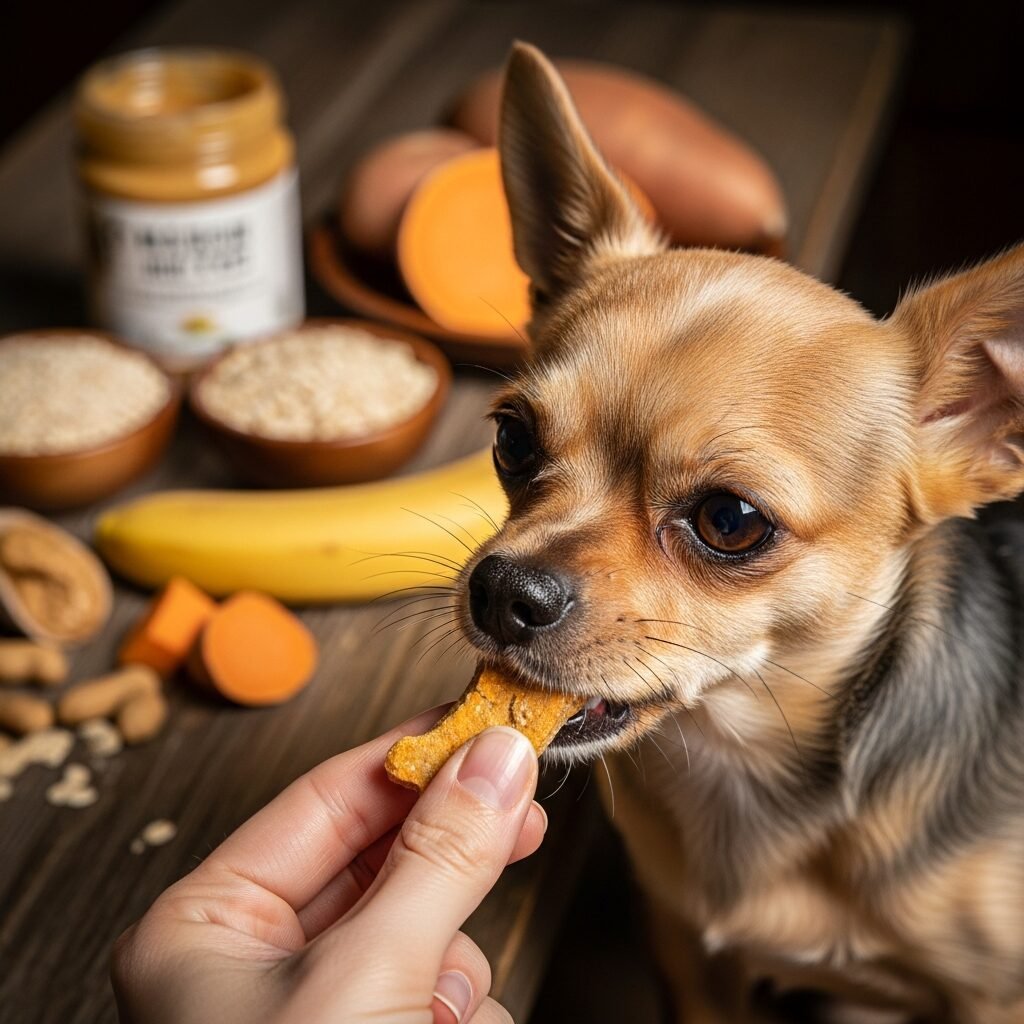
There’s something truly special about having a small dog. Their tiny paws, adorable wiggles, and big personalities often steal our hearts completely. As loving pet parents, we always want the best for our furry companions, and that includes their treats! When it comes to small breeds, soft treats aren’t just a luxury; they’re often a necessity.
Whether your little one has sensitive teeth, a tiny mouth, or you’re just looking for an easier way to reward them during training, homemade soft treats are a fantastic solution. Making them yourself means you know exactly what’s going into your dog’s tummy – no mystery ingredients, no artificial preservatives, just wholesome goodness. Let’s dive into some easy, delicious, and perfectly soft recipes that your small pup will adore!
Why Small Breeds Need Soft Treats
Small dogs, despite their mighty spirit, often have unique needs when it comes to snacks. Hard, crunchy treats can sometimes pose a challenge or even a risk.
Dental Considerations
Many small breeds are prone to dental issues, and some may even be missing a few teeth. Older small dogs, in particular, might find chewing hard treats uncomfortable or even painful. Soft treats are much gentler on their gums and teeth, making snack time a comfortable and enjoyable experience.
Training Motivation
When you’re training a small dog, quick rewards are key. A soft treat can be eaten in a flash, keeping your pup focused and engaged without breaking their concentration for a long chew. This makes them perfect for positive reinforcement during those crucial training sessions.
Digestion and Small Stomachs
Small dogs have smaller digestive systems, and sometimes a treat that’s too rich or too hard to break down can cause tummy troubles. Soft, often moisture-rich treats, made with simple ingredients, can be easier on their sensitive stomachs. Plus, smaller treats prevent overeating, which is important for maintaining a healthy weight in little dogs.
Important Considerations Before You Bake
Before you roll up your sleeves and get baking, here are a few things to keep in mind to ensure your homemade treats are safe and perfect for your pint-sized pal.
Allergy Awareness
Just like humans, dogs can have allergies. Common culprits include chicken, beef, dairy, wheat, and soy. If your dog has known allergies or sensitivities, always double-check the ingredients and consider substitutions. When trying a new ingredient, introduce it slowly and watch for any reactions.
Safe Ingredients for Dogs
While the recipes here use safe ingredients, it’s always good to have a general understanding. Avoid xylitol (highly toxic!), grapes, raisins, onions, garlic, chocolate, avocado, macadamia nuts, and alcohol. Always research an ingredient if you are unsure.
Portion Control for Small Pups
Even healthy treats should be given in moderation. Small dogs require smaller portions to maintain a healthy weight. Always factor treats into their daily caloric intake and never let them replace a balanced meal.
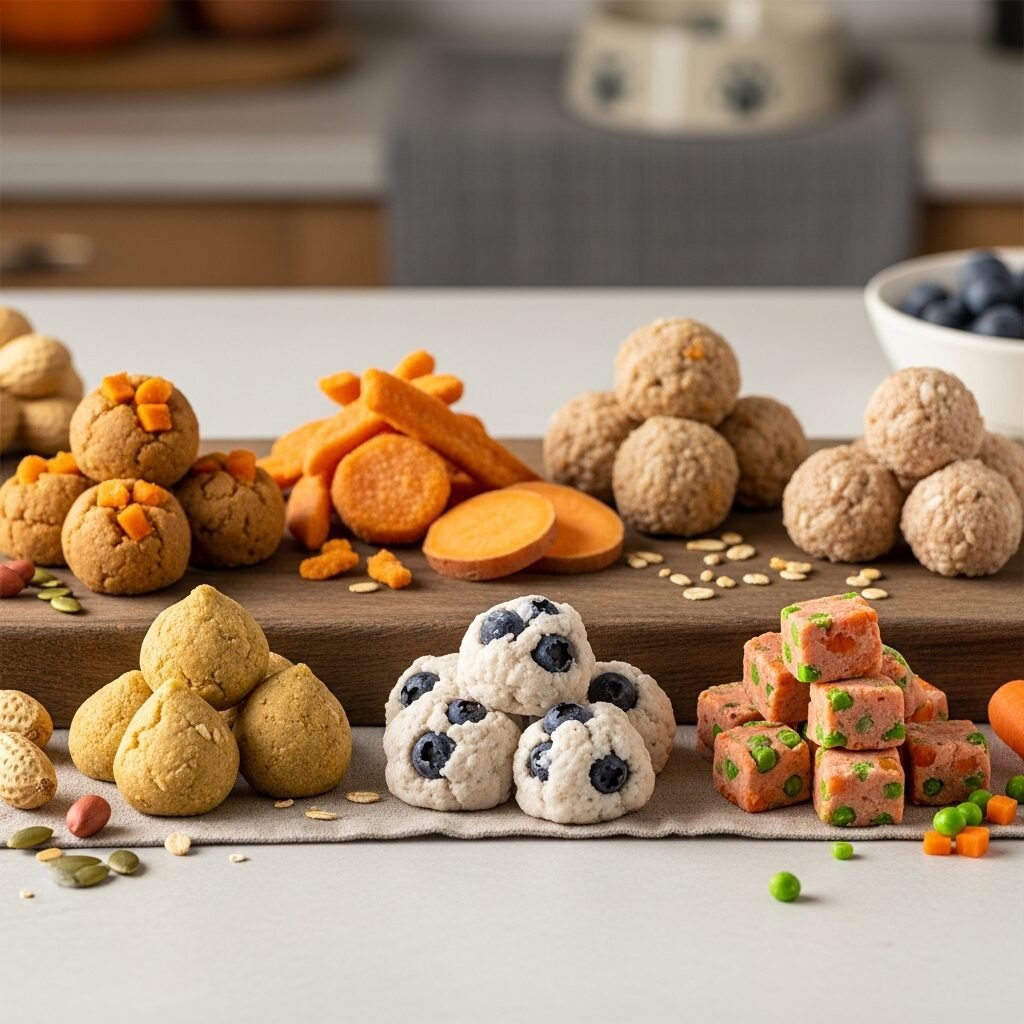
Recipe 1: Peanut Butter & Pumpkin Bites
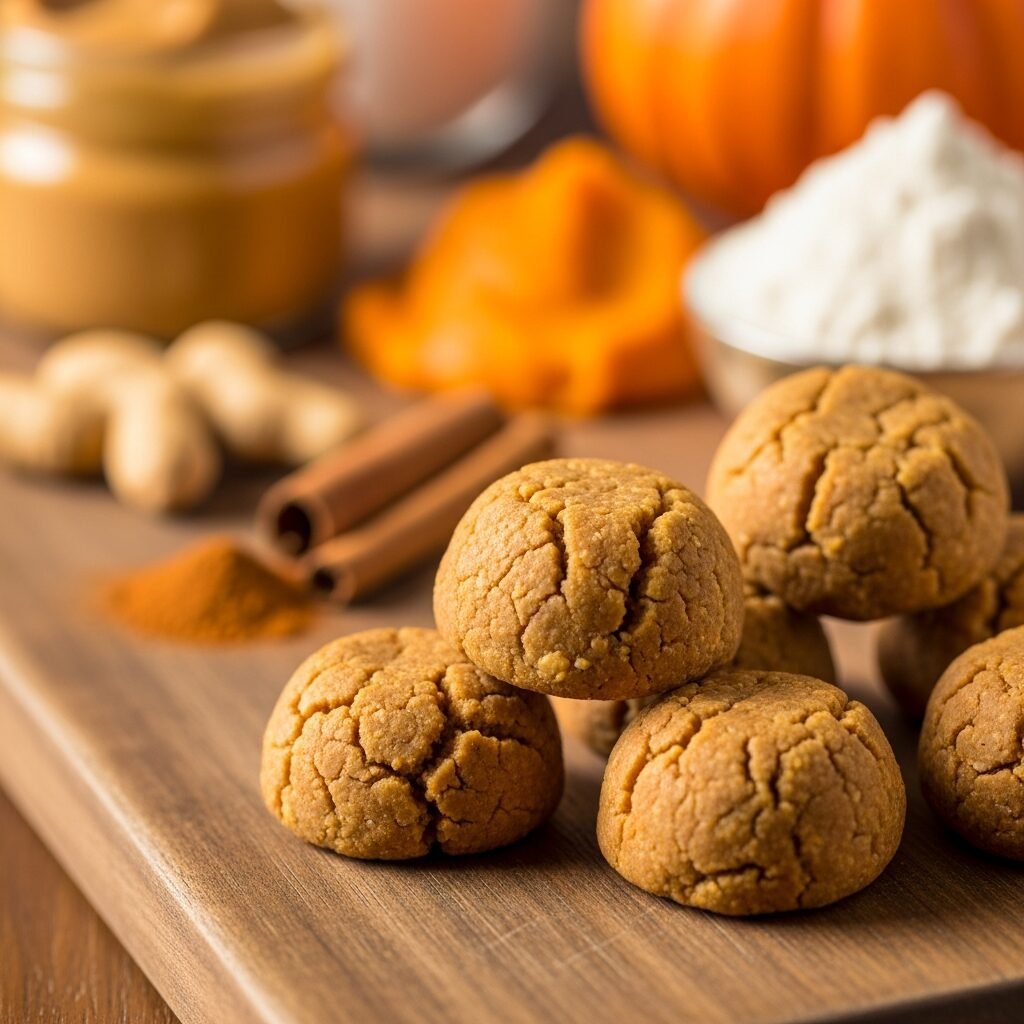
This classic combination is a big hit with most dogs! Peanut butter provides healthy fats and protein, while pumpkin is a fiber-rich superfood known for aiding digestion.
Ingredients
* 1/2 cup pure pumpkin puree (not pumpkin pie filling)
* 1/4 cup natural peanut butter (xylitol-free)
* 1/2 cup whole wheat flour (or oat flour for a gluten-free option)
* 1 egg
Instructions
1. Preheat your oven to 325°F (160°C). Line a baking sheet with parchment paper.
2. In a medium bowl, mix the pumpkin puree, peanut butter, and egg until well combined.
3. Gradually add the flour, mixing until a soft, pliable dough forms. If it’s too sticky, add a tiny bit more flour.
4. Roll the dough out on a lightly floured surface to about 1/4 inch thickness.
5. Use a tiny cookie cutter (like a mini bone or heart) or a knife to cut out small shapes.
6. Place the treats on the prepared baking sheet.
7. Bake for 15-20 minutes, or until golden brown and firm to the touch. The goal is soft, so don’t overbake.
8. Let them cool completely on a wire rack before serving.
Storage Tips
Store these soft bites in an airtight container in the refrigerator for up to 5-7 days. For longer storage, you can freeze them for up to 2 months.
Why it’s great for small breeds
These treats are naturally sweet and packed with flavor, making them irresistible for picky eaters. Their soft texture is easy for tiny mouths to chew, and the small size is perfect for quick rewards.
Recipe 2: Sweet Potato & Oat Chews
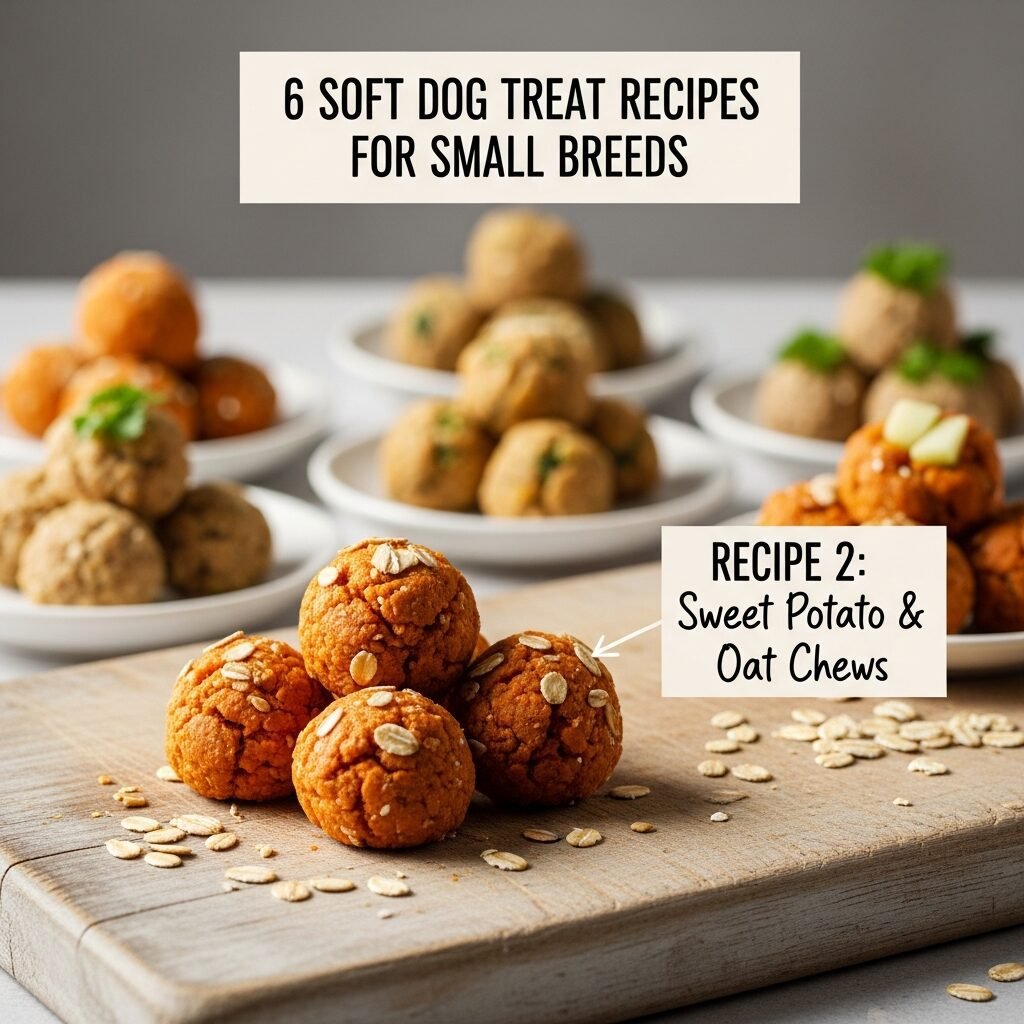
Sweet potatoes are a fantastic source of vitamins and fiber, and when combined with oats, they create a wonderfully soft and healthy treat.
Ingredients
* 1 medium sweet potato, cooked and mashed (about 1/2 cup)
* 1/2 cup oat flour (you can make your own by blending rolled oats)
* 1/4 cup unsweetened applesauce
* 1 tablespoon coconut oil, melted
Instructions
1. Preheat your oven to 350°F (175°C). Line a baking sheet with parchment paper.
2. In a bowl, combine the mashed sweet potato, oat flour, applesauce, and melted coconut oil. Mix until a soft dough forms.
3. Roll the dough into small, pea-sized balls or flatten and cut into tiny squares. Remember, small is key!
4. Place the treats on the prepared baking sheet.
5. Bake for 15-20 minutes, or until the edges are slightly firm but the center remains soft.
6. Allow them to cool completely before offering to your pup.
Storage Tips
Keep these chews in an airtight container in the refrigerator for about a week. They also freeze very well.
Why it’s great for small breeds
Sweet potatoes are gentle on sensitive tummies, and the natural sweetness eliminates the need for any added sugar. The chewiness of these treats makes them satisfying without being hard.
Recipe 3: Chicken & Veggie Puree Drops
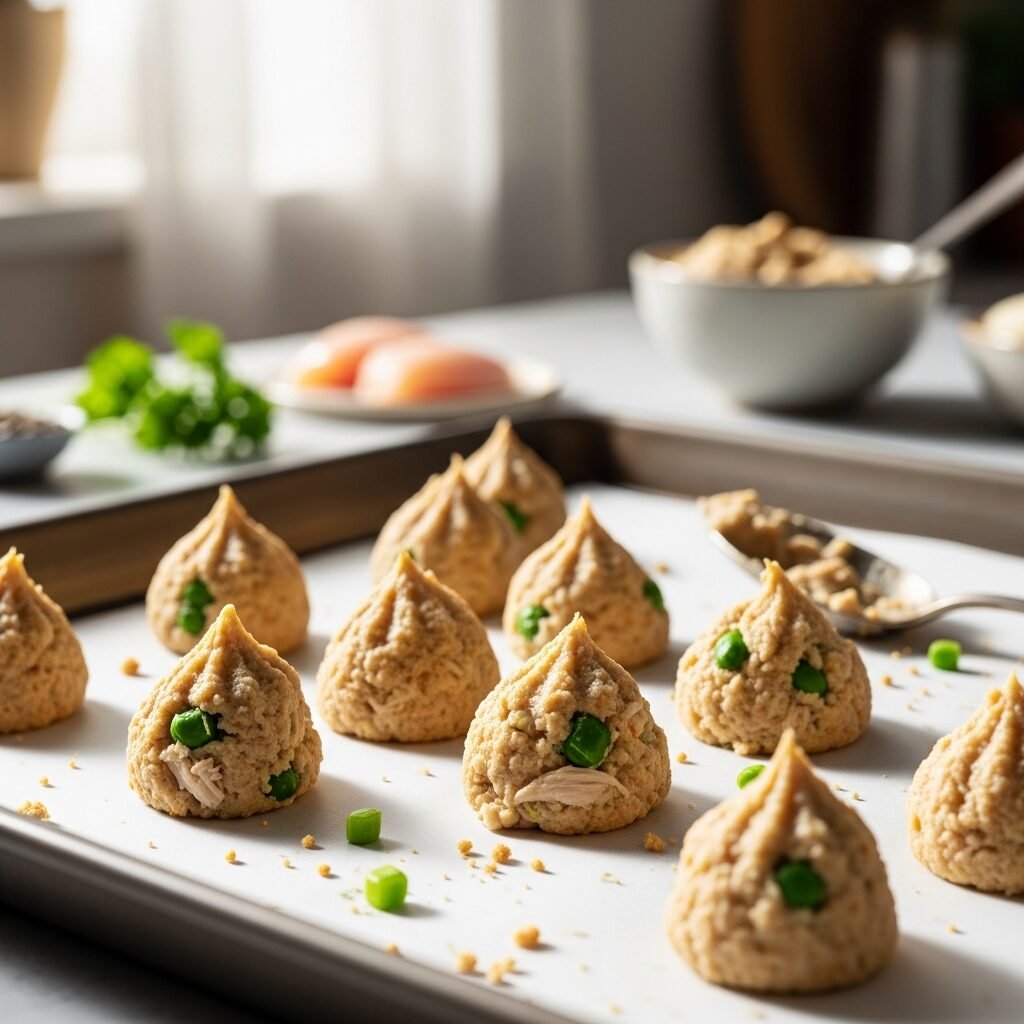
For the meat-loving small breed, these savory drops are a protein-packed delight. They are incredibly soft and easy to swallow.
Ingredients
* 1/2 cup cooked chicken breast, shredded or finely chopped
* 1/4 cup cooked carrots, pureed
* 1/4 cup cooked peas, pureed
* 1 egg
* 2 tablespoons whole wheat flour (optional, for thickening)
Instructions
1. Preheat your oven to 300°F (150°C). Line a baking sheet with parchment paper.
2. In a food processor, combine the cooked chicken, pureed carrots, pureed peas, and egg. Process until smooth. If the mixture is too runny, add a tablespoon or two of flour.
3. Transfer the mixture to a piping bag with a small round tip, or simply use a spoon.
4. Pipe or drop small, dime-sized dollops onto the baking sheet.
5. Bake for 15-20 minutes, or until they are set and slightly firm. They should remain soft and pliable.
6. Let them cool completely before serving.
Storage Tips
These savory treats should be stored in an airtight container in the refrigerator for up to 3-4 days. Freezing is recommended for longer storage.
Why it’s great for small breeds
These drops are packed with lean protein and veggies, making them incredibly nutritious. Their melt-in-your-mouth texture is perfect for dogs with dental issues or those who need a very soft treat.
Recipe 4: Apple & Carrot Squares
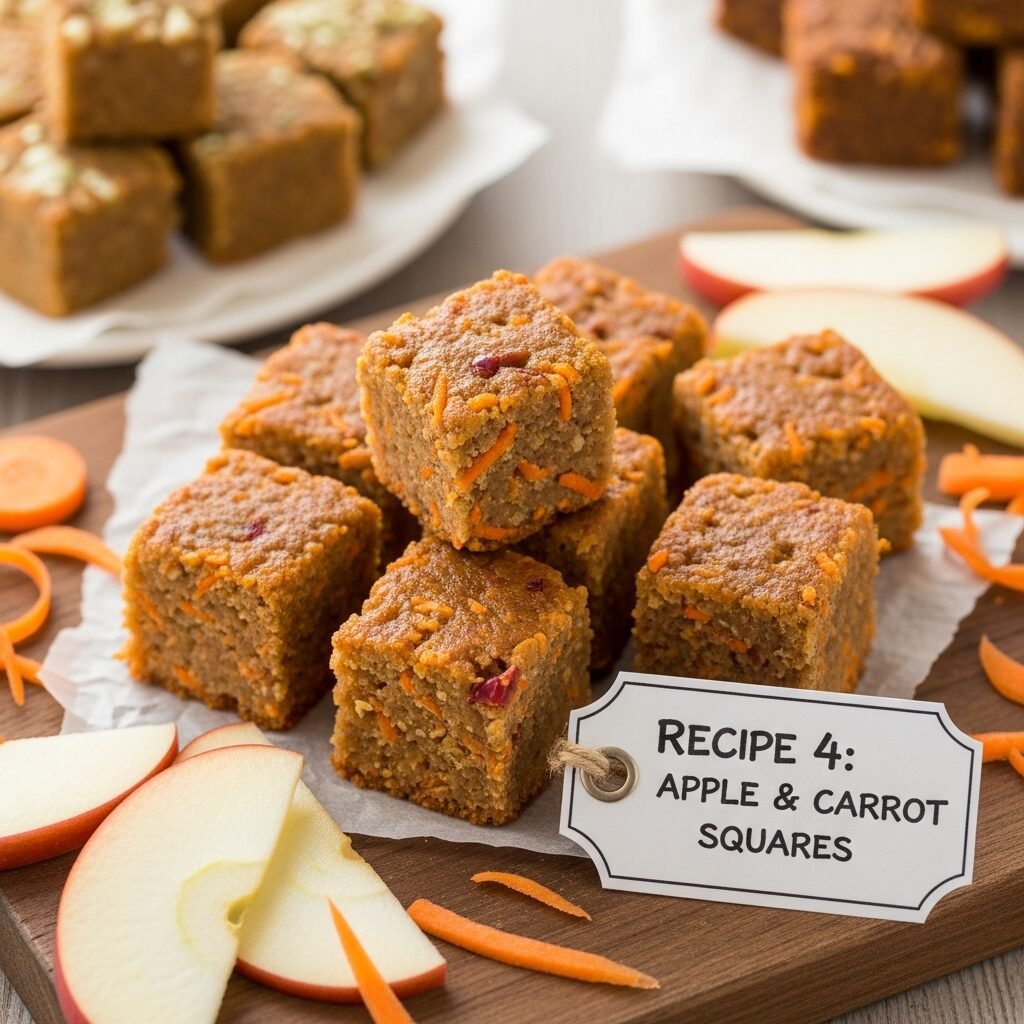
This recipe combines the natural sweetness of apples with the crunch of carrots for a healthy, soft treat. Apples are great for vitamins, and carrots are excellent for vision.
Ingredients
* 1/2 cup unsweetened applesauce
* 1/4 cup finely grated carrot
* 1 egg
* 1 cup whole wheat flour
Instructions
1. Preheat your oven to 325°F (160°C). Line a baking sheet with parchment paper.
2. In a large bowl, whisk together the applesauce, grated carrot, and egg.
3. Gradually add the whole wheat flour, mixing until a soft dough forms. It should be firm enough to roll.
4. On a lightly floured surface, roll the dough to about 1/4 inch thick.
5. Cut into tiny squares or use small cookie cutters.
6. Place the treats on the prepared baking sheet.
7. Bake for 18-22 minutes, or until lightly golden and soft.
8. Cool completely on a wire rack.
Storage Tips
Store in an airtight container in the refrigerator for up to a week. They can also be frozen for later use.
Why it’s great for small breeds
These treats are rich in natural fiber and vitamins. Their soft, chewy texture makes them an excellent choice for a daily healthy snack.
Recipe 5: Banana & Yogurt Bliss Bites
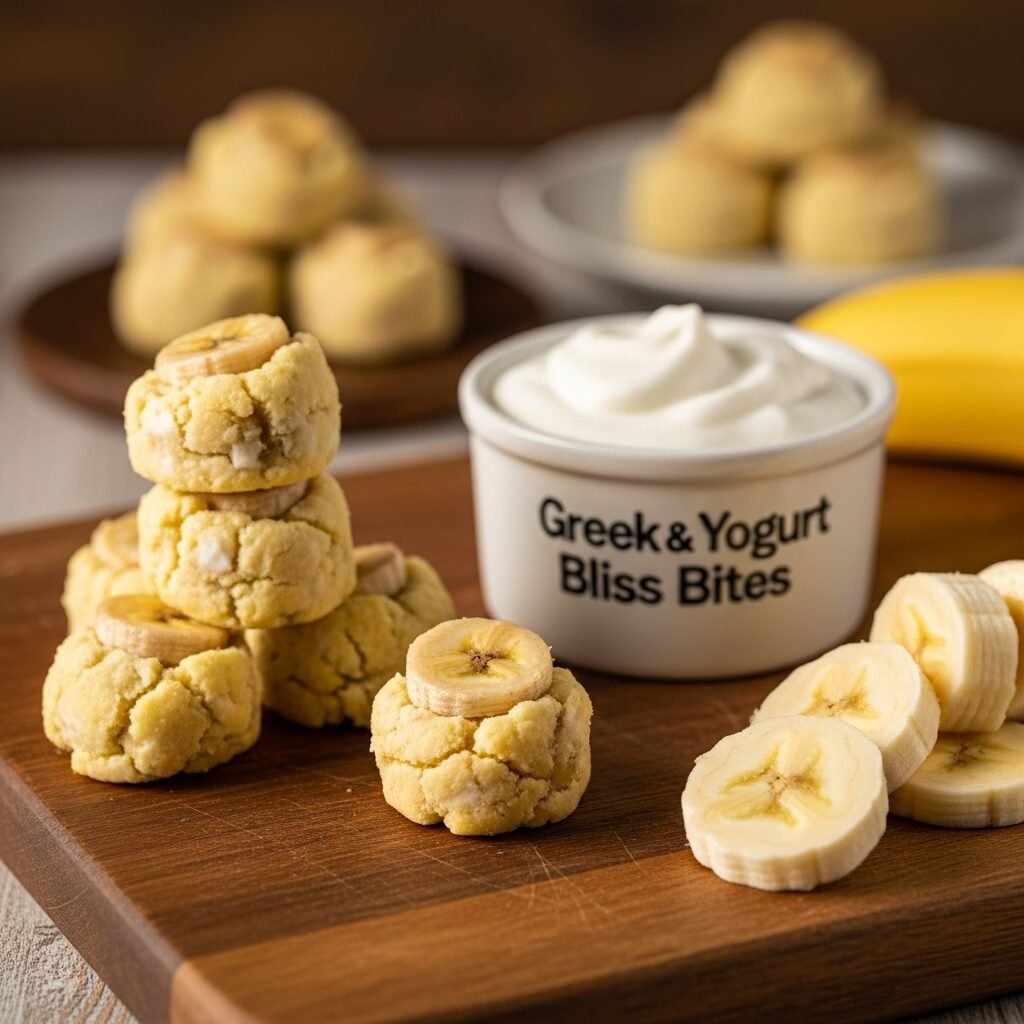
Bananas are a good source of potassium and vitamins, while plain yogurt provides probiotics for gut health. This recipe creates a creamy, soft bite that’s perfect for a sensitive stomach.
Ingredients
* 1 ripe banana, mashed
* 1/4 cup plain, unsweetened yogurt (full fat is fine)
* 1/2 cup oat flour
* 1 tablespoon honey (optional, for extra sweetness and binding)
Instructions
1. Preheat your oven to 300°F (150°C). Line a baking sheet with parchment paper.
2. In a bowl, mash the banana until smooth. Stir in the yogurt and honey (if using).
3. Gradually add the oat flour, mixing until a soft, slightly sticky dough forms.
4. Drop small, pea-sized amounts onto the prepared baking sheet. You can use a small spoon or even a piping bag without a tip.
5. Bake for 12-15 minutes, or until the treats are set but still very soft to the touch. They will firm up slightly as they cool.
6. Let them cool completely before serving.
Storage Tips
Due to the yogurt, these treats are best stored in the refrigerator in an airtight container for 3-5 days. Freezing is an excellent option for long-term storage.
Why it’s great for small breeds
These bliss bites are gentle on digestion and offer a burst of flavor. Their creamy texture makes them very palatable, especially for older dogs or those with very sensitive mouths.
Recipe 6: Sardine & Brown Rice Softies
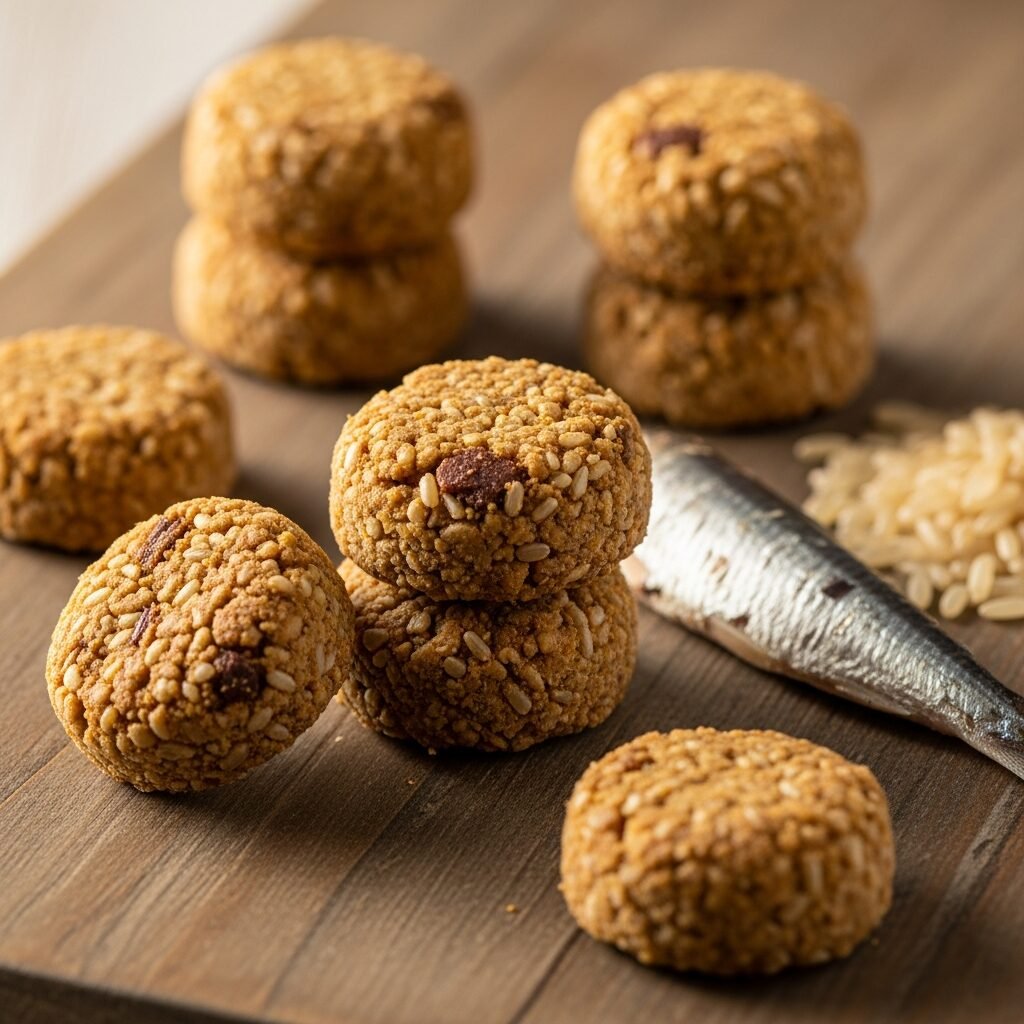
This might sound a little unusual to us, but many dogs go absolutely wild for sardines! Sardines are packed with omega-3 fatty acids, which are fantastic for skin, coat, and joint health.
Ingredients
* 1 can (3.75 oz) sardines in water (no salt added), drained
* 1/2 cup cooked brown rice
* 1 egg
* 1/4 cup whole wheat flour (or rice flour for gluten-free)
Instructions
1. Preheat your oven to 325°F (160°C). Line a baking sheet with parchment paper.
2. In a bowl, mash the drained sardines thoroughly.
3. Add the cooked brown rice and egg to the sardines, mixing well.
4. Stir in the flour gradually until a sticky but manageable dough forms.
5. Roll the dough into tiny balls or press it into a thin rectangle and cut small, bite-sized pieces.
6. Place on the baking sheet.
7. Bake for 15-20 minutes, or until firm but still soft. They might be a bit stinky while baking, but your dog will love it!
8. Cool completely before serving.
Storage Tips
Store these in an airtight container in the refrigerator for up to 3-4 days. Freezing is highly recommended due to the sardines.
Why it’s great for small breeds
These softies are a nutritional powerhouse, especially for senior small dogs or those needing a boost in coat health. The strong scent is highly motivating for training, and the texture is perfectly soft.
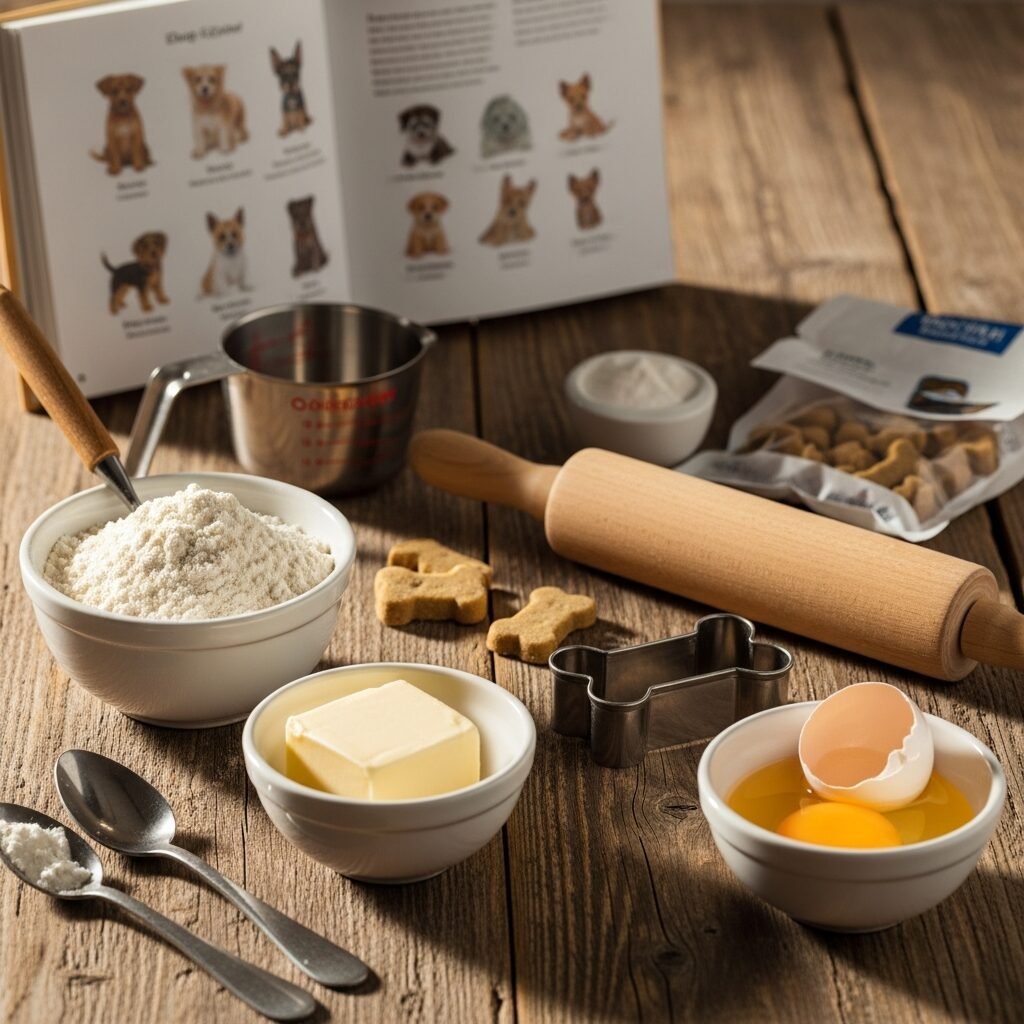
General Tips for Making Homemade Dog Treats
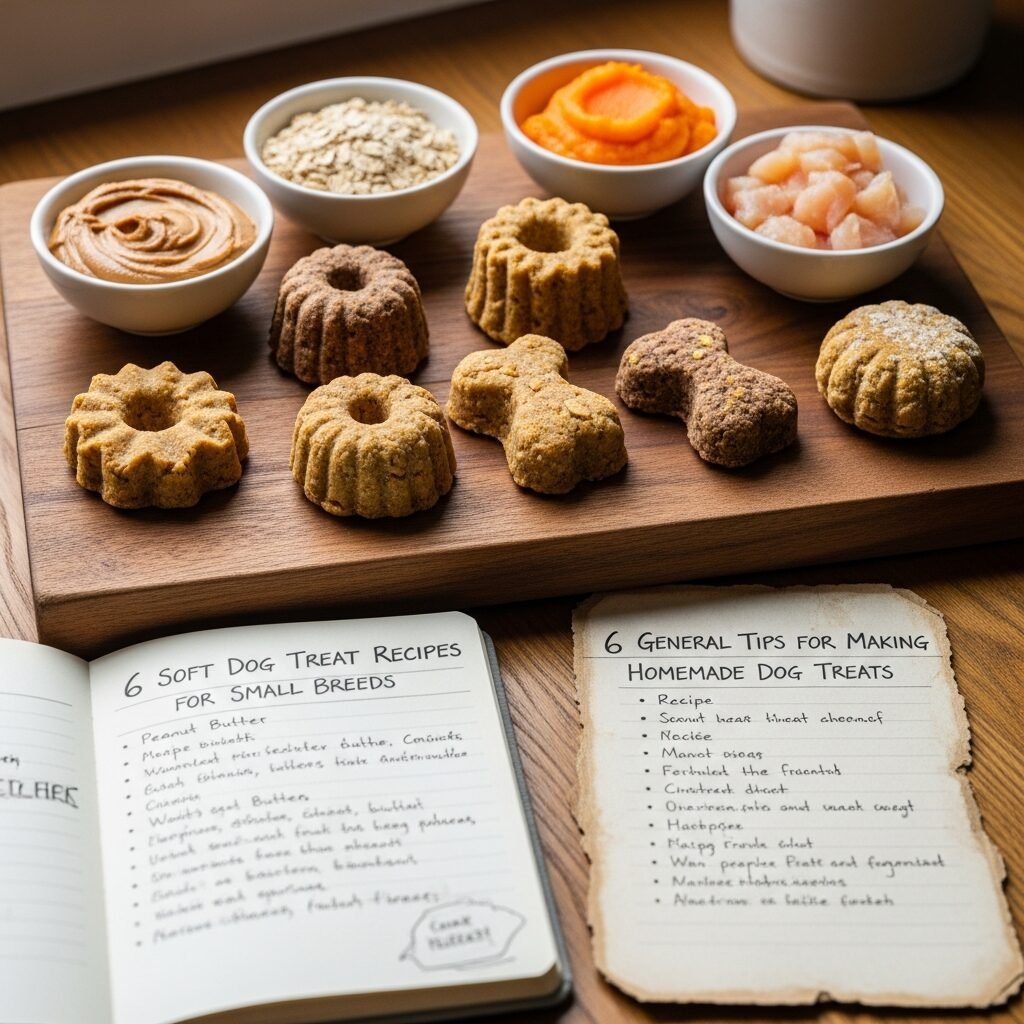
Making treats at home is rewarding, but a few general tips can make the process even smoother.
Equipment You’ll Need
* Baking sheets and parchment paper
* Mixing bowls
* Measuring cups and spoons
* A rolling pin
* Small cookie cutters (optional, but fun!)
* A food processor or blender (useful for pureeing)
How to Store Your Treats Safely
Always use airtight containers. Label them with the date you made the treats. Most soft homemade treats will last 3-7 days in the refrigerator. For longer storage, freeze them in a single layer on a baking sheet, then transfer to a freezer-safe bag or container. This prevents them from sticking together.
Customizing Recipes for Your Dog
Feel free to experiment with safe ingredients! If your dog loves blueberries, add a few to the pumpkin recipe. If they’re not a fan of chicken, try turkey. Always introduce new ingredients cautiously and in small amounts. Remember to keep portions tiny for your small breed.
How to Introduce New Treats to Your Small Dog

Even the most delicious treats can be new to your pup. A little care goes a long way.
Start Slow
Offer just a tiny piece of a new treat at first. This helps your dog’s digestive system adjust and allows you to monitor for any adverse reactions.
Monitor for Reactions
Keep an eye out for any signs of an upset stomach (vomiting, diarrhea), itching, or unusual behavior after introducing a new treat. If you notice anything concerning, stop giving the treat and consult your vet.
Keep it Positive
Treat time should always be a happy experience! Use a cheerful voice and praise your dog when they enjoy their new snack. This helps build a positive association with the treat and with you.