As dog parents, we all want the best for our furry family members, especially when it comes to what they eat. Store-bought treats can sometimes be a mystery, packed with ingredients we can’t pronounce or don’t want our pups consuming. What if I told you that you could whip up delicious, healthy, and incredibly high-value dog treats with just three simple ingredients you likely already have or can easily find?
Get ready to become your dog’s favorite chef! This recipe for 3-ingredient chicken liver dog treats is not only super easy but also incredibly nutritious. Your dog will absolutely adore them, and you’ll feel great knowing exactly what’s going into their little tummies.
Why Make Your Own Dog Treats?
There are so many fantastic reasons to venture into the world of homemade dog treats. It’s a wonderful way to take control of your dog’s diet and provide them with wholesome goodness.
- Full Ingredient Control: You decide exactly what goes in. No mystery fillers, artificial flavors, or questionable preservatives.
- Cost-Effective: Making treats at home is often significantly cheaper than buying premium store-bought options, especially for high-value proteins like liver.
- Tailor to Dietary Needs: If your dog has allergies or sensitivities, you can easily customize ingredients to suit their specific dietary requirements.
- Boost Health Naturally: You can pack your treats with nutrient-dense ingredients that support your dog’s overall health and well-being.
- Pure Love: There’s something incredibly special about offering your dog a treat you’ve made with your own hands, showing them just how much you care.
The Power of Chicken Livers for Dogs
Chicken livers are often considered a superfood for dogs, and for good reason! They are an organ meat that provides an incredible punch of essential vitamins and minerals.
Nutritional Benefits
Don’t let their humble appearance fool you; chicken livers are a powerhouse of nutrition. They offer a concentrated source of many vital nutrients that can significantly benefit your dog’s health.
- Vitamin A: Excellent for vision, immune function, and skin health.
- B Vitamins: Including B12, B6, folate, and niacin, which are crucial for energy production, brain function, and metabolism.
- Iron: Essential for healthy blood and preventing anemia.
- Copper and Zinc: Important trace minerals for immune system support and overall cellular health.
- Protein: A fantastic source of high-quality protein, vital for muscle growth and repair.
- Healthy Fats: Provide energy and support nutrient absorption.
Why Dogs Love Livers
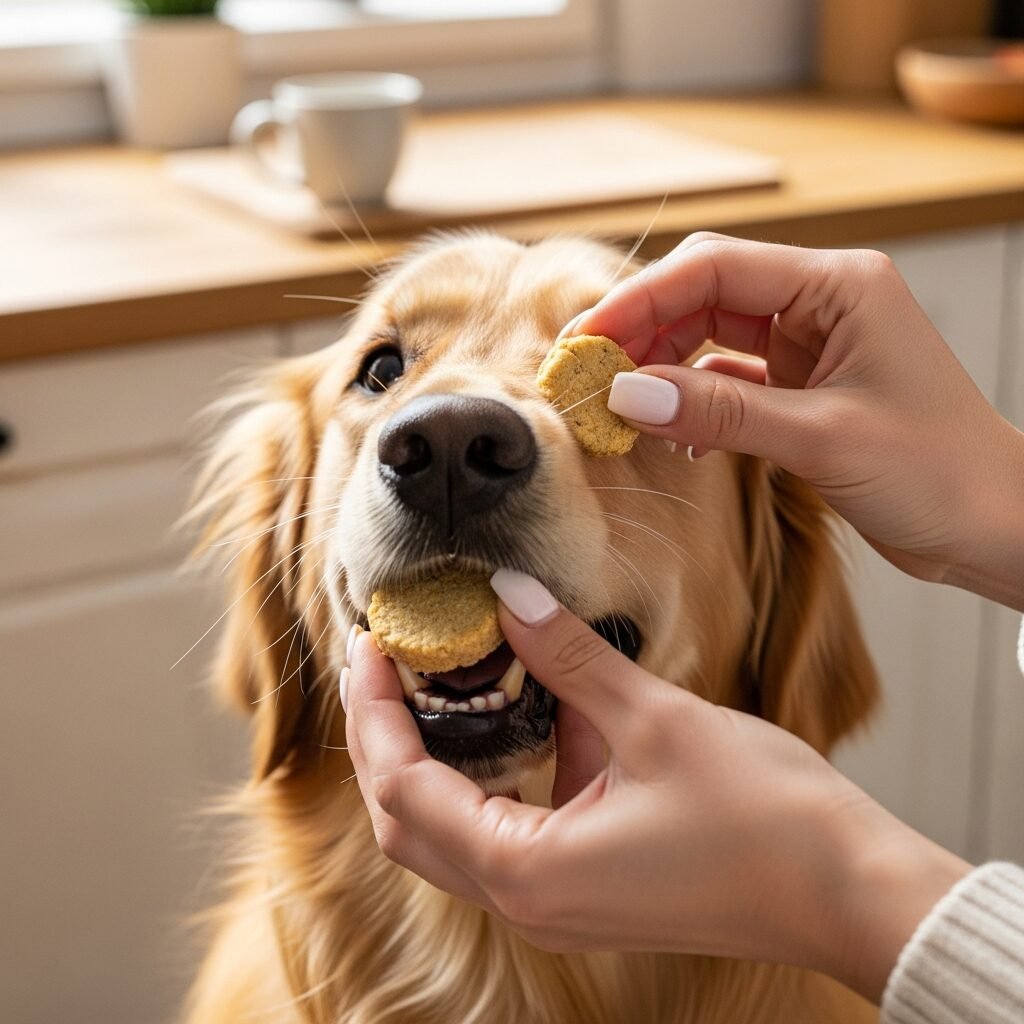
Beyond the health benefits, dogs are absolutely crazy about the taste and smell of liver. It’s a naturally pungent and rich flavor that many dogs find irresistible, making it an ideal ingredient for a high-value training treat.
If you’re looking for something to really motivate your dog during training sessions or just want to spoil them with a special snack, liver treats are often a guaranteed winner.
Your Simple Ingredient List
Ready for the magic? You really only need three things to make these amazing treats. Keep it simple, keep it healthy!
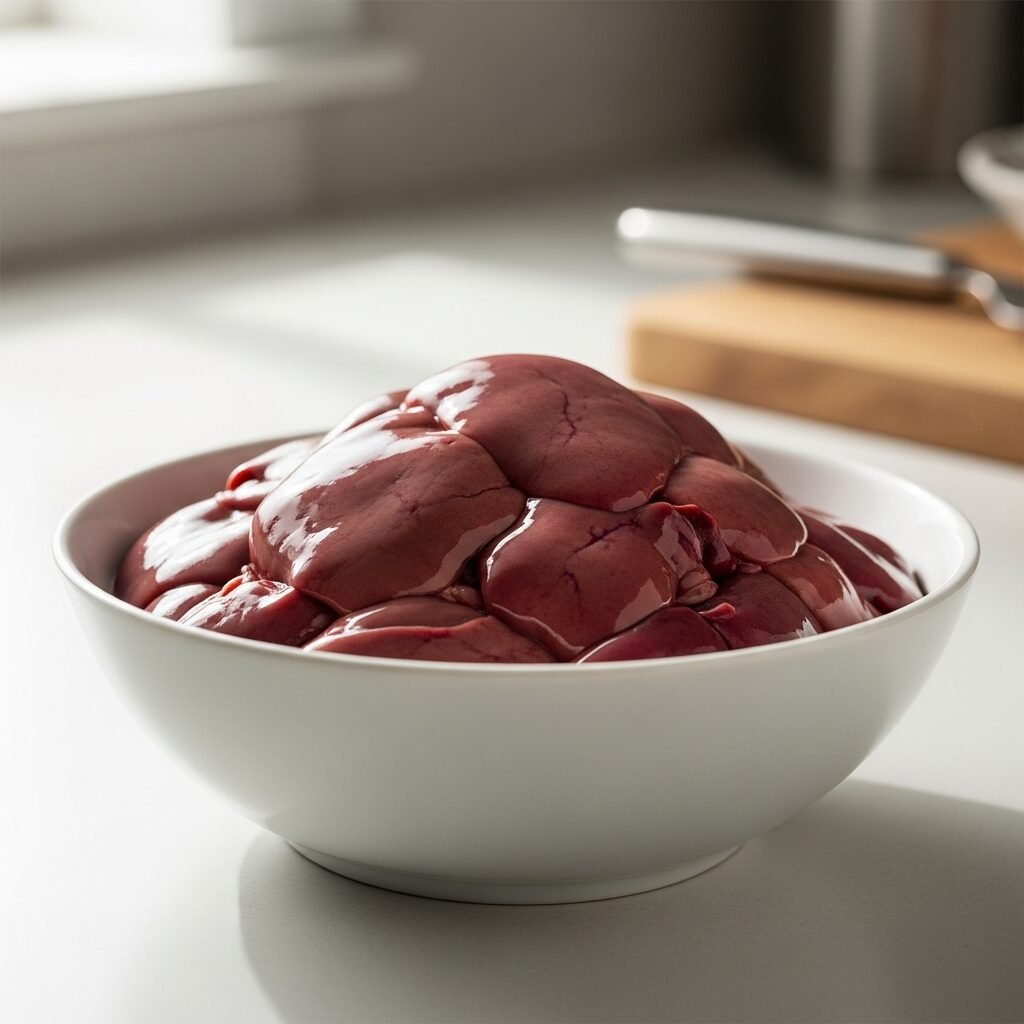
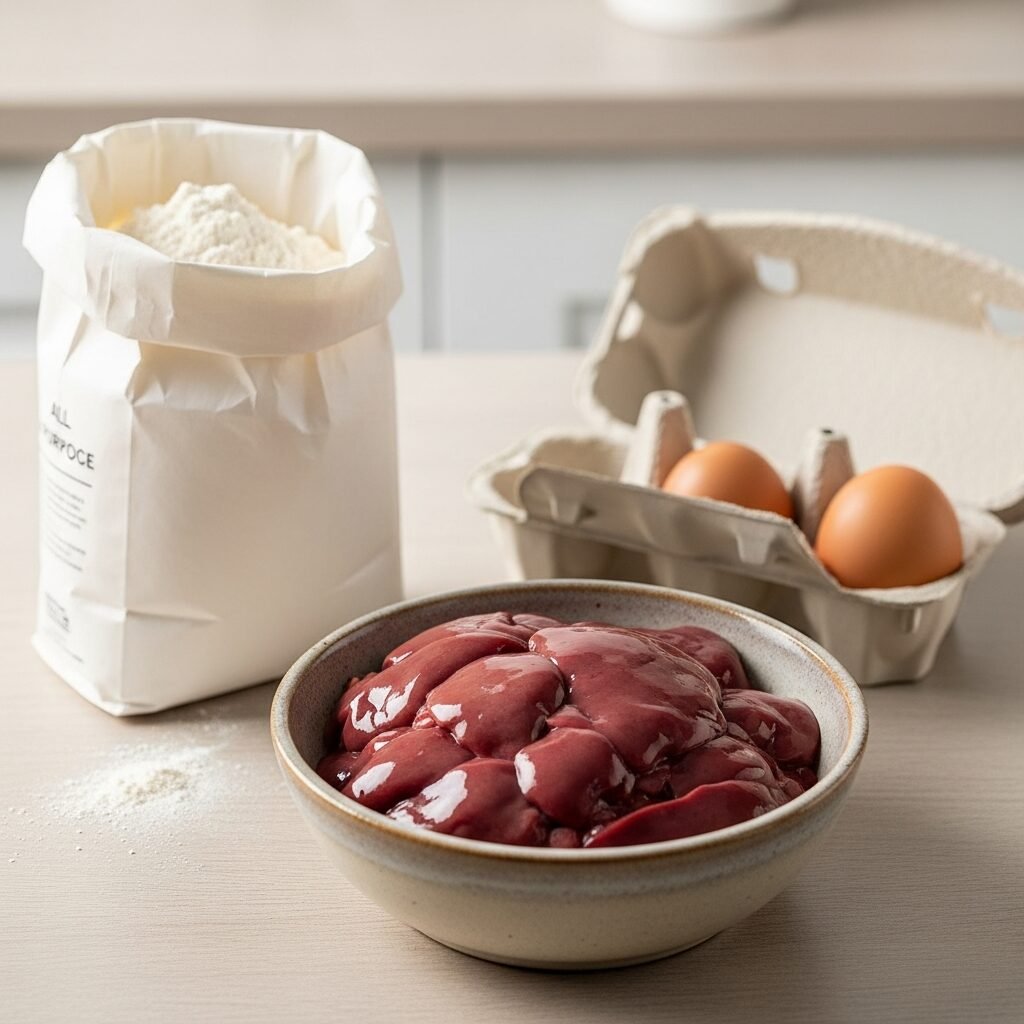
- 1 lb Fresh Chicken Livers: Look for them in the poultry section of your grocery store. You might find them packaged with hearts too; that’s perfectly fine!
- 1 Large Egg: A binder to help hold everything together and add a little extra protein.
- 1/2 cup Flour: You have options here! Whole wheat flour is great for added fiber. For grain-free pups, oat flour, rice flour, or even coconut flour work wonderfully. Just make sure it’s plain, unbleached flour without any additives.
Step-by-Step: Making Your Chicken Liver Treats
Let’s get cooking! This process is straightforward and doesn’t require any fancy culinary skills. You’ll have a batch of delicious treats in no time.
What You’ll Need (Equipment)
- Food Processor or Blender: Essential for getting that smooth, even consistency.
- Baking Sheet: A standard cookie sheet will do.
- Parchment Paper: To prevent sticking and make cleanup a breeze.
- Spatula or Spreader: For evening out the batter.
- Pizza Cutter or Knife: For cutting the treats into desired shapes after baking (or before, if you prefer using a cookie cutter).
Preparing the Livers
First things first, let’s get those livers ready. Rinse them thoroughly under cold water. You might want to trim any visible fatty or stringy bits, though a little extra won’t hurt.
Once rinsed, roughly chop the livers into smaller pieces. This helps your food processor do its job more efficiently and ensures a smoother blend.
The Blending Process
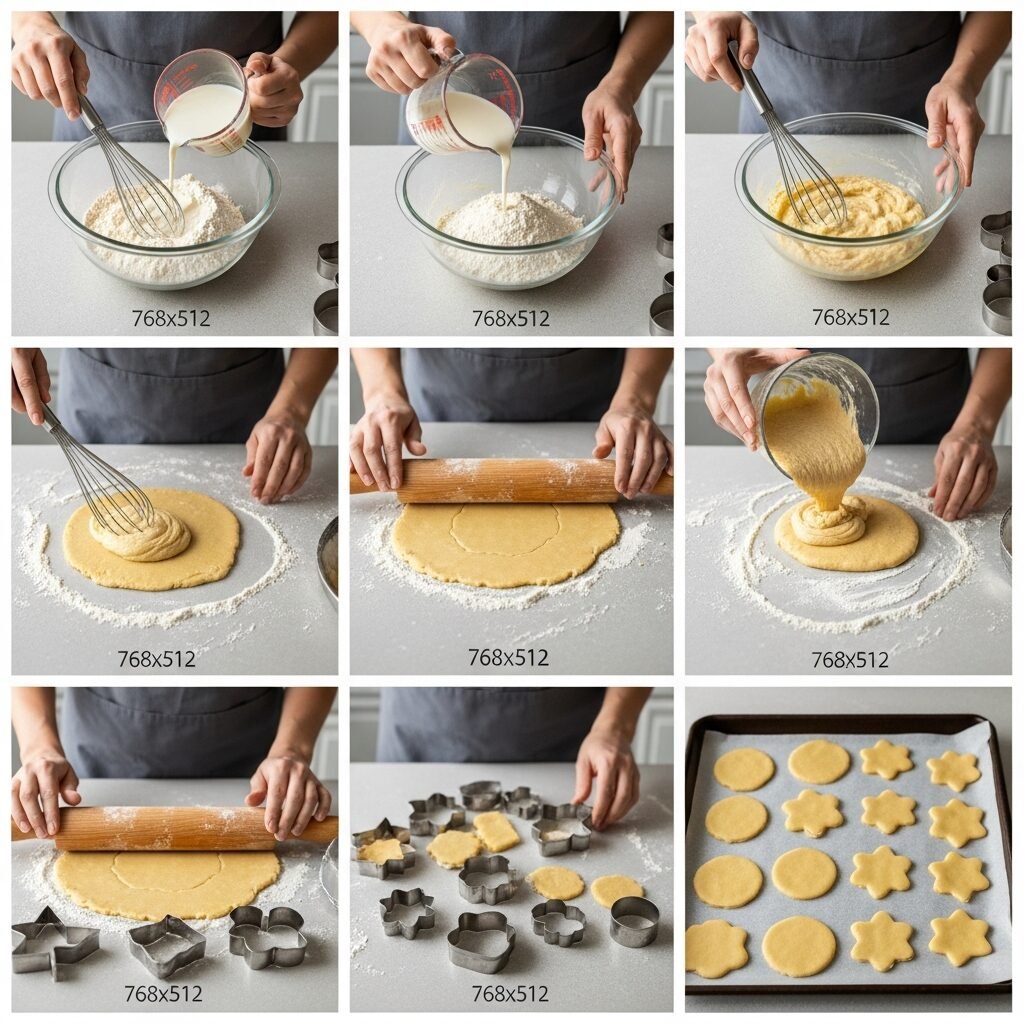
Now for the fun part! Place the chopped chicken livers into your food processor. Pulse until they are very finely minced, almost like a paste.
Crack in the egg and add your chosen flour. Continue to process until the mixture is completely smooth and forms a thick, pancake-like batter. You shouldn’t see any large chunks of liver left.
Baking Instructions
Preheat your oven to 350°F (175°C). Line your baking sheet with parchment paper. This step is crucial for easy removal.
Pour the liver batter onto the parchment-lined baking sheet. Using your spatula, spread the batter evenly across the entire sheet. Aim for a thin layer, about 1/4 inch thick. This ensures uniform cooking and easier cutting later.
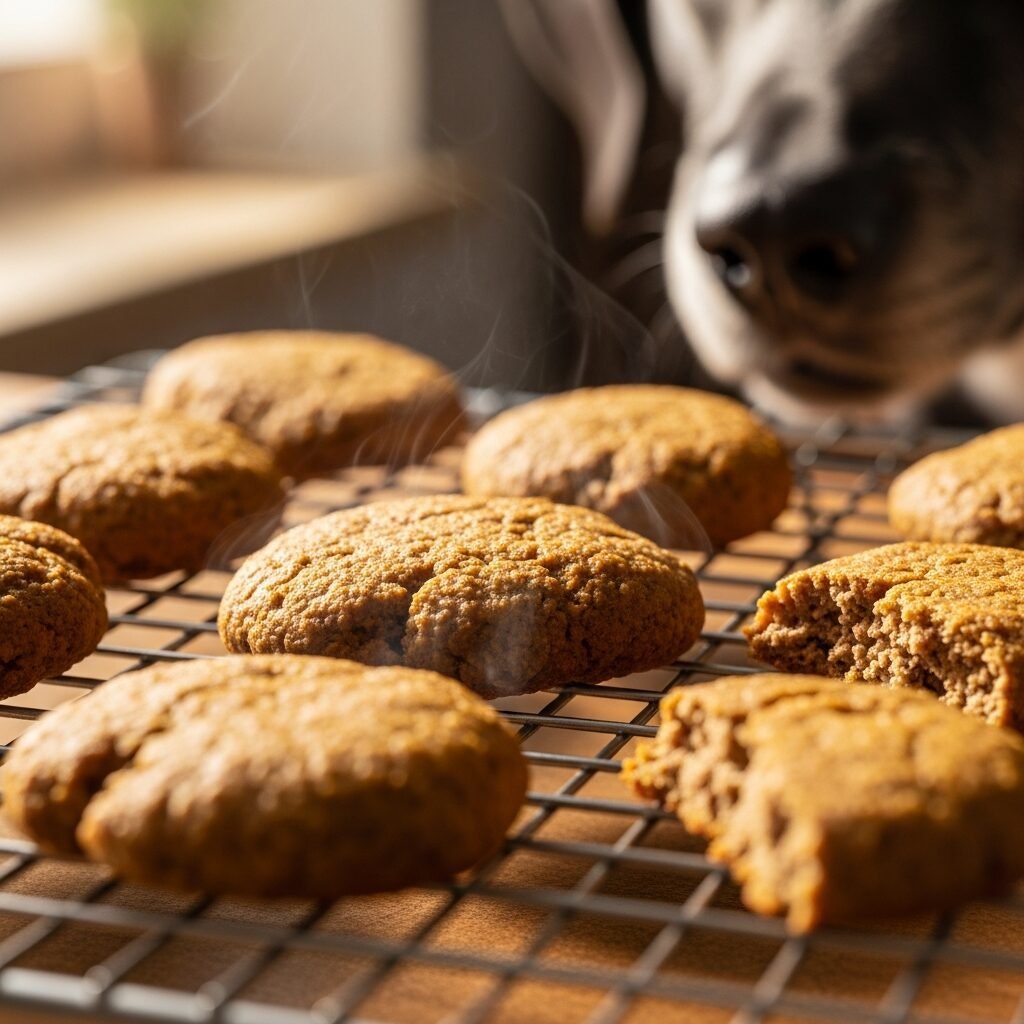
Bake for 20-30 minutes, or until the treat mixture is firm to the touch, golden brown around the edges, and cooked through. The exact time will depend on your oven and the thickness of your batter.
Once baked, remove the sheet from the oven and let it cool completely on a wire rack. Cooling is important; the treats will firm up as they cool, making them much easier to cut.
Once cooled, use a pizza cutter or sharp knife to cut the large sheet of treat into small, bite-sized pieces. Think about your dog’s size and what works best for training or quick rewards.
Storage and Serving Tips
You’ve put in the effort, now let’s make sure these delicious treats last and are served appropriately!
How to Store Your Homemade Treats
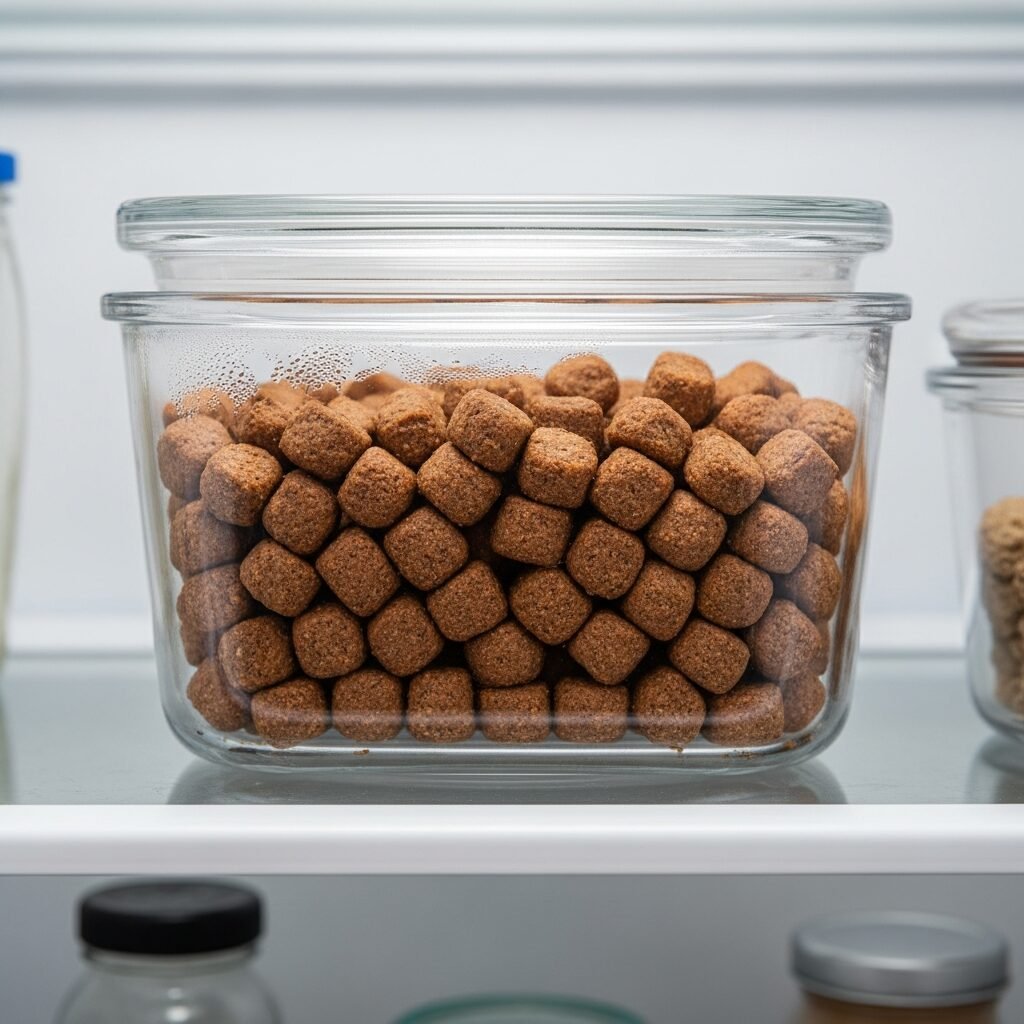
- Refrigerator: Store the treats in an airtight container in the fridge for up to 5-7 days. Because they are fresh, they don’t have the same shelf life as store-bought options.
- Freezer: For longer storage, freeze the treats! Place them in a single layer on a baking sheet to freeze individually, then transfer them to a freezer-safe bag or airtight container. They will last for 2-3 months. Thaw them in the fridge as needed.
How Many Treats Can My Dog Have?
Even though these treats are healthy, moderation is key. Treats should only make up about 10% of your dog’s daily caloric intake to prevent overfeeding and ensure they’re still getting the majority of their nutrients from their balanced dog food.
These liver treats are often considered high-value, meaning your dog will do almost anything for them! Use them sparingly for special training rewards, particularly challenging behaviors, or just as an extra special ‘I love you’ snack.