As dog parents, we constantly strive to give our furry family members the very best. This often extends to what they eat, and rightfully so! While store-bought treats are convenient, they sometimes come with a long list of ingredients that are hard to pronounce, leaving us wondering exactly what our pups are consuming.
That’s where homemade treats come in. Imagine creating delicious, wholesome snacks for your dog with just a few simple, natural ingredients. It’s not only a healthier choice but also a wonderful way to show your love and strengthen that special bond.
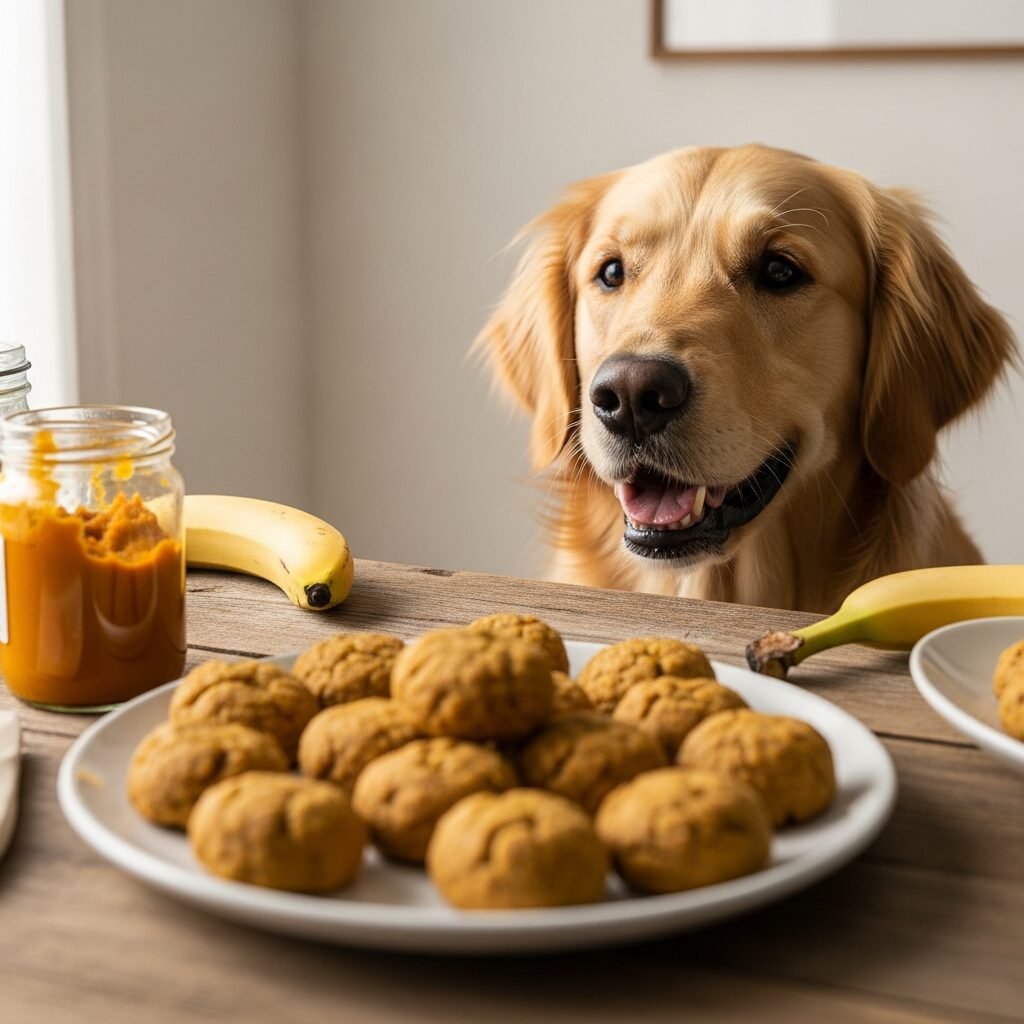
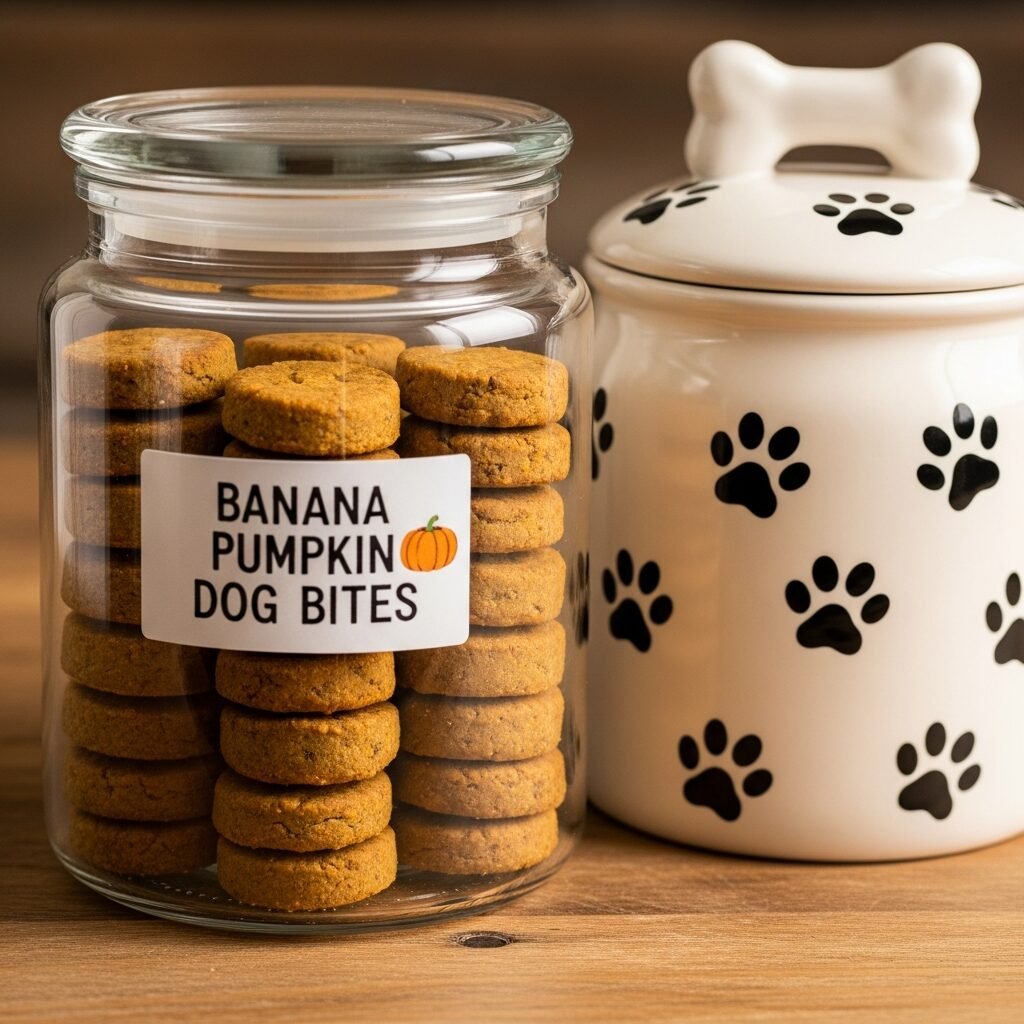
Today, we’re diving into a super easy and incredibly popular recipe: 3-Ingredient Banana Pumpkin Dog Bites. These little delights combine the natural sweetness of banana, the digestive power of pumpkin, and the wholesome goodness of oats. They’re quick to make, packed with nutrients, and sure to get tails wagging!
Why Homemade Dog Treats Are a Paws-itive Choice
Choosing to whip up your dog’s treats at home offers a wealth of benefits that go far beyond just saving a few dollars. It’s about providing quality, care, and peace of mind.
You Control the Ingredients
This is perhaps the biggest advantage. When you bake treats yourself, you know exactly what goes into them. There are no hidden fillers, mystery meat by-products, or questionable artificial flavors. You choose fresh, wholesome components that you trust.
Avoid Allergens and Sensitivities
Many dogs suffer from food allergies or sensitivities to common ingredients like wheat, corn, or certain proteins. Homemade treats allow you to tailor the recipe perfectly to your dog’s specific dietary needs, avoiding any ingredients that might cause an upset stomach, itchy skin, or other uncomfortable reactions.
No Nasty Additives
Commercial dog treats often contain preservatives to extend shelf life, as well as artificial colors and flavors to make them appealing (to humans, anyway!). These unnecessary chemicals can be harsh on a dog’s system. Homemade treats are free from these artificial components, offering a purer snack.
Cost-Effective Goodness
While it might seem like an extra step, buying bulk ingredients and making treats yourself can often be more economical in the long run, especially if your dog goes through a lot of treats. Plus, you’re investing in their health, which is priceless.
A Bonding Experience
There’s something incredibly fulfilling about preparing food for someone you love, and our dogs are no exception. The act of baking for your furry friend is a special way to nurture your relationship, and they definitely appreciate the effort, often with extra wags and grateful licks!
The Power Trio: Banana, Pumpkin, and Oats
The beauty of these 3-Ingredient Banana Pumpkin Dog Bites lies not just in their simplicity, but in the incredible nutritional benefits each component brings to your dog’s bowl.
The Sweetness of Banana for Dogs
Bananas are a fantastic fruit for dogs when given in moderation. They’re a natural source of energy and pack a punch of essential vitamins and minerals.
- Potassium: Crucial for healthy kidney and heart function.
- Vitamin B6: Aids in glucose generation, red blood cell and nervous system function, hormone regulation, and immune response.
- Vitamin C: An antioxidant that can help reduce inflammation and cognitive aging.
- Fiber: Promotes healthy digestion and can help with regularity.
However, bananas are also high in sugar, so they should always be given as a treat and not a meal replacement. For these bites, the banana provides natural sweetness, meaning you don’t need any added sugars.
Pumpkin: A Gut-Friendly Superfood
Pumpkin is a true champion when it comes to canine health, especially digestive health. It’s often recommended by veterinarians for dogs with upset stomachs or those needing a little help with regularity.
- Fiber Powerhouse: Both soluble and insoluble fiber work together to regulate digestion, whether your dog is experiencing diarrhea or constipation.
- Vitamins and Minerals: Rich in Vitamin A (for vision), Vitamin C (immune booster), Vitamin E (antioxidant), and important minerals like potassium and iron.
- Weight Management: Its high fiber content helps dogs feel full, which can be beneficial for managing weight.
A crucial note here: always use pure canned pumpkin puree, not pumpkin pie filling. Pumpkin pie filling contains sugars, spices (like nutmeg, which is toxic to dogs), and other additives that are not safe for your dog.
Oats: Wholesome Grains for Happy Pups
Oats are a fantastic, gluten-free grain option for many dogs, especially those with sensitivities to wheat. They are gentle on the digestive system and provide a good source of energy.
- Soluble Fiber: Beneficial for managing blood sugar levels and can help lower cholesterol (though dogs rarely suffer from high cholesterol like humans do, healthy levels are always good).
- B Vitamins: Essential for energy metabolism and nerve function.
- Linoleic Acid (Omega-6 Fatty Acid): Important for healthy skin and a shiny coat.
- Iron: Supports healthy blood and oxygen transport throughout the body.
For this recipe, we’ll be using rolled oats and grinding them into a flour-like consistency, which helps bind the treats together and makes them easier for dogs to digest.
Gathering Your Simple Ingredients (and Tools!)

Before you get started, make sure you have everything you need. This recipe is designed to be straightforward, so you won’t need any fancy equipment.
What You’ll Need (Ingredients)
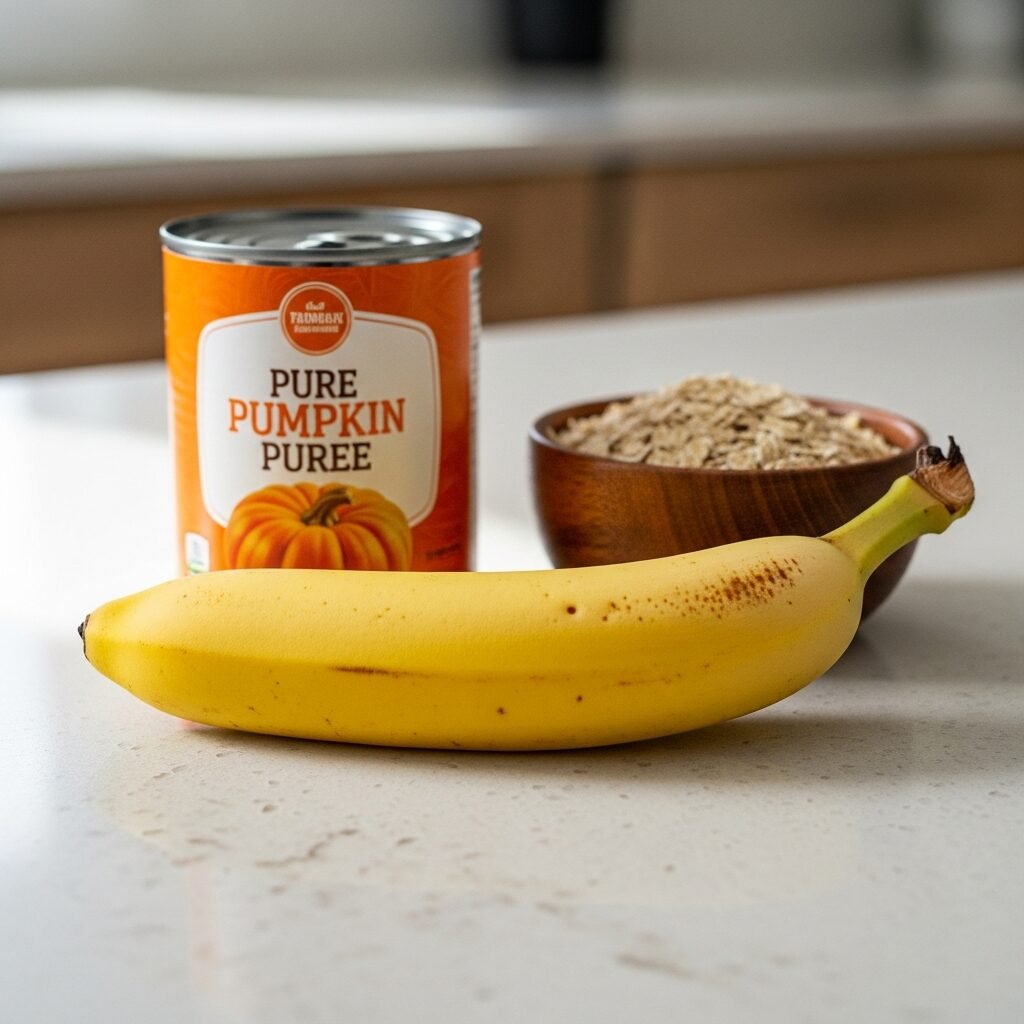
Here are the three magical ingredients and their recommended quantities:
- 1 very ripe banana: The riper, the better! Look for bananas with brown spots; they’re sweeter and easier to mash.
- 1/2 cup pure pumpkin puree: Again, ensure it’s 100% pure pumpkin, not pumpkin pie filling. A standard 15-ounce can will give you plenty for this recipe and maybe even a little extra for your dog to enjoy straight from the spoon (in moderation!).
- 1 1/2 cups rolled oats: Old-fashioned rolled oats work best. Quick oats can also work in a pinch, but avoid instant oatmeal as it often contains added sugars and artificial flavors.
Kitchen Tools for Success
You probably have most, if not all, of these items already in your kitchen:
- A large mixing bowl
- A fork or potato masher (for the banana)
- A food processor or blender (to grind the oats, optional but recommended)
- Measuring cups and spoons
- A baking sheet
- Parchment paper or a silicone baking mat
- A small cookie scoop or two spoons (for shaping the treats)
- Optional: Small cookie cutters (for fun shapes!)
Step-by-Step Guide: Making Your Dog Bites
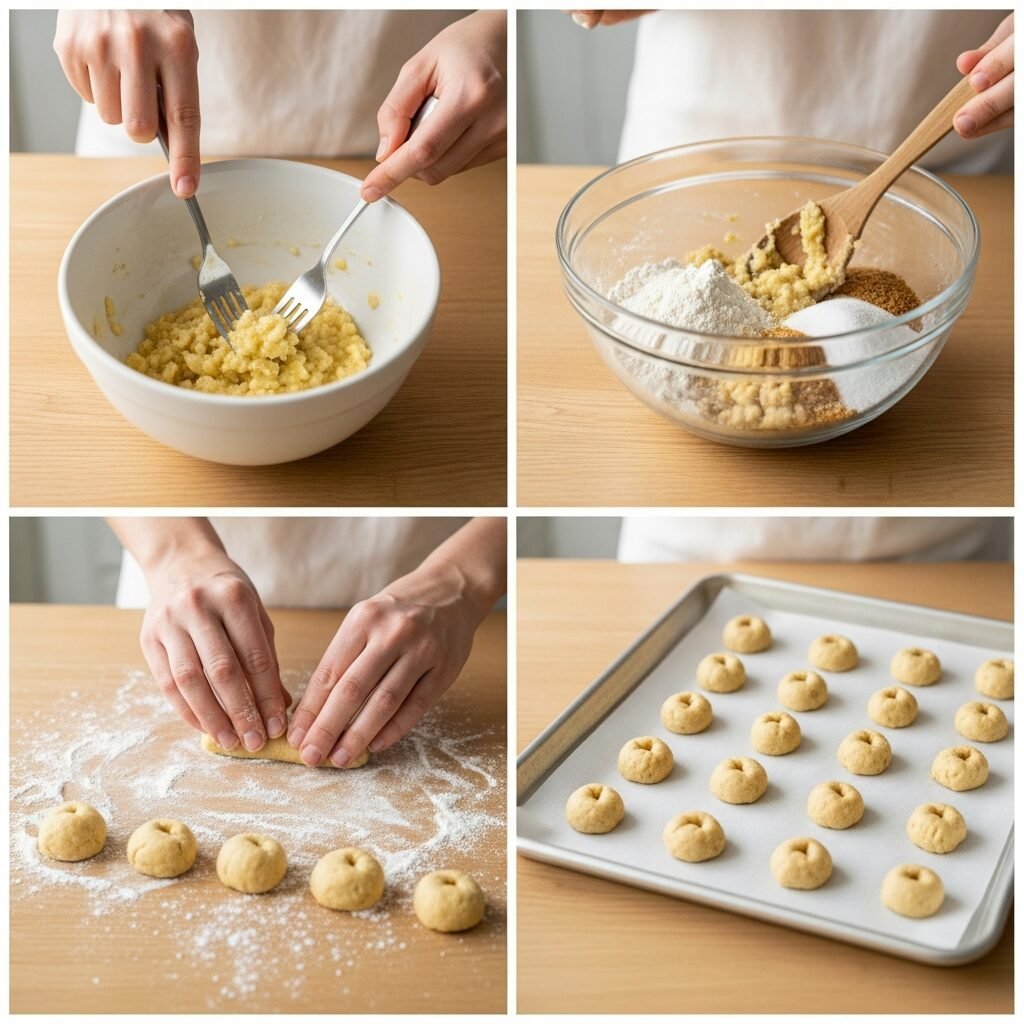
Ready to get baking? This process is so simple, you’ll wonder why you haven’t made these sooner!
Prep Work First
Before you start mixing, let’s get the oven ready and prep your workspace.
- Preheat your oven to 350°F (175°C).
- Line a baking sheet with parchment paper or a silicone baking mat. This prevents sticking and makes cleanup a breeze.
Grind Your Oats (Optional, but Recommended)
For a smoother texture and better binding, it’s a good idea to process your oats into a coarse flour. If you don’t have a food processor, you can skip this step, but your treats might be a bit more crumbly.
- Place the 1 1/2 cups of rolled oats into a food processor or blender.
- Pulse until the oats resemble a coarse flour. Don’t over-process into a fine powder; a slightly rustic texture is perfectly fine.
Mixing Magic
Now for the fun part: bringing all these wonderful ingredients together to form your dog treat dough.
- In your large mixing bowl, mash the ripe banana thoroughly with a fork or potato masher until it’s smooth with no large lumps.
- Add the 1/2 cup of pure pumpkin puree to the mashed banana. Mix well until they are fully combined and you have a uniform orange mixture.
- Gradually add the ground oats (or whole rolled oats) to the banana-pumpkin mixture, stirring continuously. You want to mix until a thick, uniform dough forms. It should be sticky but firm enough to hold its shape.
Shaping Your Treats
How you shape your treats depends on your preference and your dog’s size. Small bites are perfect for training or as frequent rewards.
- Using a small cookie scoop (about 1 tablespoon in size) or two spoons, drop rounded spoonfuls of dough onto your prepared baking sheet. Aim for consistent sizes so they bake evenly.
- Alternatively, you can lightly flour your hands with a bit of extra oat flour and roll the dough into small balls, then gently flatten them with your palm.
- If you want to get creative, roll the dough out to about 1/4-inch thickness between two pieces of parchment paper and use small dog-themed cookie cutters to create fun shapes.
Baking to Perfection
The final step before your pup gets to enjoy their homemade treats!
- Place the baking sheet in your preheated oven.
- Bake for 15-20 minutes, or until the treats are firm to the touch and slightly golden brown around the edges.
- Cooking times can vary depending on your oven and the thickness of your treats, so keep an eye on them.
- Once baked, remove the baking sheet from the oven and let the treats cool on the sheet for 5-10 minutes.
- Then, transfer them to a wire rack to cool completely. This step is important for them to firm up properly.
Serving and Storage Tips for Freshness
You’ve put in the effort to bake these healthy treats, so let’s make sure they stay fresh and are given in appropriate portions.
How Many Bites Can My Dog Have?
Even the healthiest treats should be given in moderation. Treats, including these delicious bites, should make up no more than 10% of your dog’s daily caloric intake. This helps prevent overfeeding and ensures they’re still getting the majority of their nutrients from their balanced regular meals.
- Small Dogs (under 20 lbs): 1-2 small treats per day.
- Medium Dogs (20-50 lbs): 2-4 small treats per day.
- Large Dogs (over 50 lbs): 4-6 small treats per day.
Always consider your dog’s size, activity level, and overall diet when determining treat portions. If your dog is on a special diet or has health concerns, always consult your veterinarian.
Storing Your Homemade Goodies
Because these treats contain no preservatives, proper storage is key to keeping them fresh and safe for your pup.
- Airtight Container: Store the completely cooled treats in an airtight container.
- Refrigeration: They will last for about 5-7 days in the refrigerator.
- Freezing for Longer Storage: For a longer shelf life, you can freeze these treats for up to 2-3 months. Place them in a single layer on a baking sheet to flash freeze for an hour or two, then transfer them to a freezer-safe bag or container.
- Thawing: When you’re ready to use them, simply take out a few and let them thaw at room temperature for a bit, or you can even serve them frozen on a hot day for a cool treat!
Customizing Your Dog Bites (Optional Add-ins)

While the 3-ingredient recipe is perfect as is, you can certainly get a little creative with safe additions. Remember, always introduce new ingredients slowly and in small amounts, and double-check that they are safe for dogs before adding them.
- A tablespoon of xylitol-free peanut butter: Ensure it contains NO xylitol, which is highly toxic to dogs. This adds extra protein and flavor.
- A dash of cinnamon: A small pinch (1/4 teaspoon for the whole batch) can add a lovely aroma and flavor, and cinnamon has anti-inflammatory properties.
- Shredded carrot or apple: Finely shredded carrot or peeled, cored, and finely diced apple can add extra vitamins and a touch of sweetness. About 1/4 cup would be a good amount.
- Fresh parsley: A tablespoon of finely chopped fresh parsley can help with doggy breath!
- Flaxseed or chia seeds: A teaspoon or two of ground flaxseed or chia seeds can boost omega-3 fatty acids, which are great for skin and coat health.
Always remember that these are treats, so keep any additions to a minimum to maintain the healthy balance of the recipe.