Every dog parent knows the joy of seeing their furry friend happily munching on a favorite chew. Chewing is a natural and important instinct for dogs. It helps keep their teeth clean, provides mental stimulation, and can even reduce stress. But with so many options out there, it’s easy to feel overwhelmed by choices and concerned about what exactly is in those store-bought chews.
What if you could offer your dog delicious, healthy, and safe chew treats made right in your own kitchen? Making your own dog chews at home gives you full control over the ingredients, ensuring your beloved pet gets only the best. Plus, it can be a fun and rewarding experience for you too! We’re going to share six simple, homemade chew treat ideas that your dog is sure to love, keeping their tails wagging and their teeth happy.
The Joy of Homemade Dog Chews
Bringing homemade treats into your dog’s routine isn’t just about saving money, though that’s a nice bonus. It’s about deepening the bond you share and taking an active role in their health and happiness.
Why Make Your Own?
There are many wonderful reasons to put on your apron and whip up some treats for your canine companion.
Control Ingredients
When you make treats yourself, you know exactly what goes into them. This means no mystery meat, artificial colors, or strange preservatives. You choose human-grade, wholesome ingredients.
Save Money
Store-bought chews, especially high-quality ones, can be quite expensive. Making them at home often costs a fraction of the price, allowing you to spoil your dog more often.
Address Allergies
If your dog has sensitivities or allergies, homemade treats are a lifesaver. You can easily avoid common allergens like specific grains, proteins, or dairy, tailoring treats perfectly to their needs.
Bonding Experience
There’s something special about creating something with love for your pet. Dogs often sense this extra care, and sharing these treats can strengthen your bond even further.
Important Safety First Tips
While homemade is wonderful, safety should always be your top priority. Keep these points in mind when preparing and giving your dog DIY chews.
Always Supervise
Never leave your dog unsupervised with any chew, homemade or otherwise. Even safe chews can become choking hazards if a large piece breaks off.
Choose Appropriate Size
Ensure the chew is an appropriate size for your dog’s breed and chewing style. Too small and it’s a choking risk; too large and it might not be interesting.
Watch for Choking Hazards
Hard ingredients can sometimes splinter or break into sharp pieces. Always inspect ingredients and the final product carefully.
Introduce Slowly
When offering a new treat, start with a small amount. This helps you monitor for any digestive upset or allergic reactions.
Consult Your Vet
If your dog has specific health conditions, dietary restrictions, or you have any concerns, always speak to your veterinarian before introducing new foods or chews.
Treat 1: Sweet Potato Chews
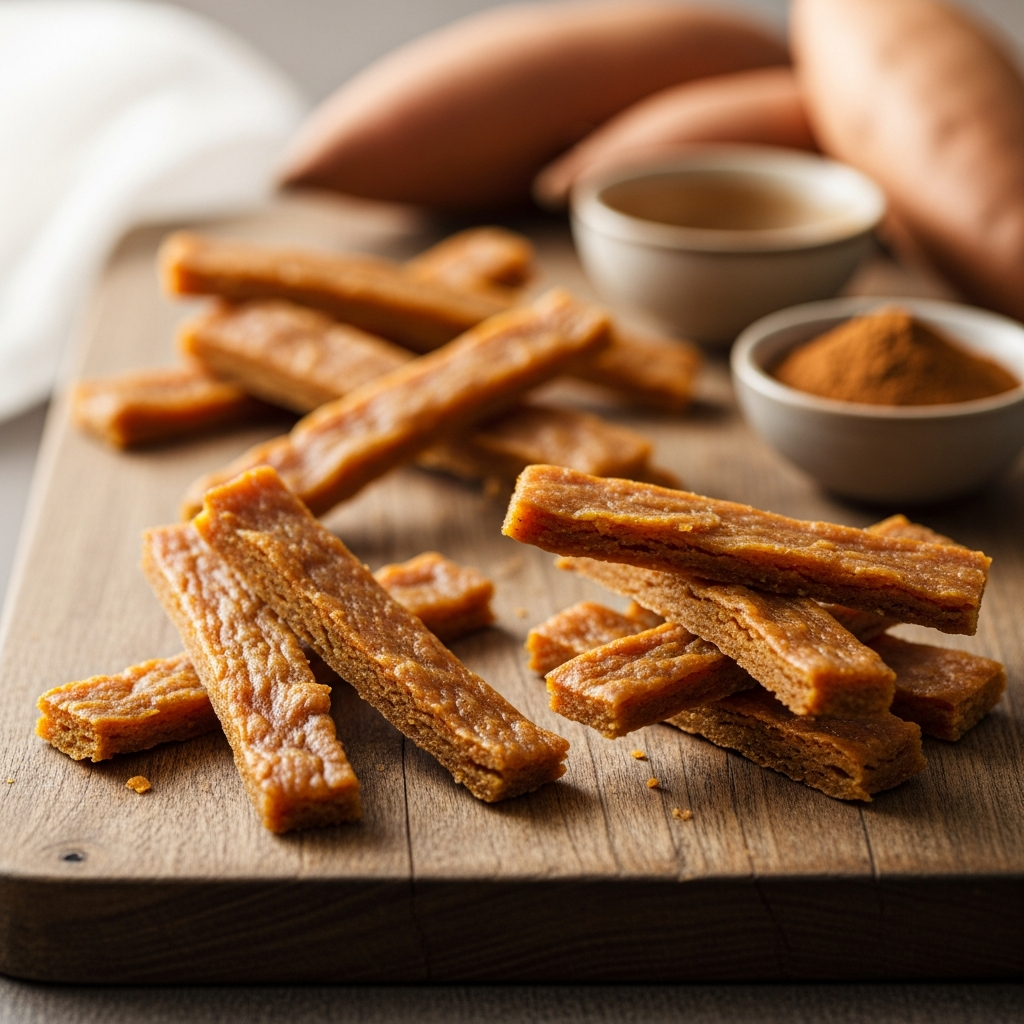
Sweet potato chews are a classic for a reason. They are simple, healthy, and most dogs absolutely adore them. They offer a good source of vitamins and fiber, and when dried, they become wonderfully chewy.
Why Sweet Potato?
Sweet potatoes are packed with vitamins A, C, and B6, as well as fiber, which is great for digestive health. When baked until firm, they provide a satisfying, healthy chew.
Ingredients
1 large sweet potato
Instructions
1. Preheat your oven to 250°F (120°C).
2. Wash the sweet potato thoroughly. You can peel it or leave the skin on – both are fine for dogs.
3. Slice the sweet potato into discs about 1/4 to 1/2 inch thick. Try to keep them consistent for even drying.
4. You can use a cookie cutter to make fun shapes if you like, or just keep them as discs.
5. Arrange the slices on a baking sheet lined with parchment paper, making sure they don’t overlap.
6. Bake for 3-4 hours, or until the slices are firm and chewy but not brittle. The baking time will vary depending on your oven and the thickness of the slices.
7. Flip them halfway through the baking time to ensure even drying.
8. Let them cool completely on a wire rack before storing.
Storage Tips
Store cooled sweet potato chews in an airtight container in the refrigerator for up to 2 weeks, or freeze for longer storage.
Treat 2: Apple & Carrot Sticks
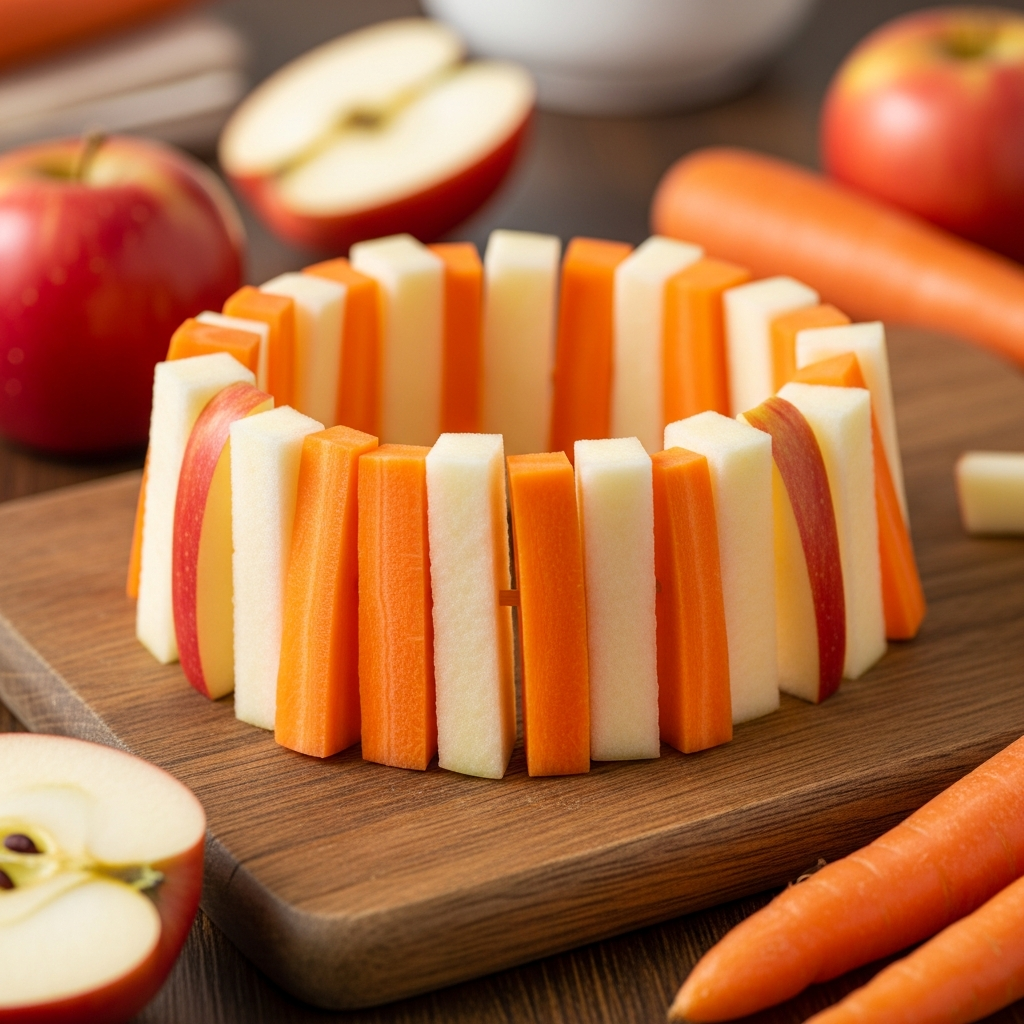
These simple, fresh chews are fantastic for a quick, healthy snack that also offers a satisfying crunch. They are naturally sweet and full of beneficial nutrients.
Why Apple & Carrot?
Apples are a good source of fiber and vitamins A and C, while carrots are rich in beta-carotene (which converts to Vitamin A) and provide a nice, firm texture for chewing.
Ingredients
1 medium apple (any variety)
2-3 medium carrots
Instructions
1. Wash both the apple and carrots thoroughly.
2. For the apple, carefully remove the core and all seeds. Apple seeds contain a small amount of cyanide and should never be given to dogs. You can peel the apple if you prefer, but the skin is generally safe and healthy.
3. Cut the apple into long, thick sticks, similar to french fries.
4. Peel the carrots and cut them into similar thick sticks.
5. Offer these fresh to your dog. They are best served immediately.
Safety Notes
Always remove the apple core and seeds. Only offer fresh, firm pieces. Avoid giving soft or bruised fruit/vegetables. These are best as immediate treats and not stored for extended periods.
Treat 3: Frozen Peanut Butter & Banana Bites
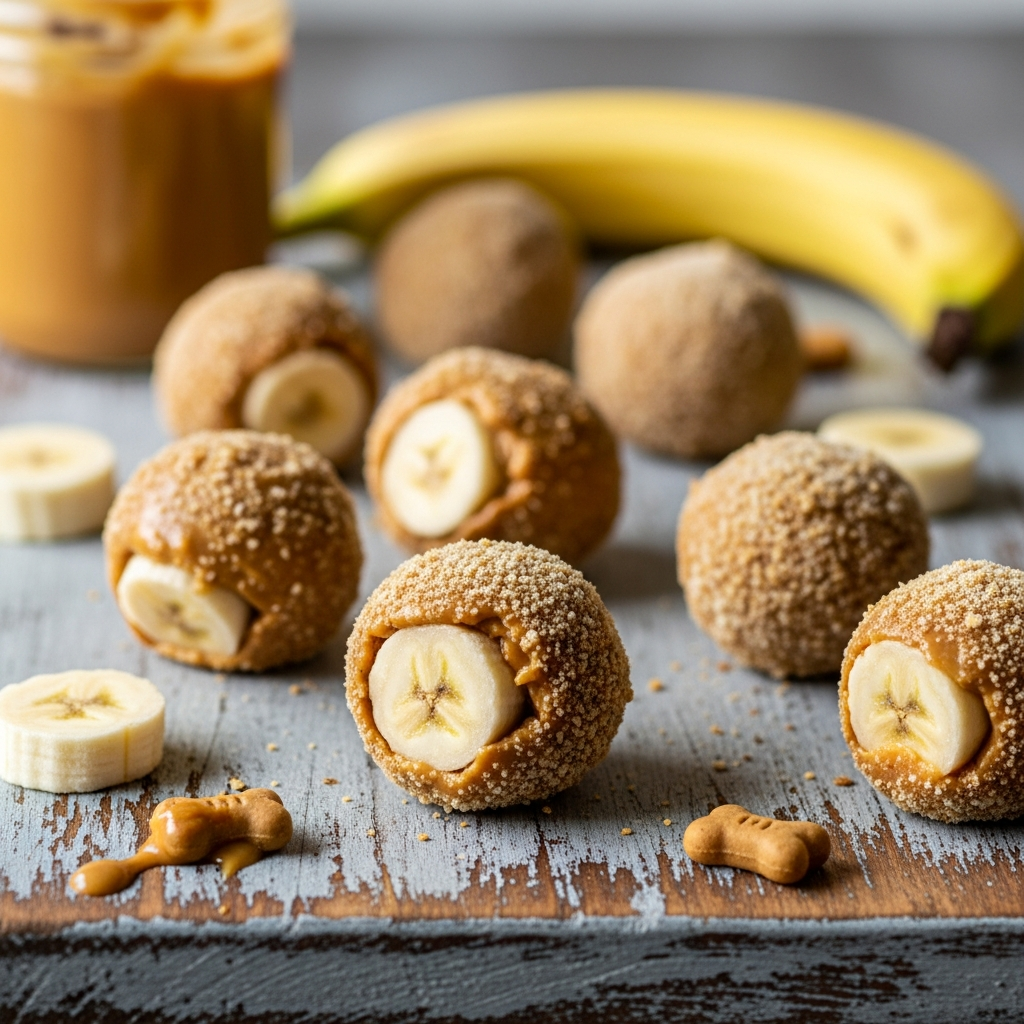
These delightful frozen treats are perfect for warmer days or for giving your dog a longer-lasting chew that’s also refreshing. They are super easy to make and universally loved by dogs.
Why PB & Banana?
Bananas are a good source of potassium and vitamins, while peanut butter (xylitol-free!) offers protein and healthy fats. Freezing them makes for a satisfying, cool chew.
Ingredients
1 ripe banana
1/2 cup natural peanut butter (ensure it does NOT contain xylitol)
1/4 cup plain Greek yogurt (optional, make sure it has no added sugars or artificial sweeteners)
Instructions
1. In a bowl, mash the ripe banana with a fork until smooth.
2. Add the natural peanut butter and Greek yogurt (if using).
3. Mix everything together thoroughly until well combined.
4. Spoon the mixture into small silicone molds (like ice cube trays or mini muffin molds).
5. Alternatively, you can drop small dollops onto a parchment-lined baking sheet.
6. Place the molds or baking sheet into the freezer for at least 2-3 hours, or until completely solid.
7. Once frozen, pop them out of the molds.
Serving Suggestion
These are excellent on their own, or you can stuff them into a puzzle toy for a longer-lasting enrichment activity.
Treat 4: Chicken Jerky Strips
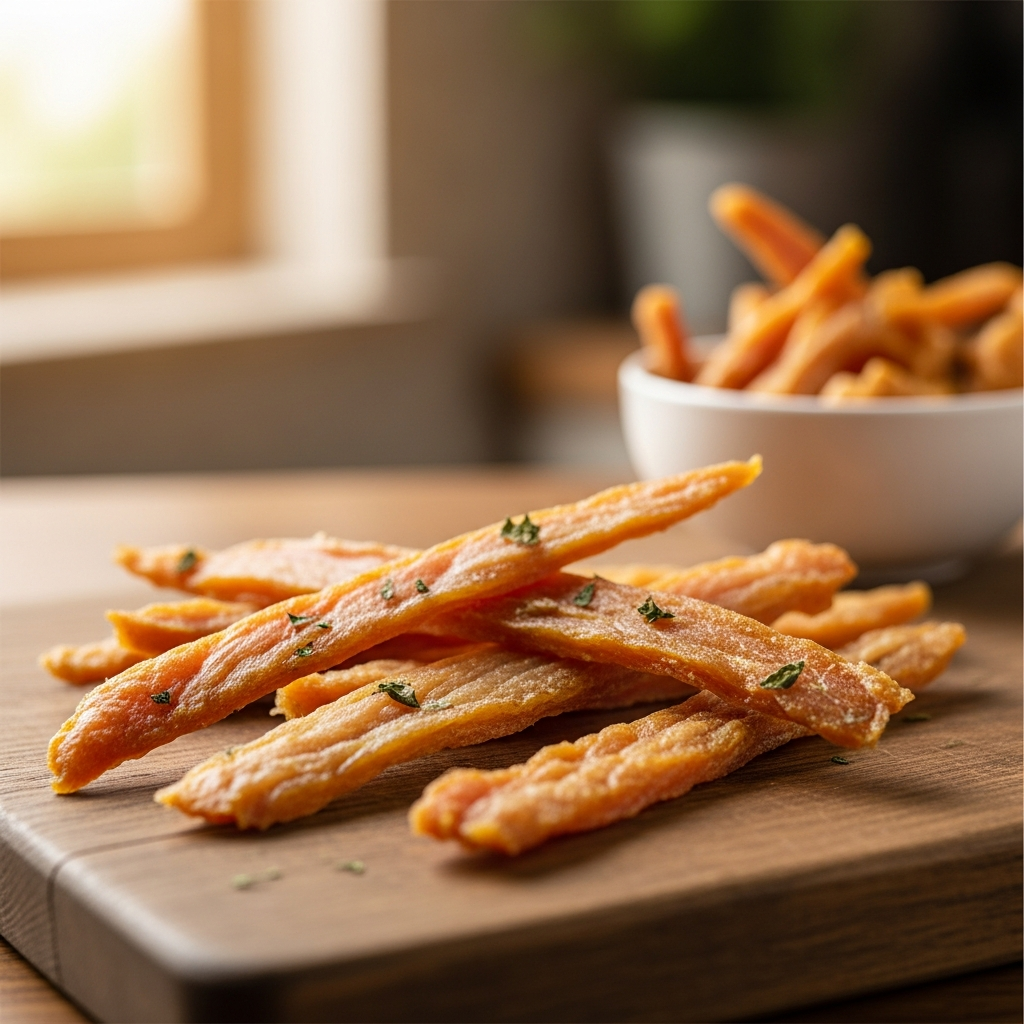
Homemade chicken jerky is a fantastic alternative to store-bought versions, giving you peace of mind about what your dog is consuming. It’s high in protein and a wonderfully chewy treat.
Why Chicken Jerky?
Chicken is a lean protein source that many dogs tolerate well. Drying it into jerky concentrates the flavor and provides a chewy texture that helps satisfy their natural urge to gnaw.
Ingredients
2-3 boneless, skinless chicken breasts
Instructions
1. Preheat your oven to its lowest setting, typically around 150-200°F (65-93°C).
2. Trim any excess fat from the chicken breasts.
3. Partially freeze the chicken for about 30 minutes. This makes it much easier to slice thinly and evenly.
4. Using a sharp knife, slice the chicken breasts into very thin strips, about 1/8 to 1/4 inch thick. Thinner slices will dry faster and be crispier, while thicker ones will be chewier.
5. Arrange the chicken strips on a baking sheet lined with parchment paper or on a wire rack placed over a baking sheet. Make sure the strips do not touch or overlap.
6. Bake for 2-4 hours, or until the chicken is completely dry, firm, and brittle. The time will depend on the thickness of your slices and your oven’s temperature. You want the chicken to be cooked through and completely dehydrated, with no moisture.
7. Prop the oven door open slightly with a wooden spoon to allow moisture to escape during the drying process.
8. Let the jerky cool completely before storing.
Important Safety
Ensure the chicken is thoroughly cooked and completely dehydrated to prevent bacterial growth. Any moisture can lead to spoilage.
Treat 5: Sardine Crunchies
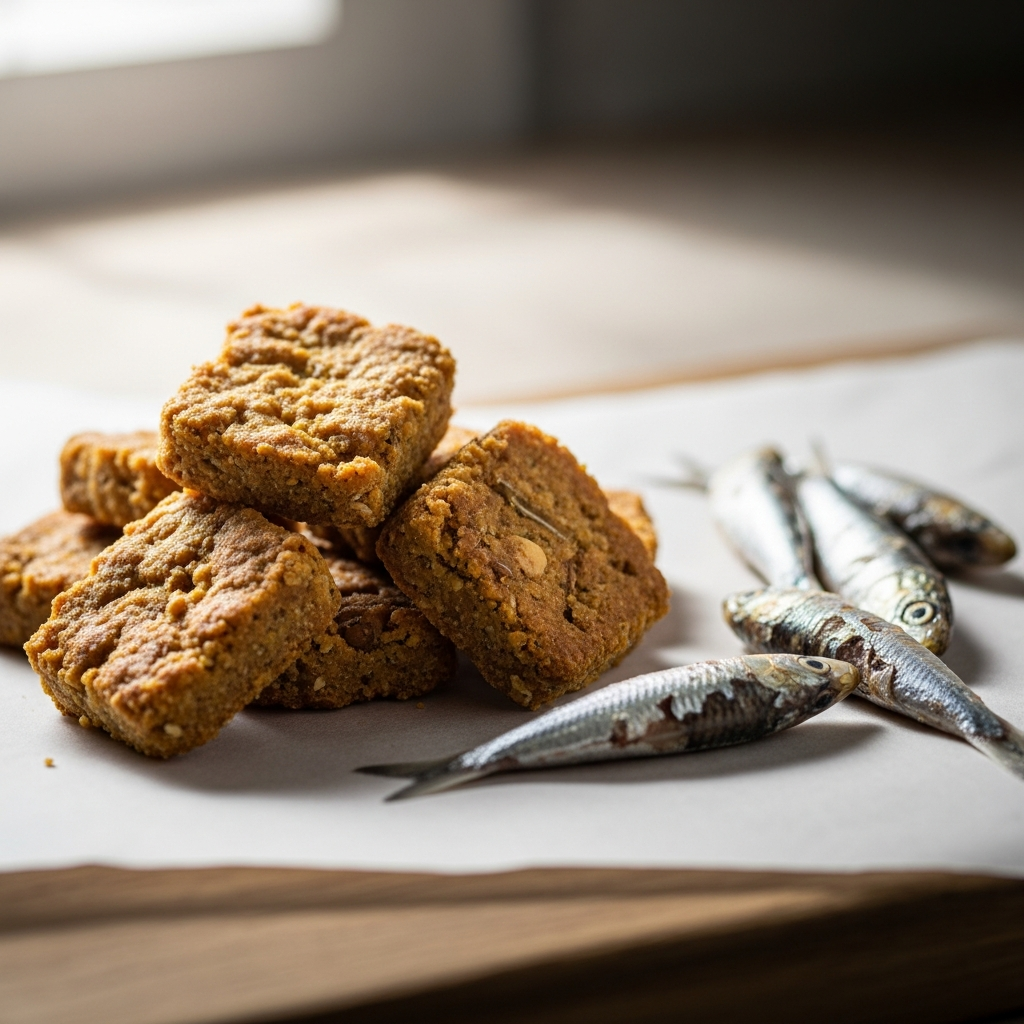
Don’t let the smell deter you! Sardines are a nutritional powerhouse for dogs, packed with omega-3 fatty acids, which are fantastic for skin, coat, and joint health. These treats are small but mighty.
Why Sardines?
Sardines are an excellent source of omega-3 fatty acids (EPA and DHA), vitamin D, and calcium. These nutrients support a healthy immune system, brain function, and overall vitality.
Ingredients
1 can sardines in water (no salt added, no oil)
1/2 cup whole wheat flour (or gluten-free flour if preferred)
1 egg
1-2 tablespoons water (if needed)
Instructions
1. Preheat oven to 350°F (175°C). Line a baking sheet with parchment paper.
2. Drain the sardines, but do not rinse them. Mash the sardines in a bowl with a fork.
3. Add the flour and egg to the mashed sardines. Mix well until a stiff dough forms. If the dough is too dry, add water one tablespoon at a time until it comes together.
4. On a lightly floured surface, roll out the dough to about 1/4 inch thickness.
5. Use a small cookie cutter or a knife to cut the dough into small, chewable shapes.
6. Place the shapes on the prepared baking sheet.
7. Bake for 15-20 minutes, or until golden brown and firm.
8. Let the crunchies cool completely on a wire rack.
Smell Factor & Storage
Yes, they will smell a bit fishy! Store these in an airtight container in the refrigerator for up to a week. For longer storage, freeze them.
Treat 6: Pumpkin & Oat Dental Chews
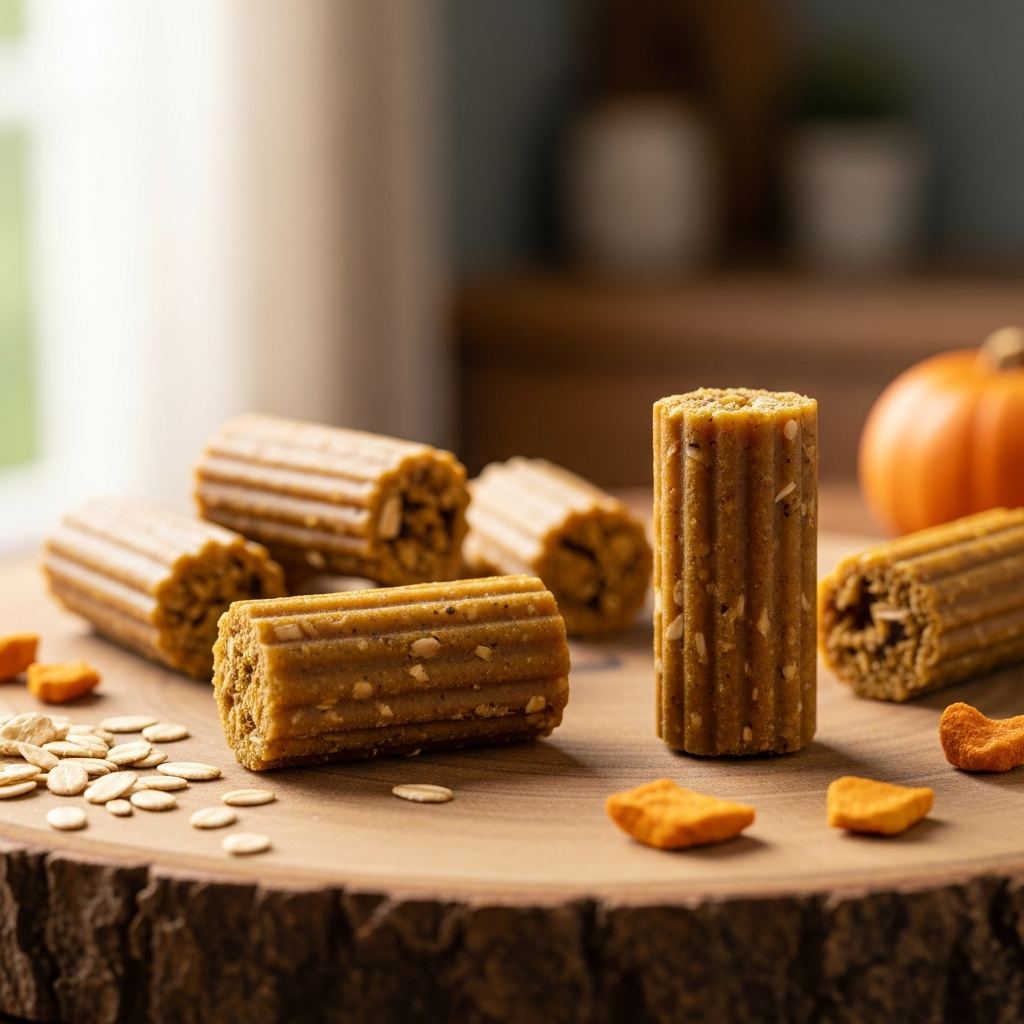
These pumpkin and oat chews offer a fibrous texture that can help scrape away some plaque, acting as a mild dental aid while providing healthy ingredients.
Why Pumpkin & Oat?
Pumpkin is wonderful for digestive health due to its fiber content, and oats are a gentle grain that provides energy and fiber. Together, they create a chew that’s both healthy and textured.
Ingredients
1 cup canned pumpkin puree (not pie filling)
1/2 cup unsweetened applesauce
2 cups rolled oats
1/2 cup whole wheat flour (or gluten-free flour)
1 egg
Instructions
1. Preheat your oven to 350°F (175°C). Line a baking sheet with parchment paper.
2. In a large bowl, combine the pumpkin puree, applesauce, and egg. Mix well.
3. Gradually add the rolled oats and flour, mixing until a firm dough forms. It should be sticky but manageable.
4. On a lightly floured surface, roll out the dough to about 1/2 inch thickness.
5. Cut the dough into stick shapes or use a cookie cutter to create fun dental-friendly designs.
6. Place the cutouts on the prepared baking sheet.
7. Bake for 25-30 minutes, or until the chews are firm and lightly golden brown.
8. Turn off the oven and leave the chews inside with the door ajar for an additional 30 minutes to an hour to help them firm up and dry out further. This makes them chewier.
9. Let them cool completely on a wire rack before storing.
Texture for Dental Health
The combination of oats and pumpkin creates a slightly abrasive texture that can help naturally clean teeth as your dog chews, though they are not a substitute for regular dental care.
Tips for Success with DIY Dog Chews
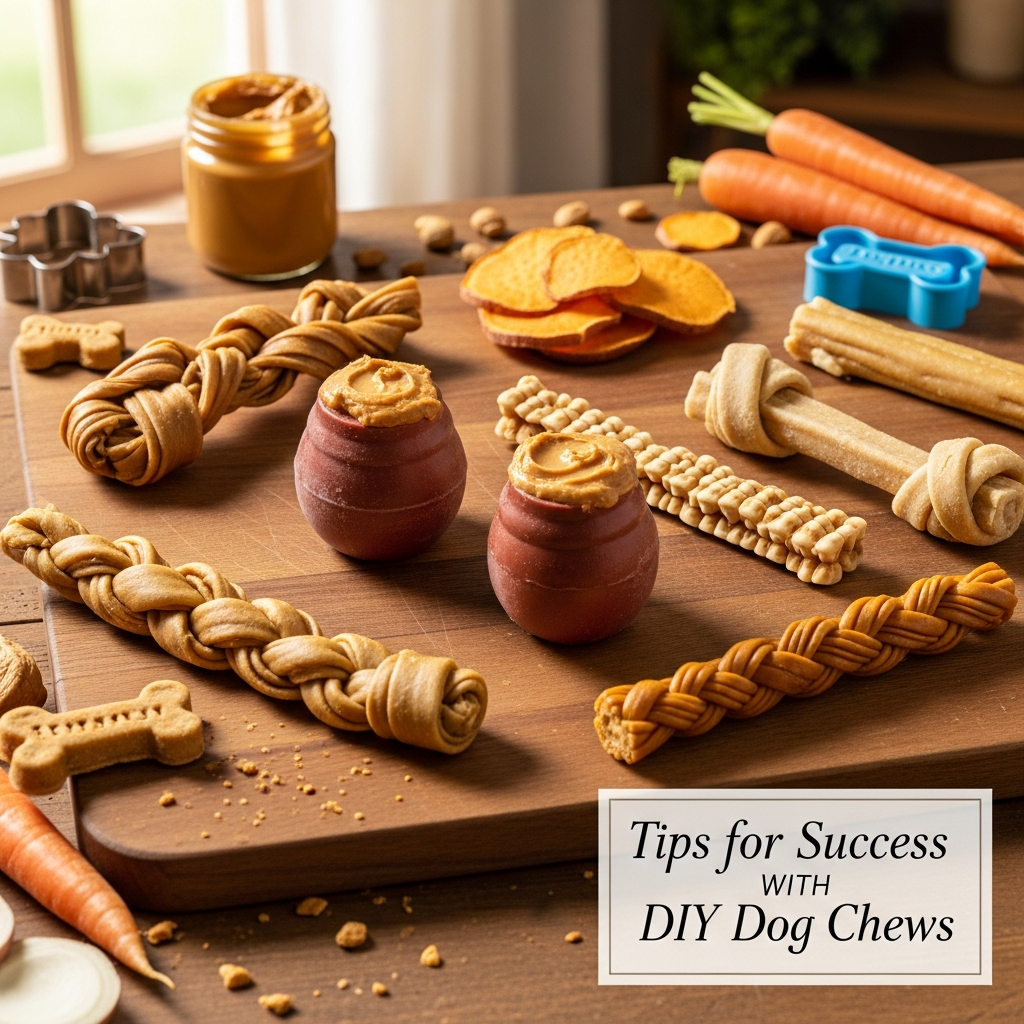
Making your own treats is a rewarding journey. Here are a few extra pointers to make sure you and your dog get the most out of it.
Ingredient Quality Matters
Always use fresh, human-grade ingredients. Just as you wouldn’t eat spoiled food, neither should your dog. Opt for organic where possible and always double-check labels for hidden additives or sugars.
Proper Storage Extends Life
Homemade treats don’t have the preservatives of commercial ones, so proper storage is key. Always use airtight containers and refrigerate or freeze as recommended to keep them fresh and safe.
Variety is the Spice of Life (for dogs too!)
Don’t be afraid to experiment with different recipes and ingredients. Your dog might have favorites, but offering a variety ensures they get a broad spectrum of nutrients and keeps them interested.
Know Your Dog’s Chewing Style
Some dogs are gentle gnawers, while others are aggressive chewers. Adjust the size, hardness, and type of chew accordingly. Always supervise, especially when trying a new type of treat.