Giving your beloved dog a special treat is one of the joys of being a pet parent. There’s something extra heartwarming about offering a snack you’ve made yourself, knowing exactly what ingredients went into it. And when it comes to healthy, delicious options, apples are a fantastic choice.
Apples are packed with vitamins A and C, fiber, and antioxidants, making them a wonderful addition to your dog’s diet in moderation. They’re naturally sweet and crunchy, which most dogs adore. But remember, always remove the core and seeds, as apple seeds contain small amounts of cyanide and the core can be a choking hazard.
In this article, we’ll explore six simple, safe, and utterly delicious homemade apple dog treats that you can whip up right in your own kitchen. From crunchy cookies to refreshing frozen delights, your furry friend is in for a real treat!
Why Apples Are a Great Treat for Your Dog
Before we dive into the recipes, let’s talk a little more about why apples get two paws up from us. Beyond their taste, they offer some great health benefits for your canine companion.
Nutritional Goodness
Apples are not just tasty; they’re also a source of important nutrients. The fiber in apples can aid in digestion, while vitamins A and C support overall health and immunity. They also contain antioxidants, which help fight off cell damage.
Low in Calories
Compared to many store-bought treats, apples are relatively low in calories, making them a good option for dogs who need to watch their weight. Of course, this applies to the plain apple slices themselves, and the caloric content will increase when mixed with other ingredients in a treat.
Dental Health Benefits
The crunchy texture of a fresh apple can help clean your dog’s teeth, working almost like a natural toothbrush to remove plaque and freshen breath. Just be sure to supervise your dog, especially with larger pieces, to prevent choking.
Important Safety Note
While apples are generally safe, always serve them without the core, seeds, and stem. The seeds contain a natural chemical that releases cyanide when digested, which can be harmful if consumed in large quantities. The core itself is hard to digest and can pose a choking risk. Always wash apples thoroughly before preparing them for your dog.
Essential Tips for Homemade Treats
Making treats at home is fun and rewarding. Here are a few universal tips to keep in mind for all homemade dog treats:
Always Check Ingredients: Ensure all ingredients are safe for dogs. A quick online search or a chat with your vet can confirm this if you’re unsure.
Introduce New Treats Slowly: Just like humans, dogs can have sensitivities. Offer a small amount of a new treat first to see how your dog reacts.
Store Properly: Most homemade treats, especially those without preservatives, will have a shorter shelf life. Store them in airtight containers and refrigerate or freeze as recommended.
Portion Control: Even healthy treats should be given in moderation. Treats should make up no more than 10% of your dog’s daily calorie intake.
Consult Your Vet: If your dog has any underlying health conditions, allergies, or is on a special diet, always speak to your veterinarian before introducing new foods or treats.
1. Classic Apple & Peanut Butter Bites
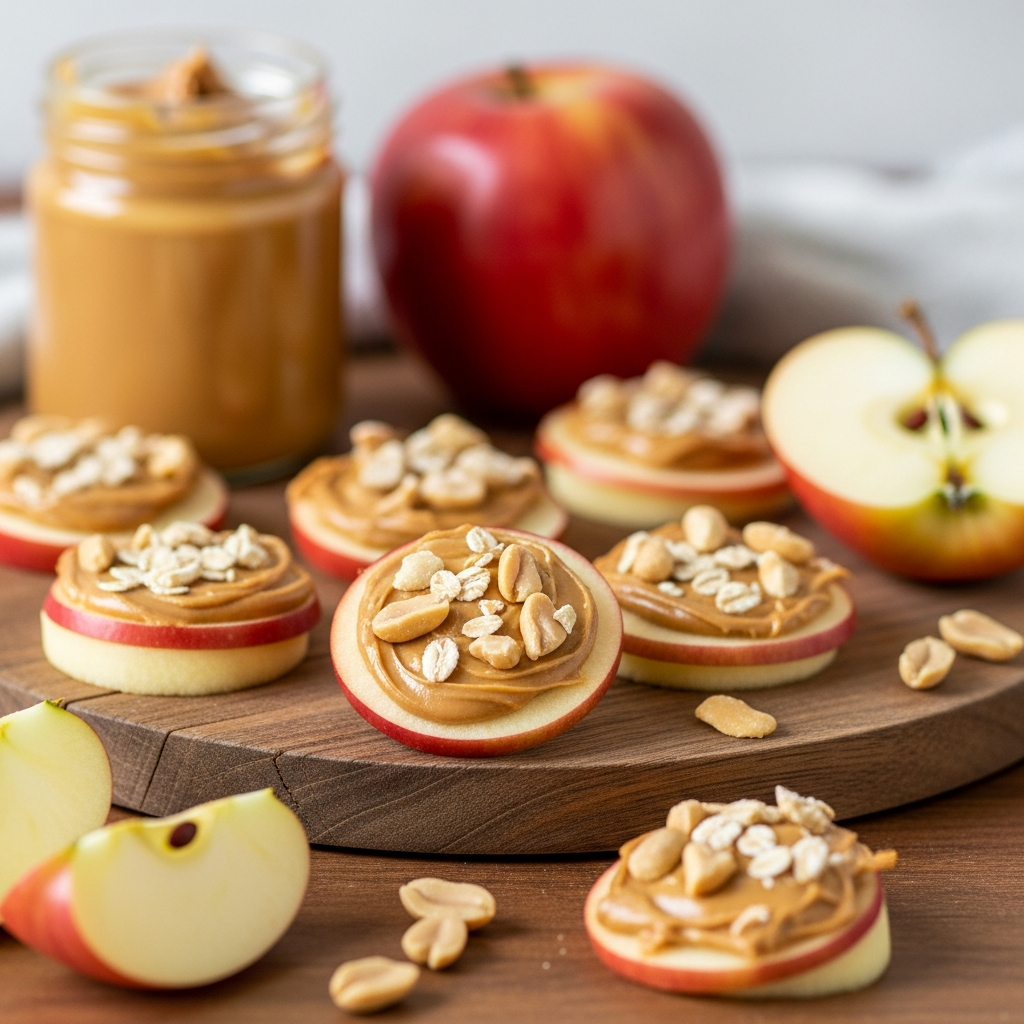
This is a timeless combination that almost no dog can resist. Peanut butter and apples create a delicious, soft treat that’s perfect for a daily reward.
What You’ll Need
1 medium apple, cored, peeled, and finely chopped
1/2 cup all-natural peanut butter (make sure it doesn’t contain xylitol, which is toxic to dogs)
1/2 cup whole wheat flour (or oat flour for a gluten-free option)
1/4 cup unsweetened applesauce
1 egg
How to Make Them
1. Preheat Oven: Get your oven ready to 350°F (175°C). Line a baking sheet with parchment paper.
2. Mix Wet Ingredients: In a large bowl, whisk together the peanut butter, applesauce, and egg until smooth.
3. Add Dry and Apples: Gradually add the flour, mixing until just combined. Fold in the finely chopped apple pieces.
4. Form Bites: Roll the dough into small, bite-sized balls (about 1 inch in diameter). Flatten them slightly with a fork if you like.
5. Bake: Place the bites on the prepared baking sheet and bake for 12-15 minutes, or until golden brown and firm.
6. Cool and Serve: Let the treats cool completely before serving to your dog.
Storage Tip
Store these apple and peanut butter bites in an airtight container in the refrigerator for up to a week, or freeze them for up to two months.
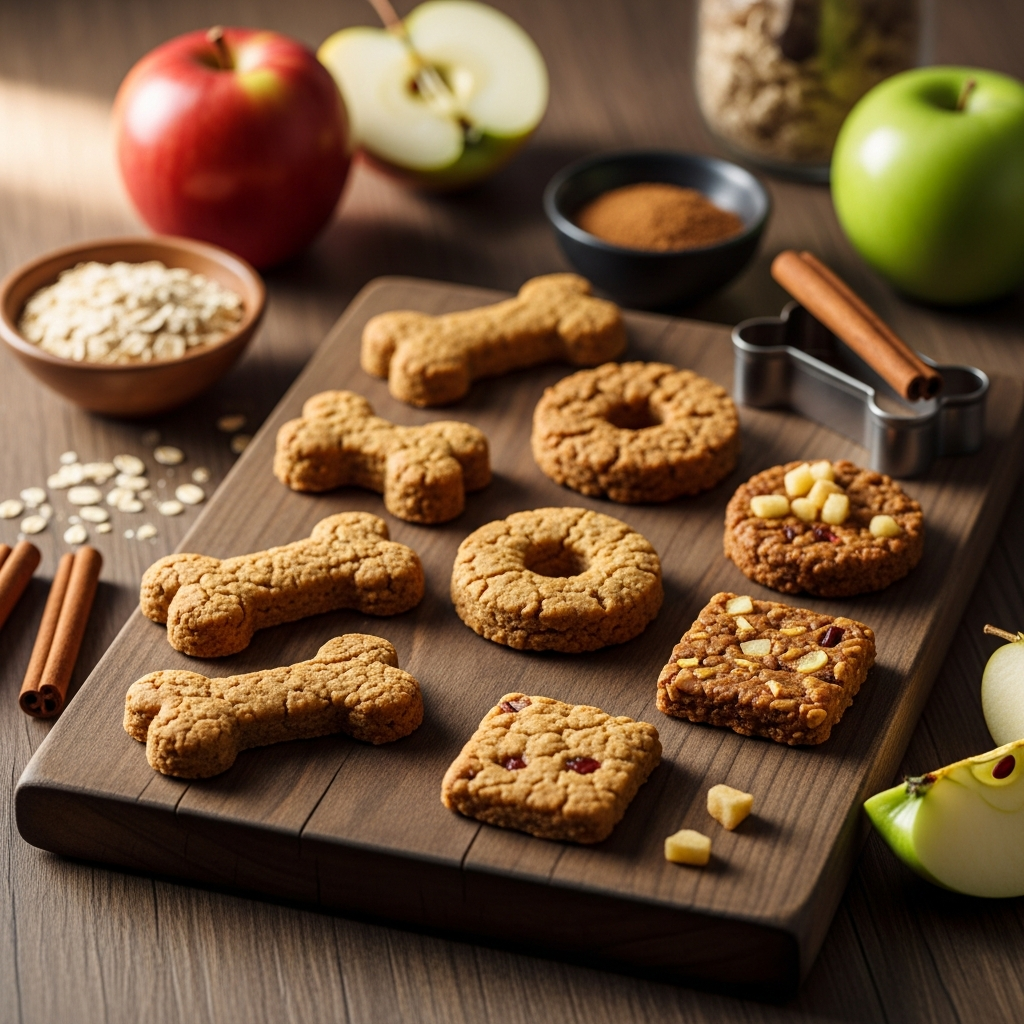
2. Wholesome Apple Oat Cookies

These wholesome cookies are packed with fiber from oats and the goodness of apples. They’re a great crunchy treat that’s easy on the stomach.
What You’ll Need
1 large apple, cored, peeled, and grated
1 cup rolled oats
1/2 cup whole wheat flour
1/4 cup plain Greek yogurt (ensure no artificial sweeteners)
1 egg
1 tablespoon coconut oil, melted
How to Make Them
1. Prepare Oven: Preheat your oven to 325°F (160°C) and line a baking sheet.
2. Combine Wet Ingredients: In a bowl, mix the grated apple, yogurt, egg, and melted coconut oil until well combined.
3. Add Dry Ingredients: Stir in the rolled oats and whole wheat flour gradually until a firm dough forms.
4. Shape Cookies: Drop spoonfuls of dough onto the baking sheet and flatten them into cookie shapes.
5. Bake: Bake for 20-25 minutes, or until the edges are golden and the cookies are firm.
6. Cool: Allow to cool completely on a wire rack.
Storage Tip
Keep these apple oat cookies in an airtight container at room temperature for up to 5 days, or in the refrigerator for up to 10 days.
3. Refreshing Frozen Apple Yogurt Pupsicles
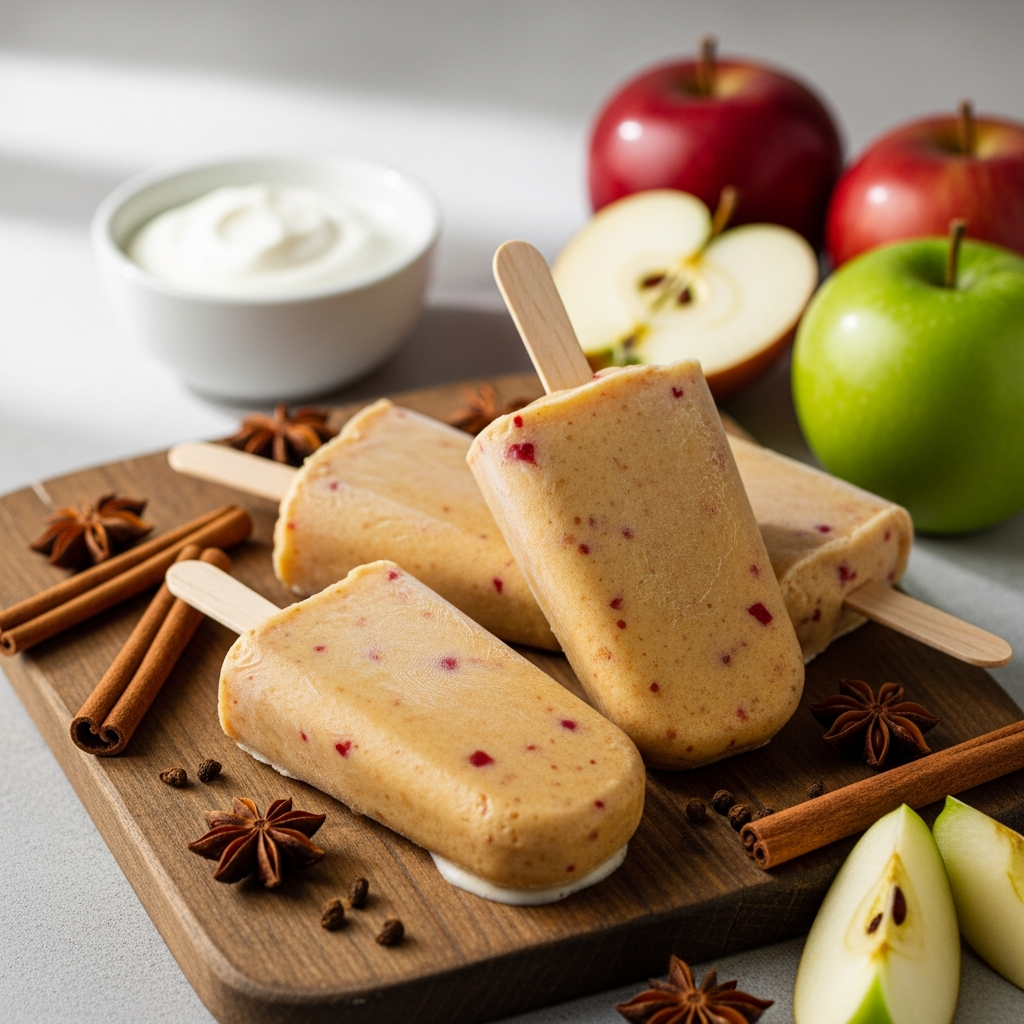
Perfect for a hot day or just a cooling snack, these pupsicles are simple to make and a favorite among many dogs.
What You’ll Need
1 cup plain, unsweetened yogurt (dairy or a dog-safe plant-based option like coconut or almond yogurt, ensure no xylitol)
1 medium apple, cored, peeled, and finely diced or pureed
1/4 cup water (optional, to thin consistency)
How to Make Them
1. Prepare Apples: You can either finely dice the apple for a chunky texture or puree it for a smoother pupsicle.
2. Mix Ingredients: In a bowl, combine the yogurt and diced or pureed apple. If the mixture is too thick to pour, add a little water until it reaches a pourable consistency.
3. Fill Molds: Pour the mixture into ice cube trays, silicone molds (dog bone shapes are fun!), or even small paper cups.
4. Freeze: Place the molds in the freezer for at least 3-4 hours, or until completely solid.
5. Serve: Once frozen, pop them out of the molds and offer one to your dog.
Storage Tip
Store these frozen apple yogurt pupsicles in a freezer-safe bag or container for up to two months.
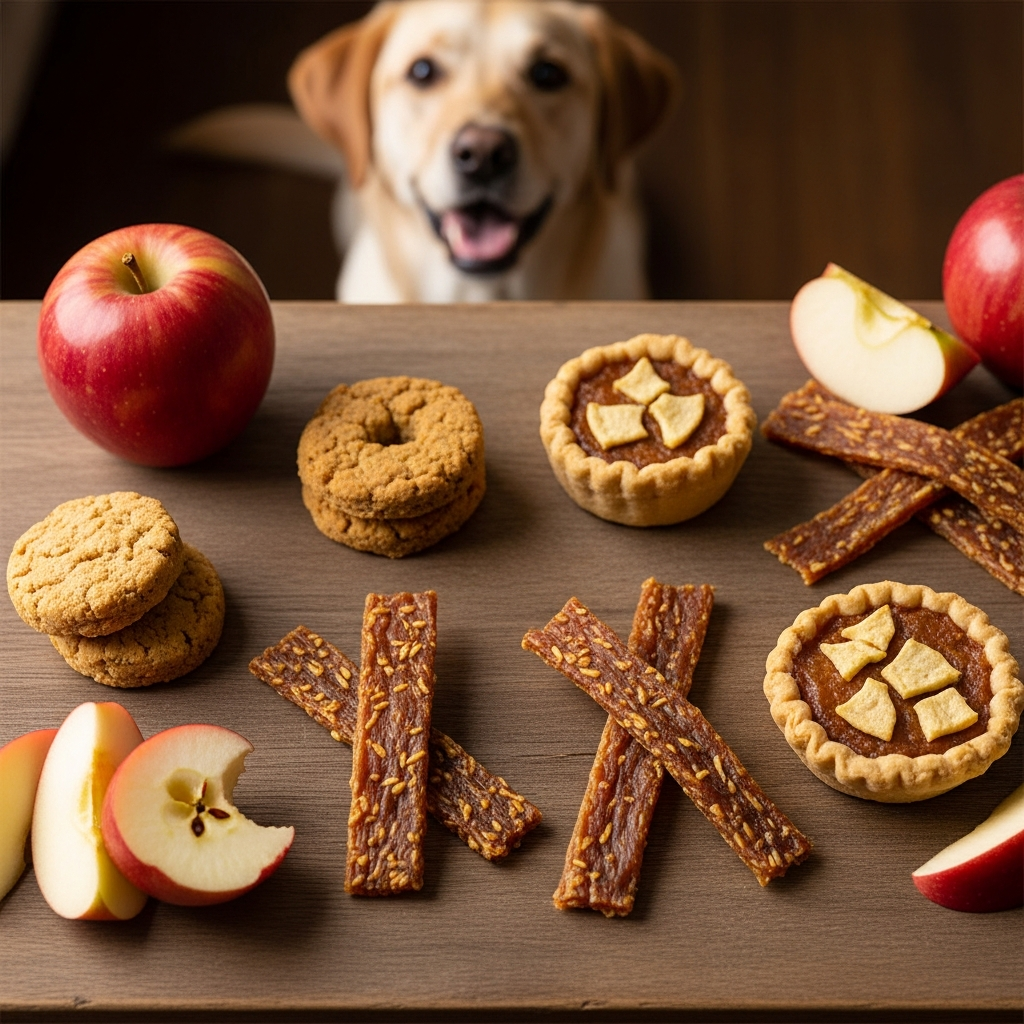
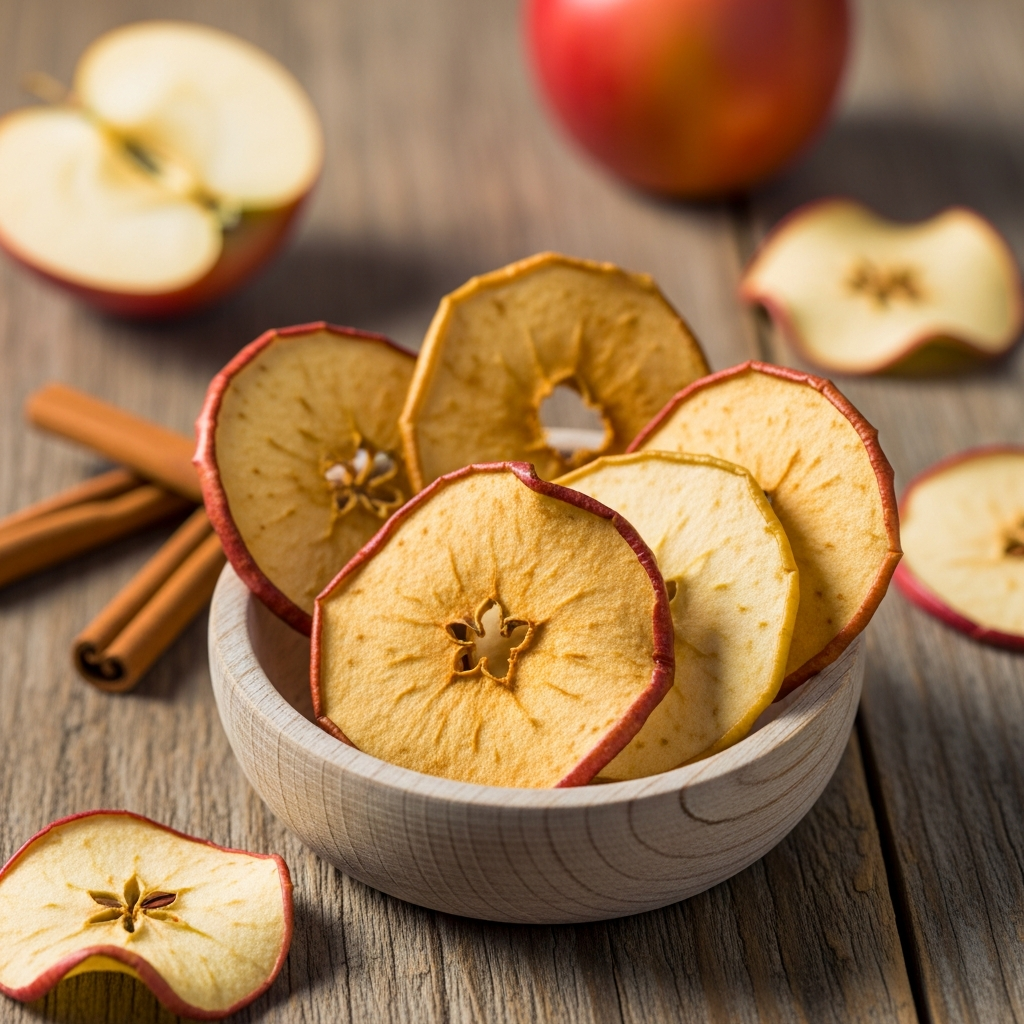
4. Crispy Dehydrated Apple Chews
Regenerate Image
These chews are fantastic because they are 100% apple, offering a natural, healthy, and slightly chewy snack that lasts longer than a fresh slice.
What You’ll Need
2-3 medium apples, cored
A mandoline slicer or a very sharp knife
How to Make Them
1. Preheat Oven (Low): Set your oven to its lowest temperature, usually around 170-200°F (75-95°C).
2. Slice Apples: Carefully slice the apples into very thin rounds, about 1/8 to 1/4 inch thick. A mandoline makes this much easier and ensures even thickness. Remember to remove the core first.
3. Arrange on Baking Sheet: Place the apple slices in a single layer on a baking sheet lined with parchment paper. Don’t let them overlap.
4. Dehydrate: Bake for 2-4 hours, flipping them every hour or so. The goal is for them to become dry, pliable, and slightly crispy, not burnt. The exact time will depend on your oven and the thickness of your slices.
5. Cool: Once done, turn off the oven and let the apple slices cool inside the oven for another hour, or on a wire rack, to allow them to crisp up further.
Storage Tip
Store these dehydrated apple chews in an airtight container at room temperature for up to two weeks. Ensure they are completely dry before storing to prevent mold.
5. Savory Apple & Carrot Training Treats
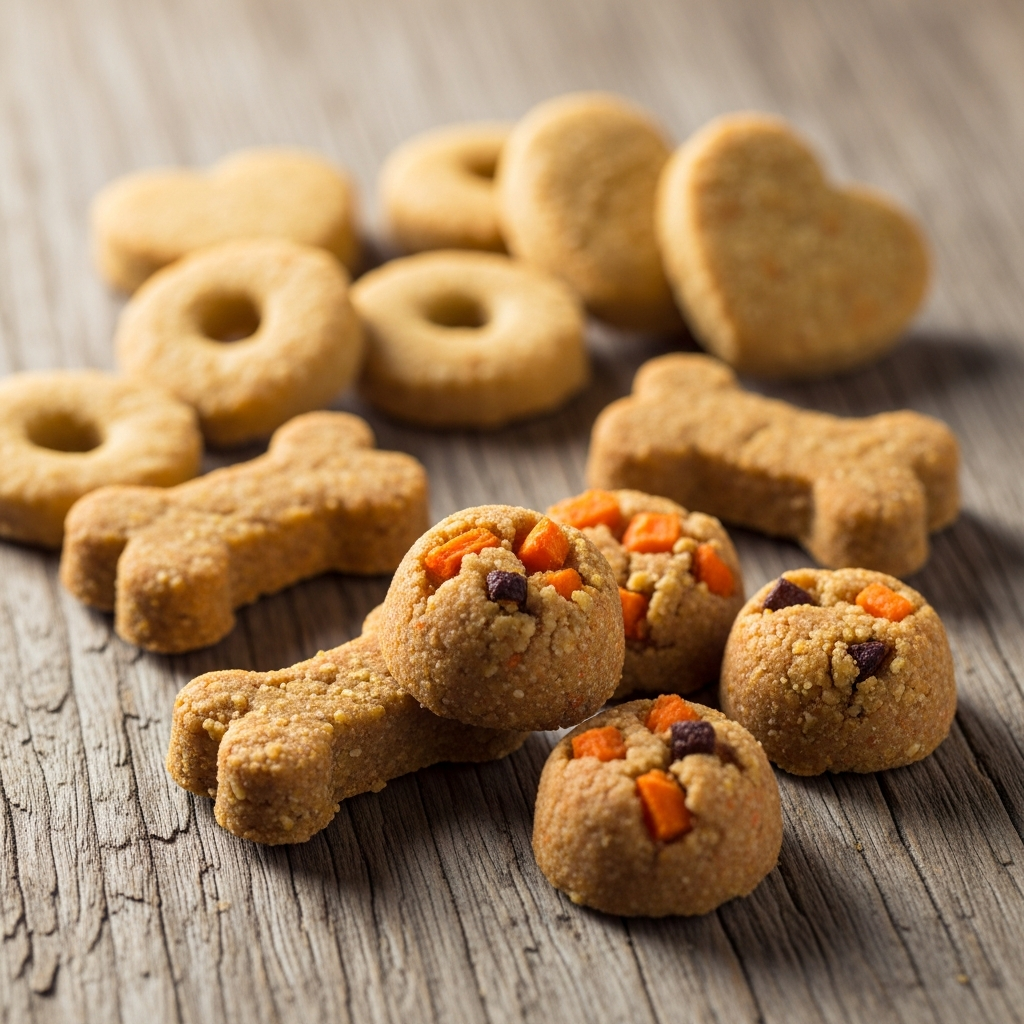
These small, soft treats combine the sweetness of apple with the earthy flavor of carrots, making them irresistible for training sessions.
What You’ll Need
1/2 cup unsweetened applesauce
1/2 cup grated carrot
1 cup whole wheat flour
1/4 cup water (or low-sodium chicken broth for extra flavor)
1 tablespoon olive oil
How to Make Them
1. Preheat Oven: Warm your oven to 350°F (175°C). Line a baking sheet with parchment paper.
2. Combine Wet Ingredients: In a medium bowl, mix the applesauce, grated carrot, water (or broth), and olive oil.
3. Add Flour: Gradually add the whole wheat flour, mixing until a soft dough forms. It should be firm enough to roll.
4. Roll and Cut: On a lightly floured surface, roll out the dough to about 1/4 inch thickness. Use a small cookie cutter (or just a knife to cut squares) to create small training-sized treats.
5. Bake: Place the treats on the prepared baking sheet and bake for 15-20 minutes, or until firm and lightly golden.
6. Cool: Let them cool completely before breaking them into even smaller pieces if desired.
Storage Tip
Store these training treats in an airtight container in the refrigerator for up to 5-7 days. They can also be frozen for longer storage.
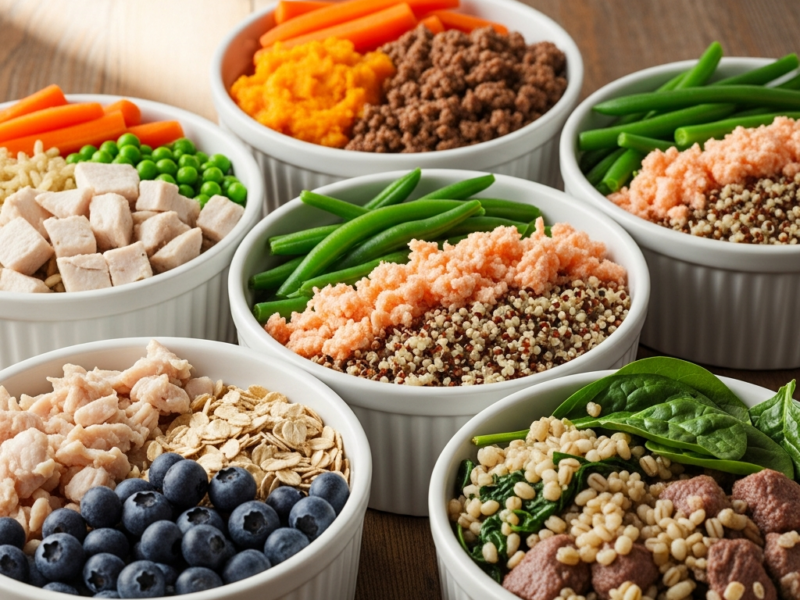
6. Immunity-Boosting Apple & Sweet Potato Gems
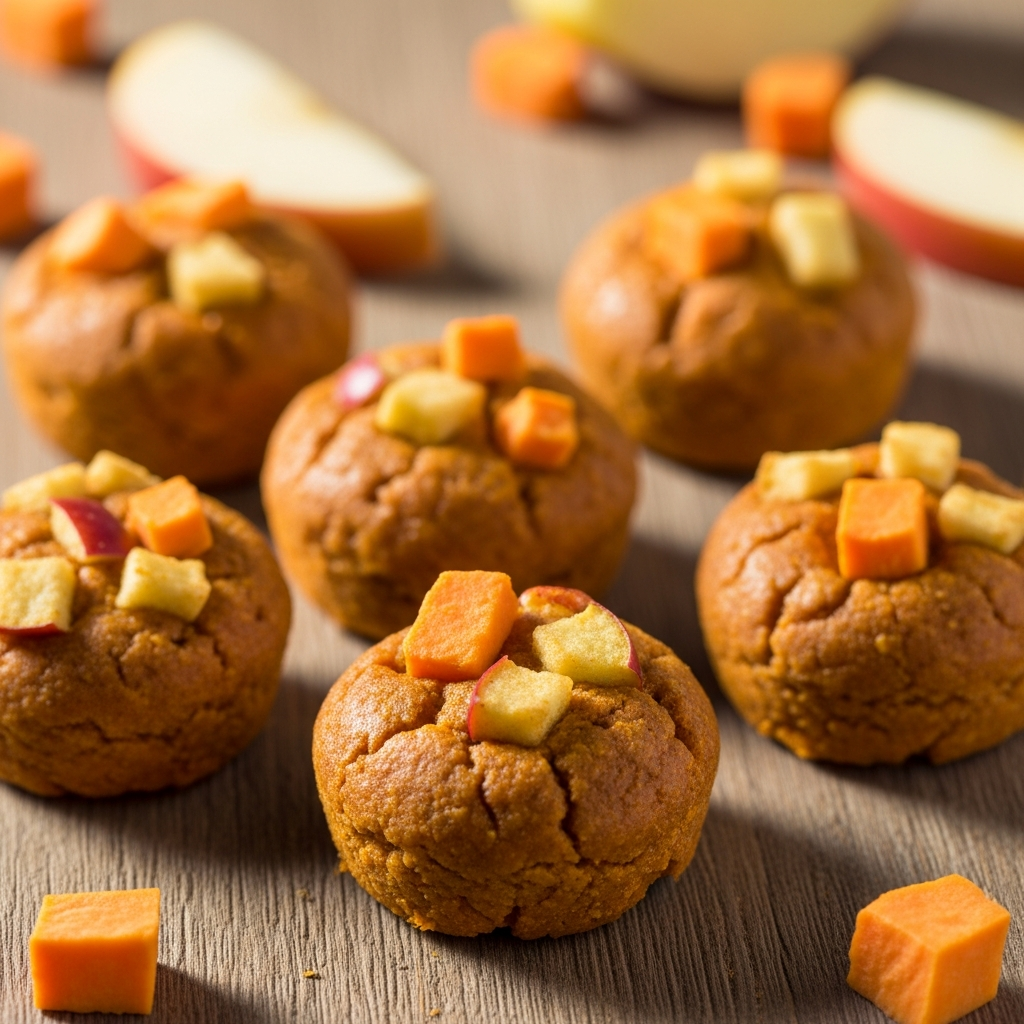
This recipe combines two superfoods for dogs: apples and sweet potatoes. These treats are nutrient-dense and great for your dog’s immune system.
What You’ll Need
1/2 cup cooked and mashed sweet potato (plain, no seasonings)
1/2 cup unsweetened applesauce
1 cup whole wheat flour
1 egg
1/2 teaspoon ground cinnamon (optional, for flavor, in very small amounts)
How to Make Them
1. Preheat Oven: Preheat your oven to 350°F (175°C) and line a baking sheet.
2. Mash Sweet Potato: Ensure your sweet potato is fully cooked and mashed smooth.
3. Mix Wet Ingredients In a bowl, combine the mashed sweet potato, applesauce, and egg. Add the cinnamon if using.
4. Add Flour: Slowly add the whole wheat flour, mixing until a stiff dough forms.
5. Roll and Shape: Roll the dough into a log and cut into small “gems” or use a small cookie cutter. You can also roll into small balls and flatten.
6. Bake: Arrange on the baking sheet and bake for 20-25 minutes, until firm and the edges are slightly browned.
7. Cool: Let the treats cool completely on a wire rack.
Storage Tip
These sweet potato and apple gems can be stored in an airtight container in the refrigerator for up to a week. For longer storage, freeze them for up to two months.