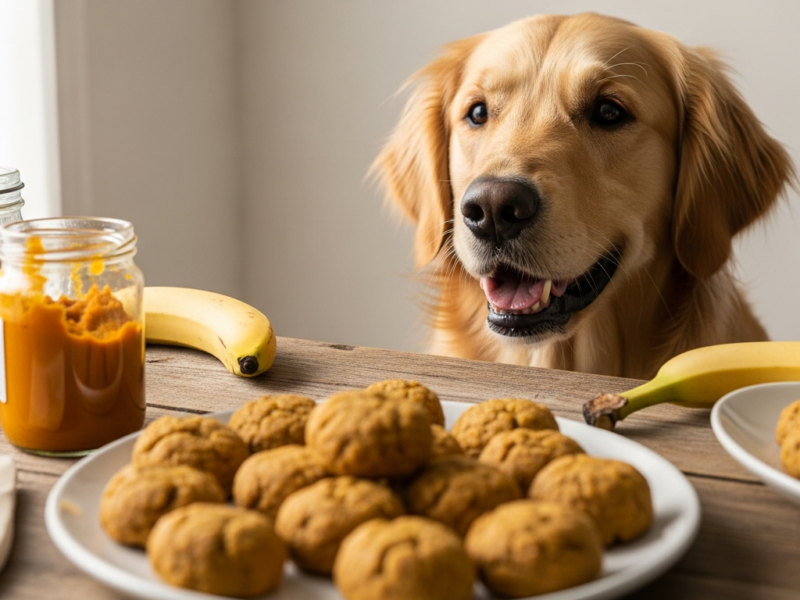
Being a dog parent is a wonderful journey, filled with snuggles, walks, and, of course, treats! While store-bought treats are convenient, there’s something truly special about whipping up a batch of homemade goodies for your furry friend. And guess what? You don’t even need an oven!
No-bake dog treats are a fantastic way to show your love without a lot of fuss. They’re quick, easy, and give you full control over every single ingredient your dog enjoys. This means healthier snacks tailored specifically for your pup, potentially saving you money and giving you peace of mind. Get ready to dive into six simple recipes that will have your dog’s tail wagging with delight!
Why Make Your Own Dog Treats?
Making treats at home isn’t just a fun activity; it comes with a host of benefits for both you and your beloved pet. It’s a thoughtful way to enhance your dog’s diet and strengthen your bond.
Ingredient Control
When you make treats yourself, you know exactly what goes into them. You can avoid artificial colors, flavors, preservatives, and questionable fillers often found in commercial products.
Allergy Management
If your dog has specific food sensitivities or allergies, homemade treats are a lifesaver. You can easily select ingredients that are safe and healthy for their unique dietary needs.
Cost-Effective
Store-bought specialty treats can be quite expensive. Using common pantry items to make your own can save you a good amount of money over time.
Freshness and Quality
Homemade treats are typically fresher than anything you’d buy off a shelf. This means better flavor and more potent nutrients for your dog.
Bonding Experience
The act of preparing something special for your dog is a lovely way to show affection. They’ll appreciate the effort, and you’ll enjoy their happy reactions.
Important Safety Tips Before You Start
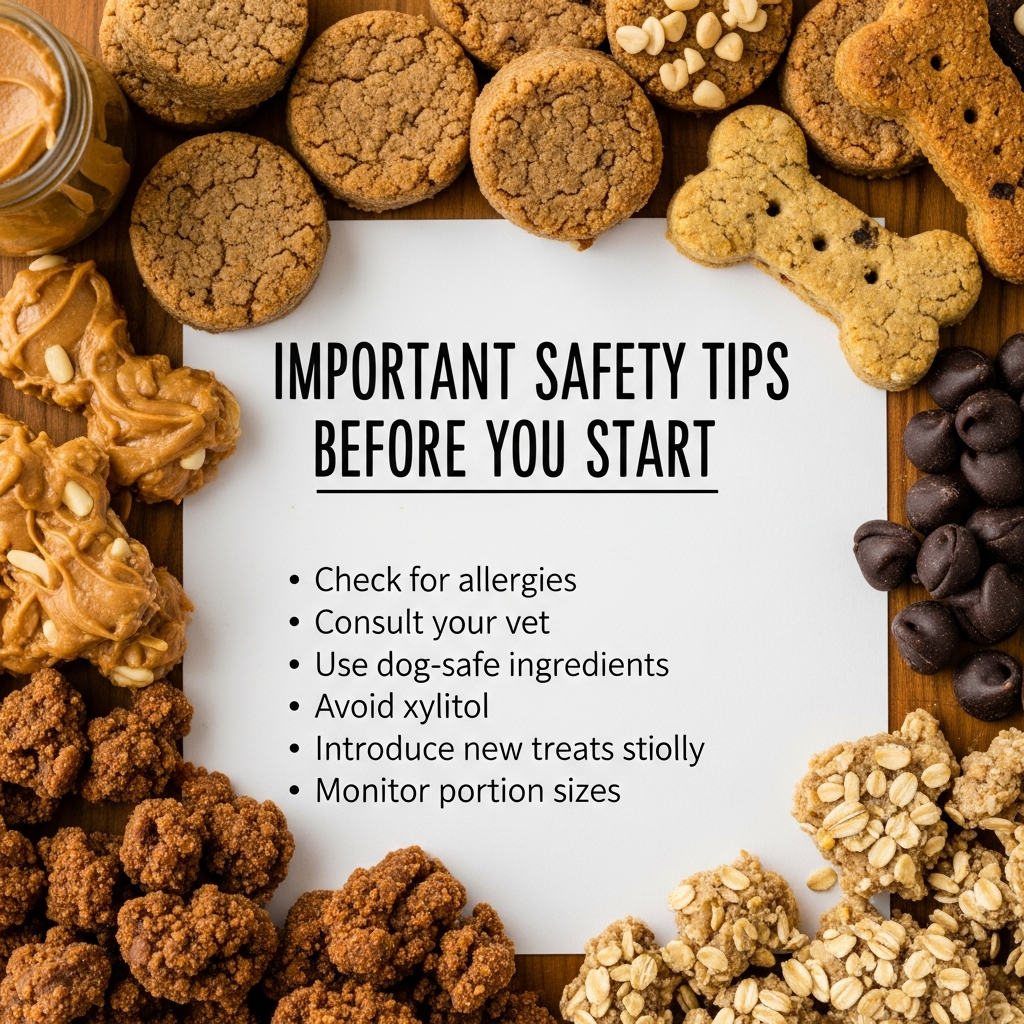
Before you put on your apron and gather your ingredients, it’s crucial to understand what’s safe and what’s not for your canine companion. Your dog’s health is always the top priority.
Always Check Ingredients
Not all human foods are safe for dogs. Always double-check every ingredient. A quick online search or a call to your vet can clarify any doubts.
Avoid Toxic Foods
Some common foods are highly toxic to dogs. These include chocolate, grapes, raisins, xylitol (a common sugar substitute often found in peanut butter, gum, and other products), onions, garlic, avocado, and macadamia nuts.
Moderation is Key
Even healthy treats should only make up a small portion of your dog’s daily calorie intake. Treats are not a meal replacement and too many can lead to weight gain or an unbalanced diet.
Portion Control
Adjust the size of the treats based on your dog’s size and activity level. A tiny Chihuahua needs a much smaller treat than a large Great Dane.
Proper Storage
Homemade treats lack the preservatives of commercial ones, so they spoil faster. Always store them correctly to maintain freshness and prevent bacterial growth.
Consult Your Veterinarian
If your dog has any underlying health conditions, allergies, or a sensitive stomach, it’s always best to consult your vet before introducing new treats or ingredients.
Essential Ingredients for No-Bake Treats
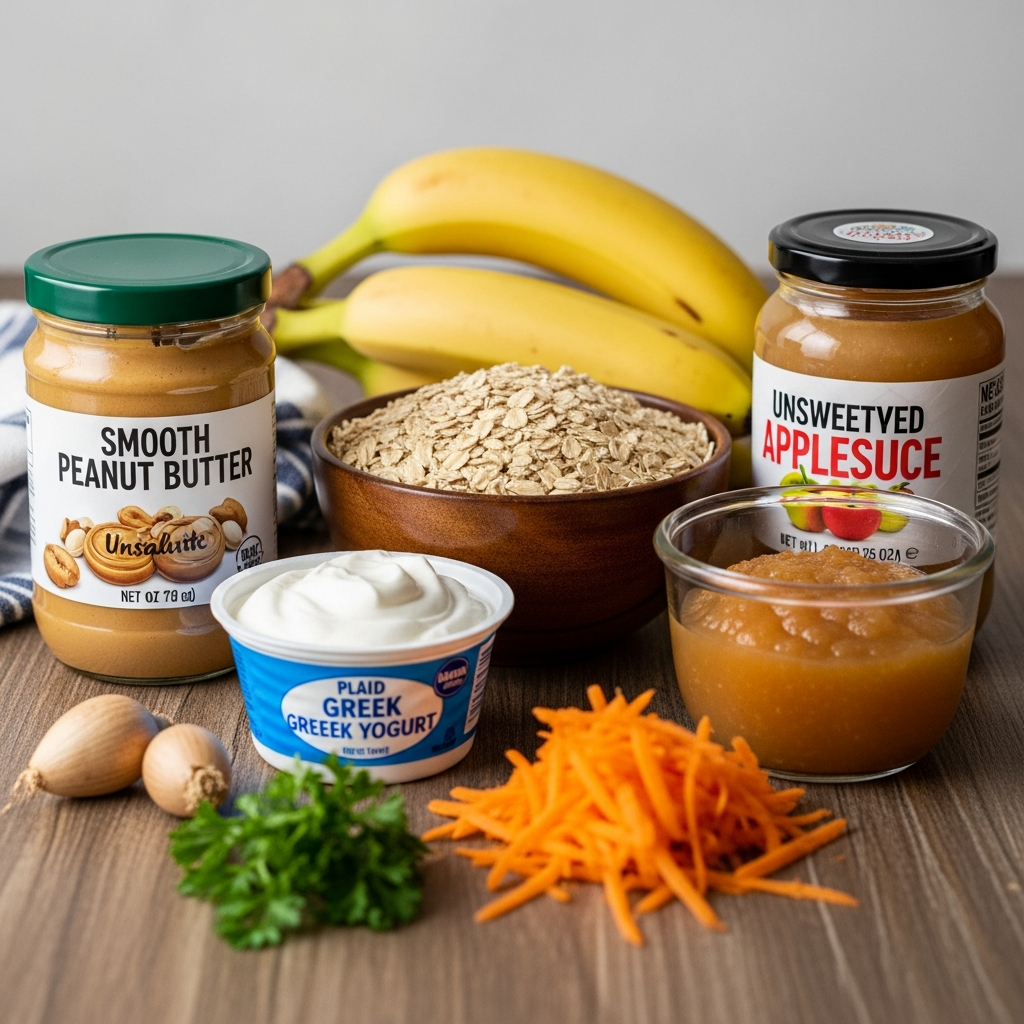
These no-bake recipes rely on a few versatile and dog-friendly ingredients you might already have in your kitchen. Always choose plain, unsweetened versions where applicable.
Peanut Butter: Always check the label to ensure it does NOT contain xylitol.
Pumpkin Puree: Use 100% pure pumpkin, not pumpkin pie filling, which contains spices and sugar.
Rolled Oats: A good source of fiber.
Plain Yogurt: Unsweetened and unflavored. Greek yogurt is also fine.
Bananas: Ripe bananas are easy to mash and add natural sweetness.
Berries: Blueberries and strawberries are safe and full of antioxidants.
Coconut Oil: Can be used as a binding agent and has some health benefits.
Sweet Potatoes: Cooked and mashed, they are a healthy and delicious base.
Honey: In very small amounts, can add sweetness and some beneficial properties.
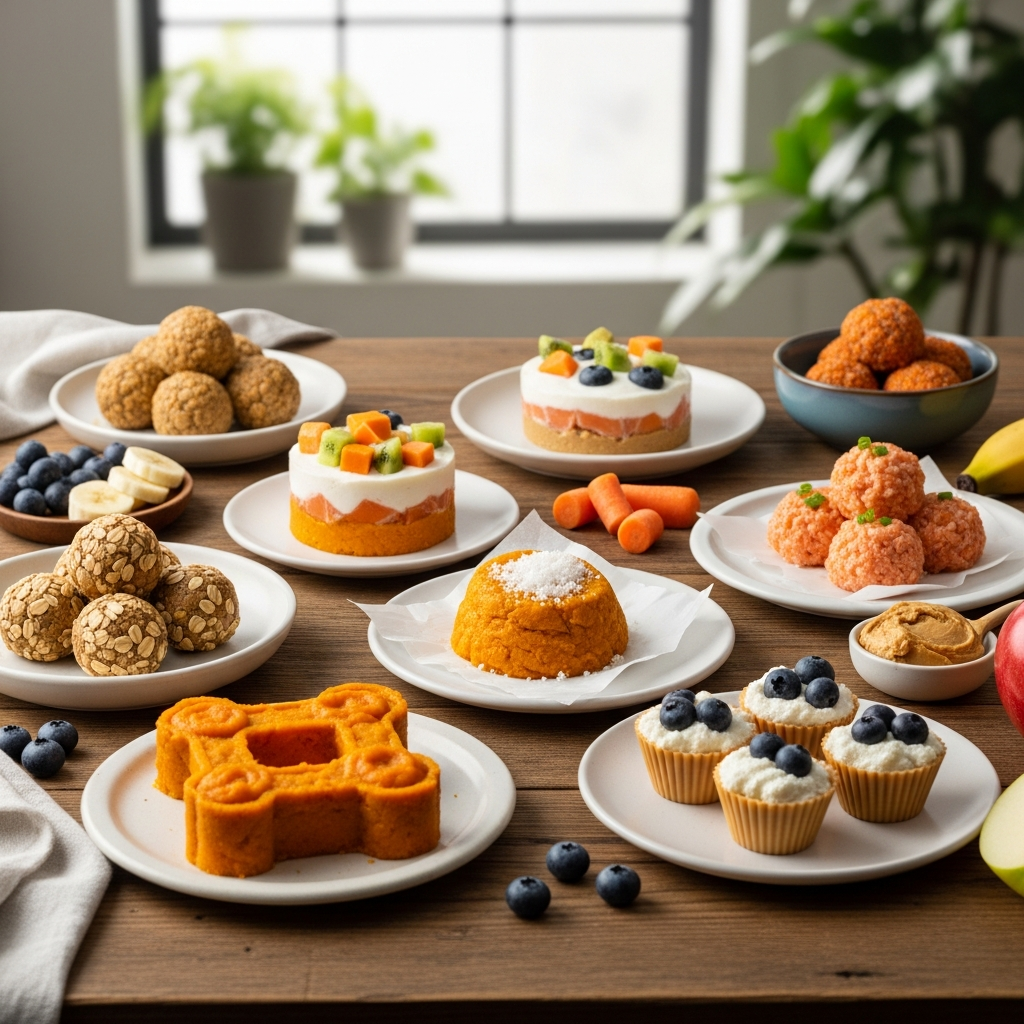
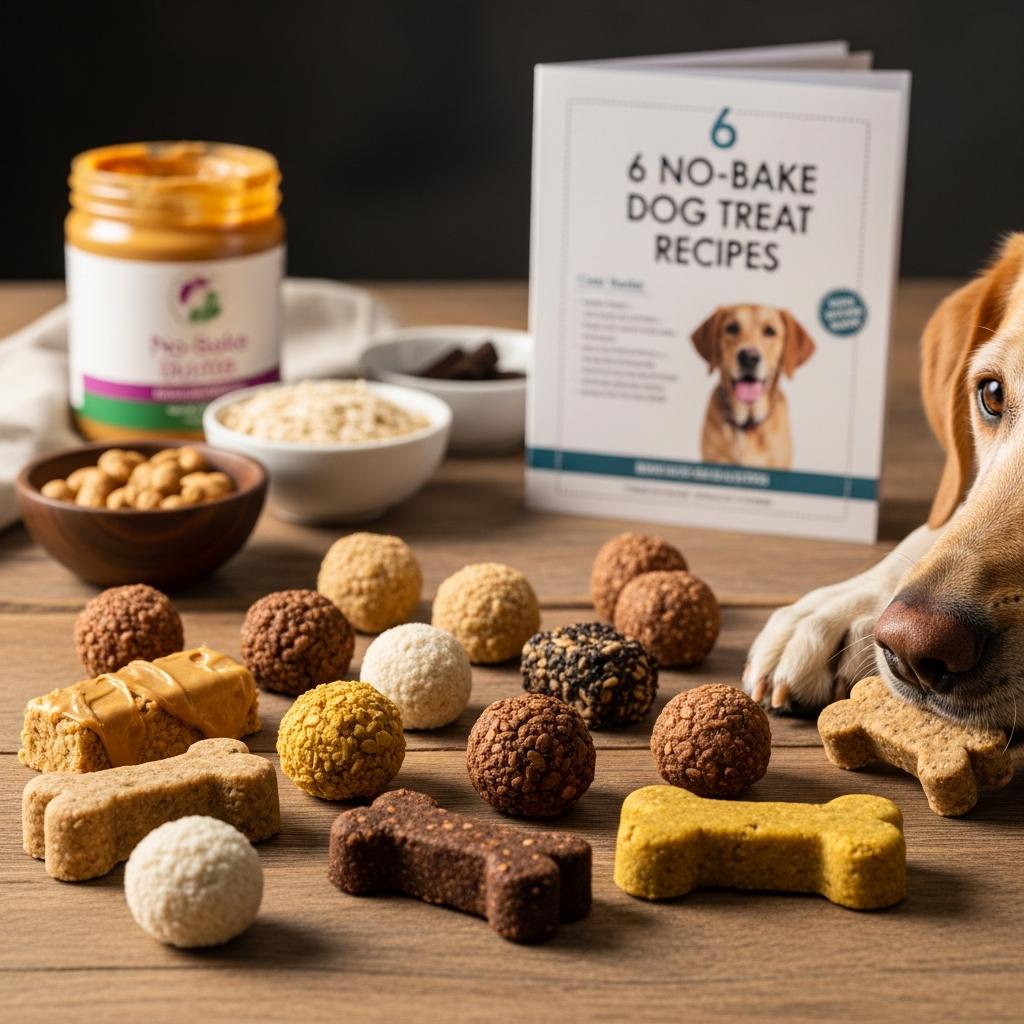
The 6 No-Bake Dog Treat Recipes
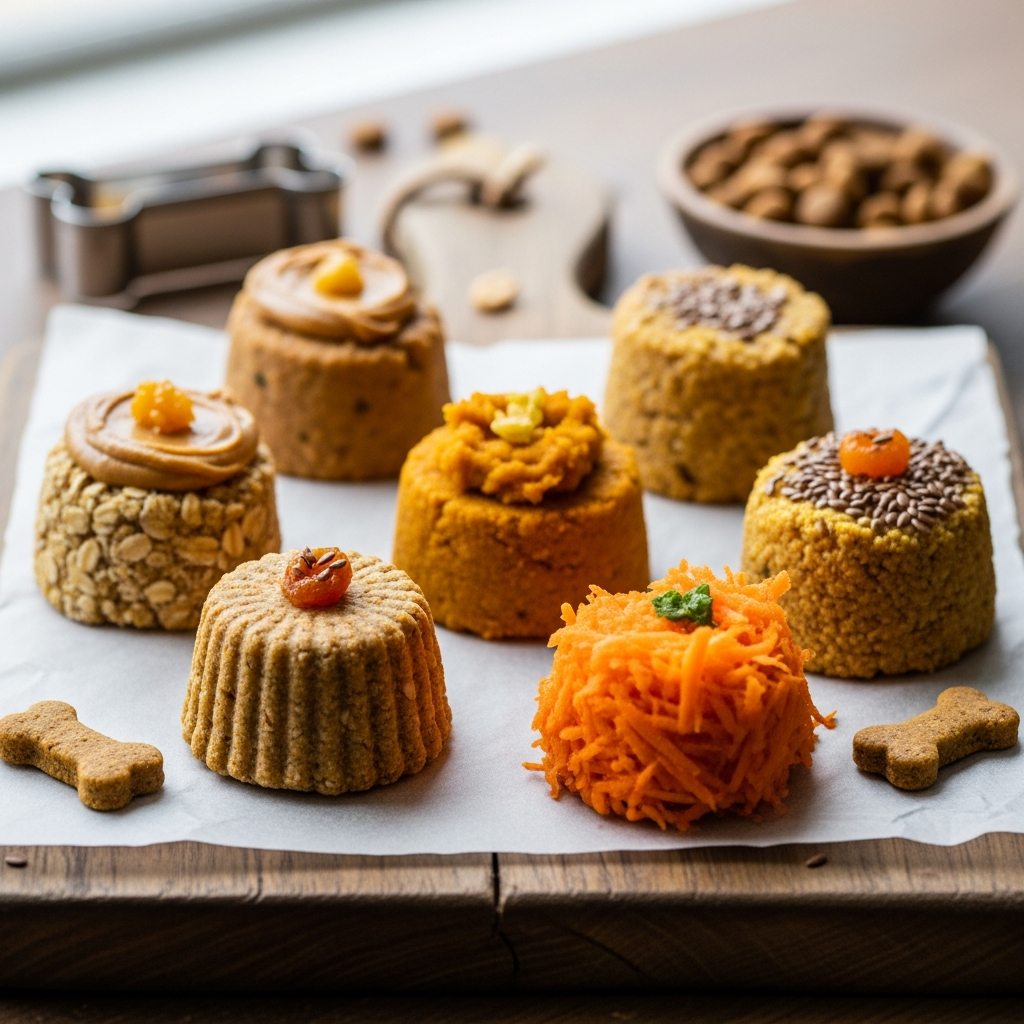
Let’s get into the fun part! These recipes are designed to be simple, with minimal ingredients and no cooking required.
Recipe 1: Peanut Butter & Pumpkin Bites
These soft, chewy bites are a favorite, combining two classic dog-friendly flavors.
Ingredients
* 1/2 cup pure pumpkin puree (not pie filling)
* 1/4 cup xylitol-free peanut butter
* 1 cup rolled oats
Instructions
1. In a medium bowl, combine the pumpkin puree and peanut butter. Mix well until smooth.
2. Gradually add the rolled oats, mixing until everything is fully incorporated and forms a stiff dough.
3. Roll the mixture into small, bite-sized balls. The size will depend on your dog’s preference and size.
4. Place the balls on a parchment-lined tray or plate.
5. Refrigerate for at least 30 minutes to allow them to firm up.
Storage Tips
Store these bites in an airtight container in the refrigerator for up to one week. You can also freeze them for up to a month for longer storage.
Customization Ideas
* Add a sprinkle of cinnamon (safe for dogs in small amounts) for extra flavor.
* Roll the finished balls in a tiny bit of shredded unsweetened coconut for a different texture.
Recipe 2: Frozen Fruity Yogurt Drops
Perfect for a hot day, these refreshing drops are like little popsicles for your pup!
Ingredients
* 1 cup plain, unsweetened yogurt (dairy or non-dairy, if preferred)
* 1/4 cup mixed berries (blueberries, raspberries, or chopped strawberries)
Instructions
1. In a small bowl, lightly mash the berries. You can leave some chunks for texture.
2. Stir the mashed berries into the plain yogurt until just combined.
3. Spoon small dollops of the mixture onto a parchment-lined baking sheet or use silicone molds (like ice cube trays or candy molds).
4. Place the sheet or molds in the freezer for at least 2-3 hours, or until completely solid.
Storage Tips
Once frozen solid, transfer the drops into an airtight freezer-safe bag or container. They will last in the freezer for up to 2-3 weeks.
Customization Ideas
* Instead of berries, try mashing half a banana into the yogurt.
* Add a teaspoon of honey for a touch more sweetness, if desired, but sparingly.
Recipe 3: Banana & Oat Energy Balls
These soft, chewy balls are packed with fiber and energy, great for active pups!
Ingredients
* 1 ripe banana, mashed
* 1/2 cup rolled oats
* 1/4 cup xylitol-free peanut butter
Instructions
1. In a bowl, thoroughly mash the ripe banana until it’s smooth.
2. Add the peanut butter to the mashed banana and mix well.
3. Gradually stir in the rolled oats until a thick, sticky dough forms.
4. Roll the mixture into small balls. If the mixture is too sticky, you can chill it for 15 minutes first.
5. Place the balls on a parchment-lined plate and refrigerate for at least an hour to firm up.
Storage Tips
Keep these energy balls in an airtight container in the refrigerator for up to 5 days. They can also be frozen for up to 3 weeks.
Customization Ideas
* Mix in a tablespoon of finely chopped, unsalted, unroasted peanuts for extra crunch (ensure no shells).
* Add a tiny sprinkle of flaxseeds for omega-3s.
Recipe 4: Sweet Potato & Coconut Chews
A slightly firmer chew, these treats offer a different texture and sweet, earthy flavors.
Ingredients
* 1/2 cup cooked and mashed sweet potato (plain, no seasonings)
* 1/4 cup unsweetened shredded coconut
* 1/4 cup rolled oats (can add more if needed for consistency)
Instructions
1. Ensure your sweet potato is fully cooked and mashed smoothly. Let it cool completely.
2. In a bowl, combine the mashed sweet potato, shredded coconut, and rolled oats.
3. Mix everything together until a thick, uniform dough forms. If it’s too wet, add a little more oats.
4. Press the mixture firmly into a small, parchment-lined dish or baking pan (about 1/2 inch thick).
5. Refrigerate for at least 2 hours, or until very firm.
6. Once firm, lift the parchment paper to remove the block and cut it into small squares or strips.
Storage Tips
Store these chews in an airtight container in the refrigerator for up to one week. They also freeze well for up to a month.
Customization Ideas
* For a bit of healthy fat, mix in a tablespoon of melted coconut oil with the sweet potato before adding other ingredients.
* Dust with a tiny amount of dried parsley for fresh breath.
Recipe 5: Three-Ingredient Peanut Butter Cookies (No-Bake)
These mimic classic cookies without any baking, and they’re incredibly simple!
Ingredients
* 1 cup rolled oats (quick or old-fashioned)
* 1/2 cup xylitol-free peanut butter
* 1/4 cup unsweetened applesauce (or pure pumpkin puree)
Instructions
1. In a bowl, combine the peanut butter and applesauce (or pumpkin puree). Mix until smooth.
2. Add the rolled oats to the wet mixture, stirring until everything is well combined and forms a thick dough.
3. Take small portions of the dough and roll them into balls, then gently flatten them into cookie shapes.
4. Arrange the “cookies” on a parchment-lined tray.
5. Refrigerate for at least 1-2 hours until firm.
Storage Tips
These cookies can be stored in an airtight container in the refrigerator for up to 5-7 days. Freezing them extends their shelf life to about 3-4 weeks.
Customization Ideas
* Press a small, dog-safe blueberry into the center of each cookie before chilling.
* Sprinkle a tiny bit of dried ginger powder (known for soothing tummies) into the mix.
Recipe 6: Berry Smoothie Pupsicles
Another fantastic option for warm weather, these pupsicles are hydrating and delicious.
Ingredients
* 1 cup plain, unsweetened yogurt
* 1/2 cup mixed berries (fresh or frozen)
* 1/4 cup water (or unsalted chicken/beef broth)
Instructions
1. Combine the yogurt, berries, and water (or broth) in a blender.
2. Blend until the mixture is smooth, like a human smoothie.
3. Pour the smoothie mixture into silicone molds, ice cube trays, or small paper cups.
4. Place the molds in the freezer for at least 3-4 hours, or until completely solid.
Storage Tips
Once frozen, you can remove them from the molds and store them in an airtight freezer-safe bag or container. They’ll last for 2-3 weeks in the freezer.
Customization Ideas
* Add a few spinach leaves to the blend for an extra nutritional boost (most dogs won’t even notice!).
* Instead of water, use unsweetened coconut water for added electrolytes.
Serving and Storing Your Homemade Treats
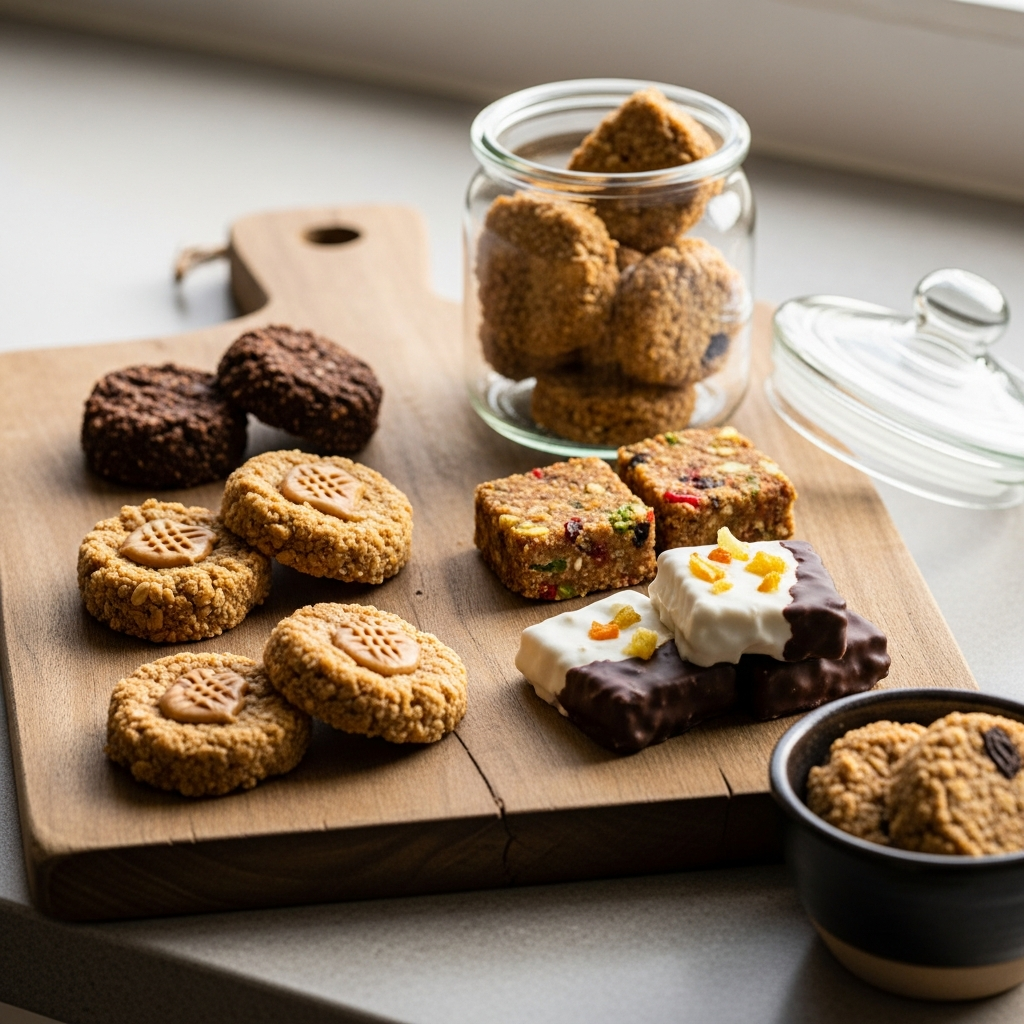
Making the treats is only half the fun! Knowing how to properly serve and store them ensures your dog enjoys them safely and for as long as possible.
Portion Sizes Matter
Remember, treats should always be given in moderation. A good rule of thumb is that treats should make up no more than 10% of your dog’s daily caloric intake. Adjust the size and quantity of treats according to your dog’s breed, size, activity level, and any dietary restrictions.
Freshness is Key
Since these treats are made without artificial preservatives, their shelf life is naturally shorter. Always check for any signs of spoilage before giving them to your dog.
Airtight Containers
Always store homemade treats in an airtight container. This keeps them fresh, prevents them from drying out, and stops them from absorbing other odors from your fridge or freezer.
Refrigeration and Freezing
Refrigerated Treats: Most no-bake treats, especially those with fresh ingredients like fruit, yogurt, or pumpkin, need to be stored in the refrigerator. They typically last for 5-7 days.
Frozen Treats: Treats that contain liquid and are meant to be frozen (like the yogurt drops or pupsicles) can last for several weeks, usually up to a month, in the freezer. This is also a great option for extending the life of your other no-bake creations.