Bringing a new puppy home is an incredibly exciting time! You’re likely busy with playtime, potty training, and helping your little furry friend settle into their new world. One of the most important aspects of raising a well-behaved dog starts early: positive reinforcement training. And what’s better for positive reinforcement than a delicious, high-value treat?
Store-bought treats are convenient, but when it comes to our puppies, we want to know exactly what they’re eating. Their tiny digestive systems are still developing, and their little teeth (or lack thereof!) need something gentle. That’s why homemade soft training treats are an absolute game-changer.
Imagine being able to whip up a batch of healthy, irresistible treats with just four simple ingredients from your kitchen. Not only will your puppy adore them, but you’ll also have peace of mind knowing they’re getting pure, wholesome goodness. These treats are perfect for tiny mouths, easy to digest, and incredibly motivating for training sessions. Let’s get baking!
Why Homemade Soft Treats are a Game-Changer for Puppy Training
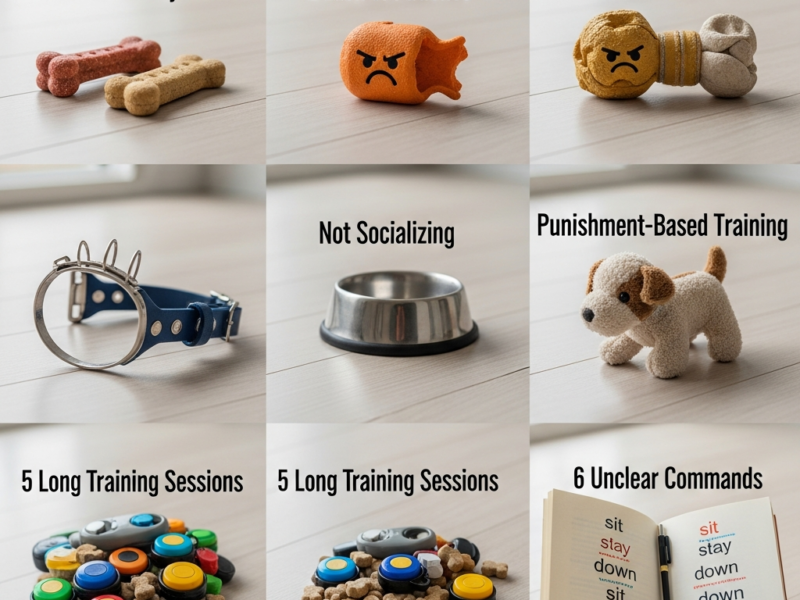
Puppyhood is a whirlwind of discovery and learning. From basic commands like ‘sit’ and ‘stay’ to house training and leash manners, every interaction is a teaching moment. High-value treats are vital tools in this process, and homemade ones offer unique advantages.
Gentle on Tiny Tummies
A puppy’s digestive system is still maturing. Introducing too many new or rich ingredients can lead to upset stomachs, which is the last thing you want during training. Homemade treats allow you to control the ingredients, opting for easily digestible options that are less likely to cause issues.
You can avoid common allergens, artificial colors, preservatives, and fillers often found in commercial treats. This means fewer tummy aches and more happy training sessions for your little one. Plus, knowing exactly what goes into their treats can bring a lot of peace of mind.
Perfect for Teething Puppies
Puppies go through an intense teething phase, usually between 3 and 6 months of age. Their gums can be sore, and chewing on hard objects might be uncomfortable. Hard, crunchy treats can be painful or even difficult for them to eat.
Soft treats are much kinder to sensitive gums and developing teeth. They’re easy to chew and swallow, making them ideal rewards during this tricky period. They won’t cause discomfort, allowing your puppy to focus on the training rather than their aching mouth.
No Mystery Ingredients
Have you ever looked at the ingredient list on a package of dog treats and wondered what half those things were? With homemade treats, you’re the chef! You choose every single component, ensuring they are human-grade and safe for your puppy.
This control is especially important for puppies with sensitivities or allergies. Knowing exactly what goes into each bite eliminates guesswork and provides confidence that you’re offering the best possible nutrition.
Budget-Friendly and Customizable
Commercial puppy treats, especially the high-quality ones, can be quite expensive, especially when you’re using them frequently for training. Making your own treats at home is often much more economical, using ingredients you might already have.
Plus, the customization options are endless! Once you master this basic 4-ingredient recipe, you can experiment with different pureed veggies, lean proteins, or even a tiny sprinkle of puppy-safe herbs. This keeps things interesting for your pup and lets you tailor treats to their specific preferences.
The Magic Four Ingredients You’ll Need
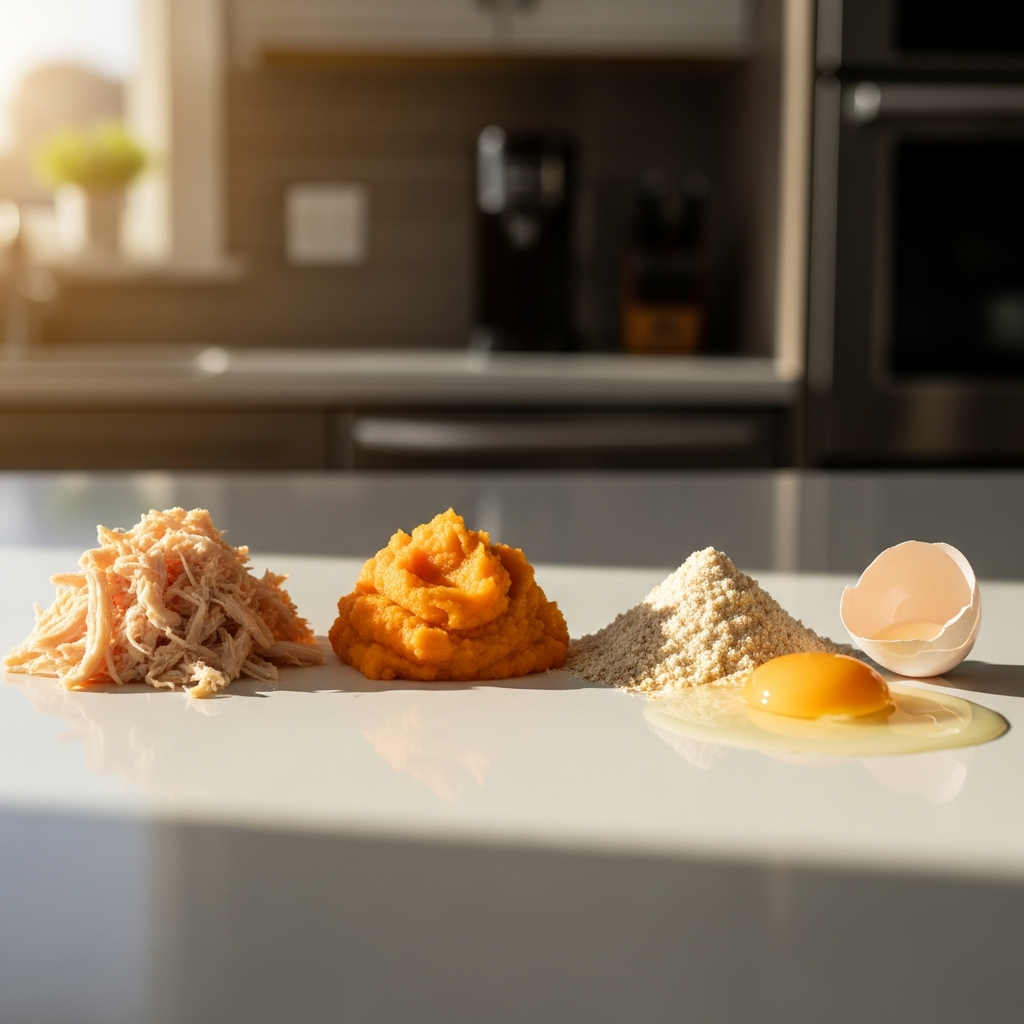
The beauty of this recipe lies in its simplicity. Just four wholesome ingredients come together to create soft, delicious, and nutrient-packed treats that your puppy will go wild for. Here’s what you’ll need:
Ingredient 1: Protein Powerhouse (Cooked Chicken or Liver)
Lean protein is essential for a growing puppy’s muscles and overall development. Cooked, unseasoned chicken breast is a fantastic choice, as it’s highly digestible and usually very appealing to dogs. You can also use cooked beef, turkey, or even liver if your puppy enjoys it.
Make sure the meat is thoroughly cooked and cooled before using. Avoid any seasonings, onions, garlic, or excessive fats. For puppies, chicken or liver are often top motivators!
Ingredient 2: Veggie Boost (Pureed Sweet Potato or Pumpkin)
Sweet potato and pumpkin are nutritional powerhouses for puppies. They are packed with vitamins, fiber, and antioxidants, aiding digestion and providing natural sweetness. Always use 100% pure canned pumpkin (not pie filling) or freshly cooked and pureed sweet potato.
These purees add moisture, binding, and a lovely soft texture to the treats. They also contribute a healthy dose of fiber, which can be beneficial for digestive health. Your puppy will love the subtly sweet flavor!
Ingredient 3: Binder Bliss (Oat Flour)
Oat flour is a wonderful, gluten-free option that acts as a gentle binder for these treats. It’s easy on puppy tummies and provides a good source of fiber. You can buy oat flour or simply make your own by blending rolled oats into a fine powder in a food processor or blender.
If you don’t have oat flour, other puppy-safe options include whole wheat flour (if your puppy isn’t sensitive to wheat) or chickpea flour. Always introduce new flours slowly to monitor your puppy’s reaction.
Ingredient 4: The Essential Link (Egg)
An egg is our final, crucial ingredient. It acts as a powerful binder, holding everything together, and adds extra protein and healthy fats. Eggs are generally safe and nutritious for puppies, providing essential amino acids.
Make sure to use a fresh, whole egg. If your puppy has an egg allergy (which is rare but possible), you might need to explore an egg substitute or a different recipe. However, for most puppies, an egg is a perfect, natural binding agent.
Step-by-Step Guide: Crafting Your Puppy’s Favorite Treats

Ready to get cooking? This process is straightforward and fun! You’ll be surprised how quickly you can create a batch of these delectable puppy rewards. Gather your ingredients and let’s begin.
Prepping Your Ingredients
- Cook 1 cup of lean protein (chicken, turkey, or liver) until well done. Let it cool completely. Once cool, chop it into very small pieces or pulse it in a food processor until it forms a fine mince or paste.
- Measure out 1/2 cup of pureed sweet potato or pumpkin. If using canned, ensure it’s 100% pure pumpkin, not pie filling. If using fresh sweet potato, boil or steam until soft, then mash or blend until smooth.
- Measure out 1 cup of oat flour. If making your own, blend about 1.5 cups of rolled oats until it reaches a fine flour consistency.
- Crack 1 large egg into a small bowl and give it a quick whisk.
Mixing it Up
- Preheat your oven to 350°F (175°C). Line a baking sheet with parchment paper for easy removal and cleanup.
- In a large mixing bowl, combine the pureed protein, pureed sweet potato/pumpkin, oat flour, and the whisked egg.
- Mix everything thoroughly with a sturdy spoon or your hands until a thick, uniform dough forms. It should be firm enough to roll but still soft and pliable. If it’s too sticky, add a tiny bit more oat flour; if too dry, a tiny splash of water or broth (unsalted, low sodium) can help.
Shaping and Baking
- Roll out the dough onto a lightly floured surface (using more oat flour) to about 1/4 inch thickness. You want them thin enough for easy chewing.
- Using a sharp knife or a pizza cutter, cut the dough into very small squares or rectangles. Remember, these are training treats, so aim for pea-sized or slightly larger, depending on your puppy’s size.
- Alternatively, you can roll small pieces of dough into thin logs, then slice them into tiny discs.
- Carefully transfer the cut treats to your prepared baking sheet, leaving a small space between each one.
- Bake for 15-20 minutes. The treats should be firm to the touch but still soft and slightly springy. They should not be hard or crunchy. Baking time can vary, so keep an eye on them.
Cooling and Storing
- Once baked, remove the treats from the oven and let them cool completely on the baking sheet or a wire rack.
- Ensure they are entirely cool before storing. This prevents moisture buildup and spoilage.
- Store the cooled treats in an airtight container in the refrigerator for up to 5-7 days. For longer storage, see the ‘Storage Savvy’ section below.
Tips for Success: Making the Most of Your Homemade Treats

Making your own treats is a rewarding experience, but a few helpful tips can ensure your treats are perfect every time and used effectively in training.
Consistency is Key
When rolling out your dough, aim for a consistent thickness. This ensures even baking, so all your treats are perfectly soft and pliable. If some are too thick, they might be undercooked in the middle; too thin, and they could become crunchy.
Also, try to cut them into similar small sizes. This makes it easier for your puppy to eat quickly during training without getting too full, and it helps you manage their caloric intake.
Portion Control for Pups
These treats are delicious, but like any good thing, moderation is important! Remember that treats should only make up a small percentage of your puppy’s daily caloric intake, usually no more than 10%.
Factor these homemade treats into your puppy’s overall diet. If you’re giving a lot of treats during a training session, consider slightly reducing their next meal portion to maintain a healthy balance. Always consult your vet if you have concerns about your puppy’s diet or weight.
Storage Savvy
Because these treats are homemade and contain fresh ingredients, they don’t have the same shelf life as commercial options. Storing them correctly is crucial to keep them fresh and safe for your puppy.
- Refrigerator: Store in an airtight container for up to 5-7 days.
- Freezer: For longer storage, place cooled treats in a single layer on a baking sheet to flash freeze for an hour, then transfer them to a freezer-safe bag or container. They can last for up to 2-3 months. Thaw them in the fridge overnight or for a few hours before use.
Allergy Awareness
While the ingredients in this recipe are generally puppy-safe, every puppy is unique. If your puppy has known allergies or sensitivities, always double-check the ingredients. For example, some puppies might be sensitive to chicken or specific grains.
When introducing any new food or treat, offer a tiny amount first and monitor your puppy for any adverse reactions, such as itching, vomiting, diarrhea, or lethargy. If you notice anything unusual, discontinue use and contact your veterinarian.
Introducing New Flavors
Once your puppy loves the basic recipe, you can start to get creative! Substitute the sweet potato with other puppy-safe pureed vegetables like carrots, green beans, or even a small amount of pureed apples (without seeds).
For protein, you could try pureed sardines (in water, no salt) for an omega-3 boost, or ground beef. Just remember to introduce one new ingredient at a time and always ensure it’s safe for puppies.
How to Use Your Training Treats Effectively
Having the perfect treats is only half the battle; knowing how to use them correctly is crucial for successful puppy training. These soft, high-value treats are designed to maximize your training efforts.
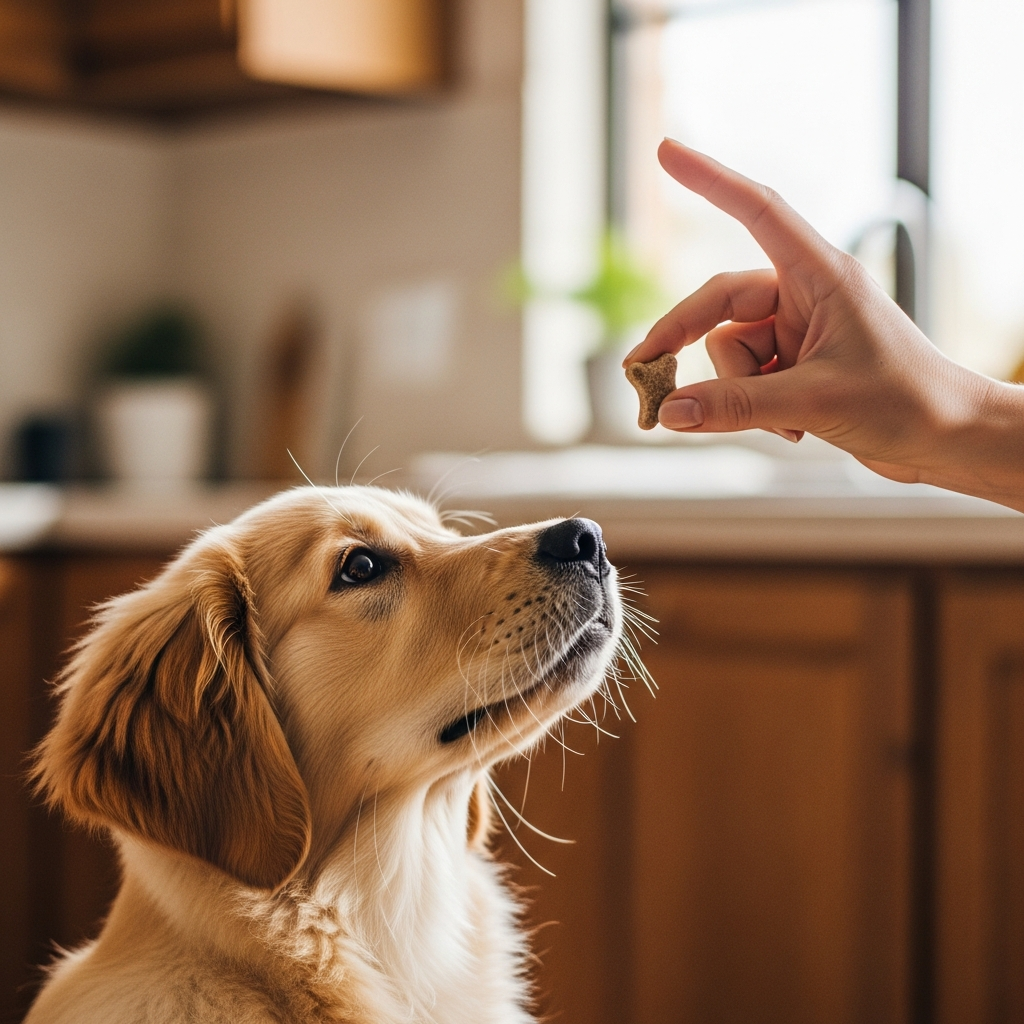
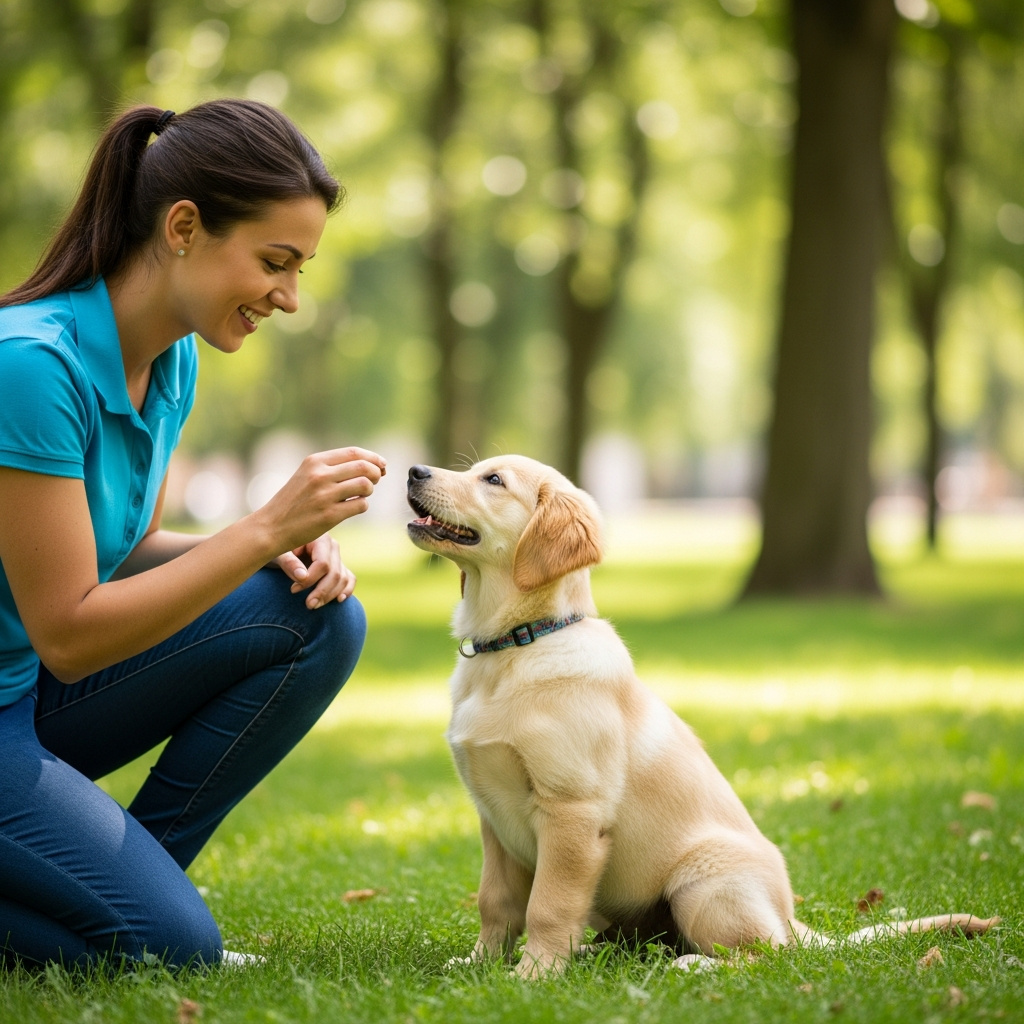
The Art of Positive Reinforcement
Positive reinforcement is the cornerstone of effective puppy training. When your puppy performs a desired action (like sitting on command), you immediately reward them with a treat and praise. This helps them associate the action with a positive outcome, making them more likely to repeat it.
These homemade treats are perfect because their appealing taste makes them a high-value reward, grabbing your puppy’s attention and motivating them to learn. A bland kibble piece might not cut it for complex new behaviors.
Timing is Everything
To be effective, the reward must be given immediately after the desired behavior – within 1-2 seconds. This helps your puppy understand exactly what they did right. If you wait too long, they might not connect the treat to their action.
Keep your treats readily accessible in a pouch or pocket during training sessions so you can deliver them swiftly. Quick rewards lead to quicker learning!
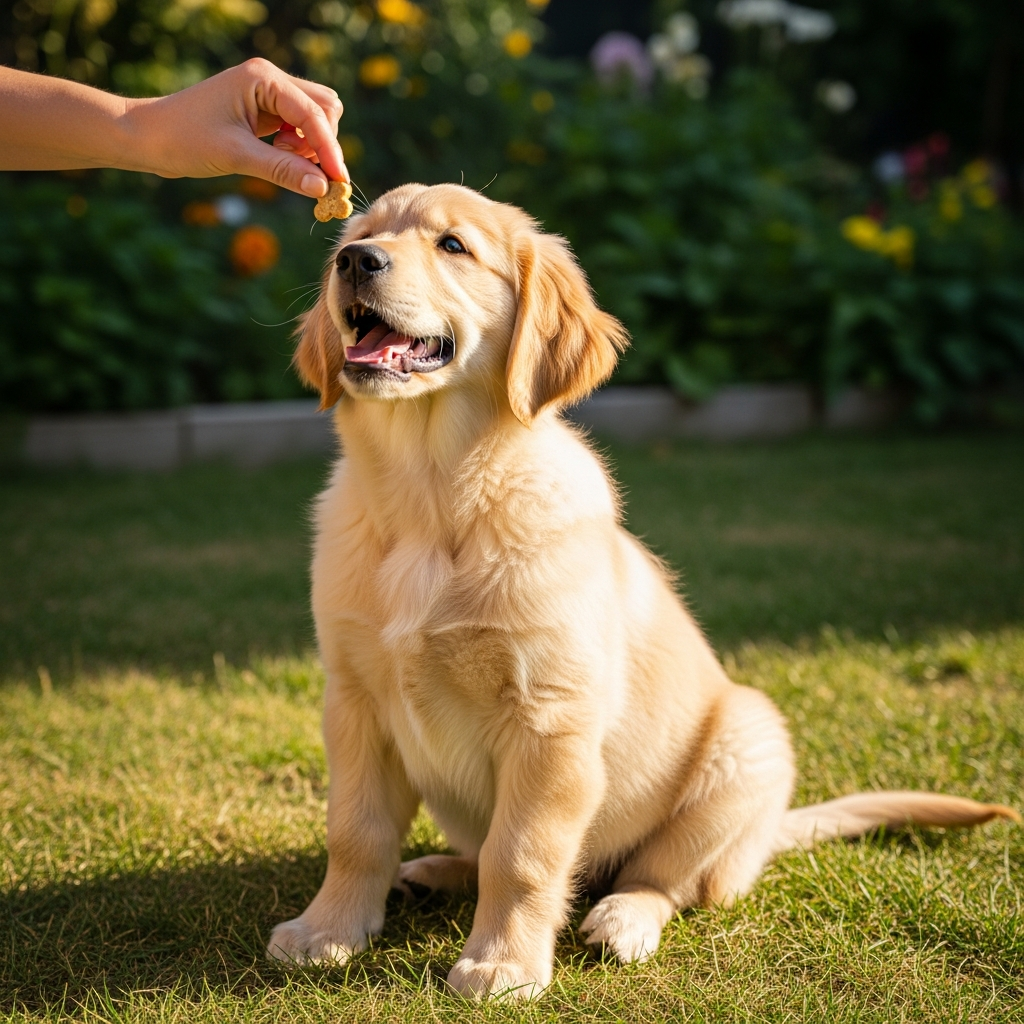
Keep Them Small
Training treats should be tiny – about the size of a pea for most puppies. This allows your puppy to swallow them quickly without needing to stop and chew extensively, keeping the training momentum going.
Tiny treats also prevent your puppy from getting full too quickly, meaning you can have longer, more productive training sessions without overfeeding them. It’s about getting just enough taste to reinforce, not a full snack.
High-Value vs. Everyday Treats
Your homemade soft treats are considered ‘high-value’ rewards. Save these for challenging new behaviors, particularly exciting distractions, or when you need to really capture your puppy’s attention.
For behaviors your puppy already knows well or for everyday maintenance, you can use lower-value rewards like a piece of their regular kibble or a less exciting store-bought treat. This keeps the high-value treats special and more impactful when you need them most.
When to Use Them
- Basic Obedience: ‘Sit,’ ‘stay,’ ‘come,’ ‘down.’
- Potty Training: Reward immediately after they go to the bathroom outside.
- Leash Training: For loose-leash walking, looking at you, or ignoring distractions.
- Socialization: When meeting new people or dogs calmly.
- Crate Training: To make the crate a positive place.
- Desensitization: Helping your puppy feel comfortable with new sights, sounds, or experiences.