As devoted dog parents, we constantly seek ways to show our furry companions just how much we adore them. One of the purest forms of love, undoubtedly, is through food—especially treats! However, navigating the world of store-bought dog treats can be a minefield of questionable ingredients, artificial additives, and often, a hefty price tag. We want the best for our pups, but who has time for complicated recipes with a dozen obscure ingredients?
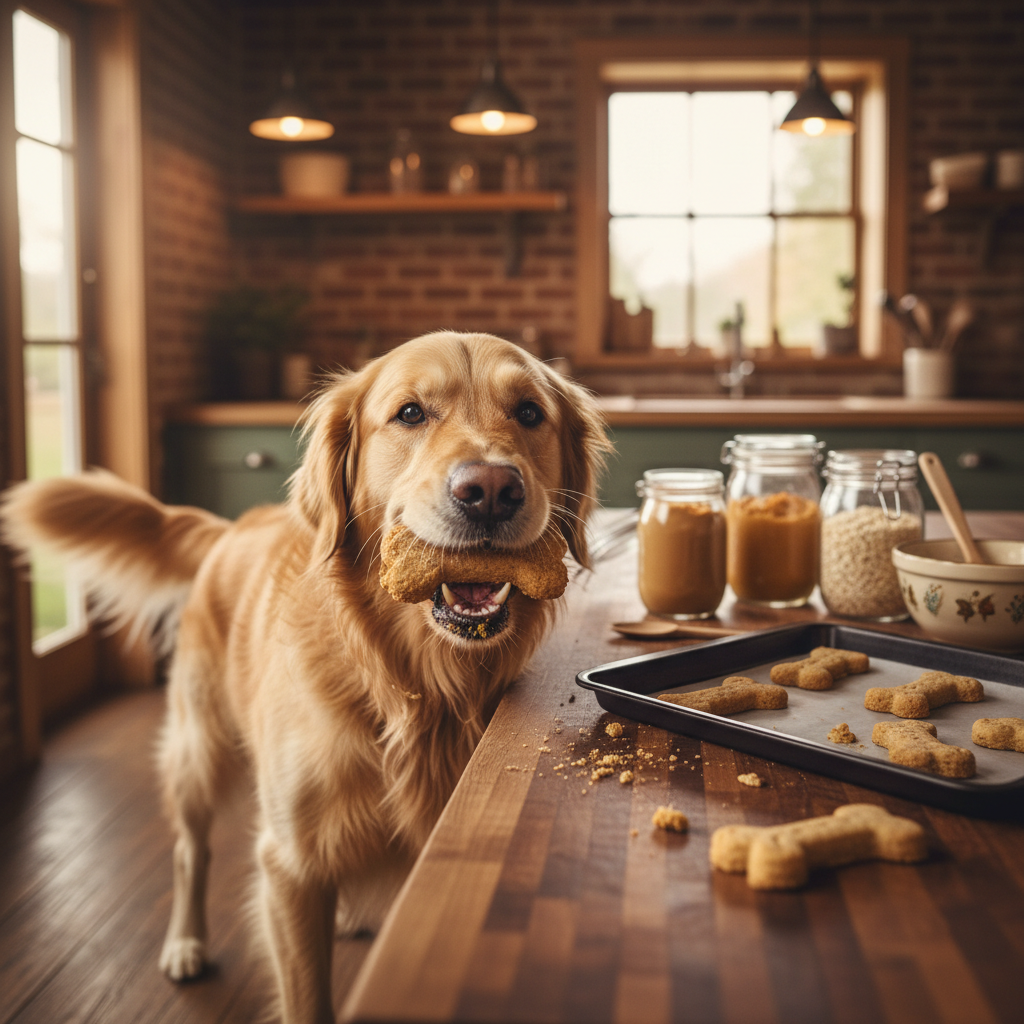
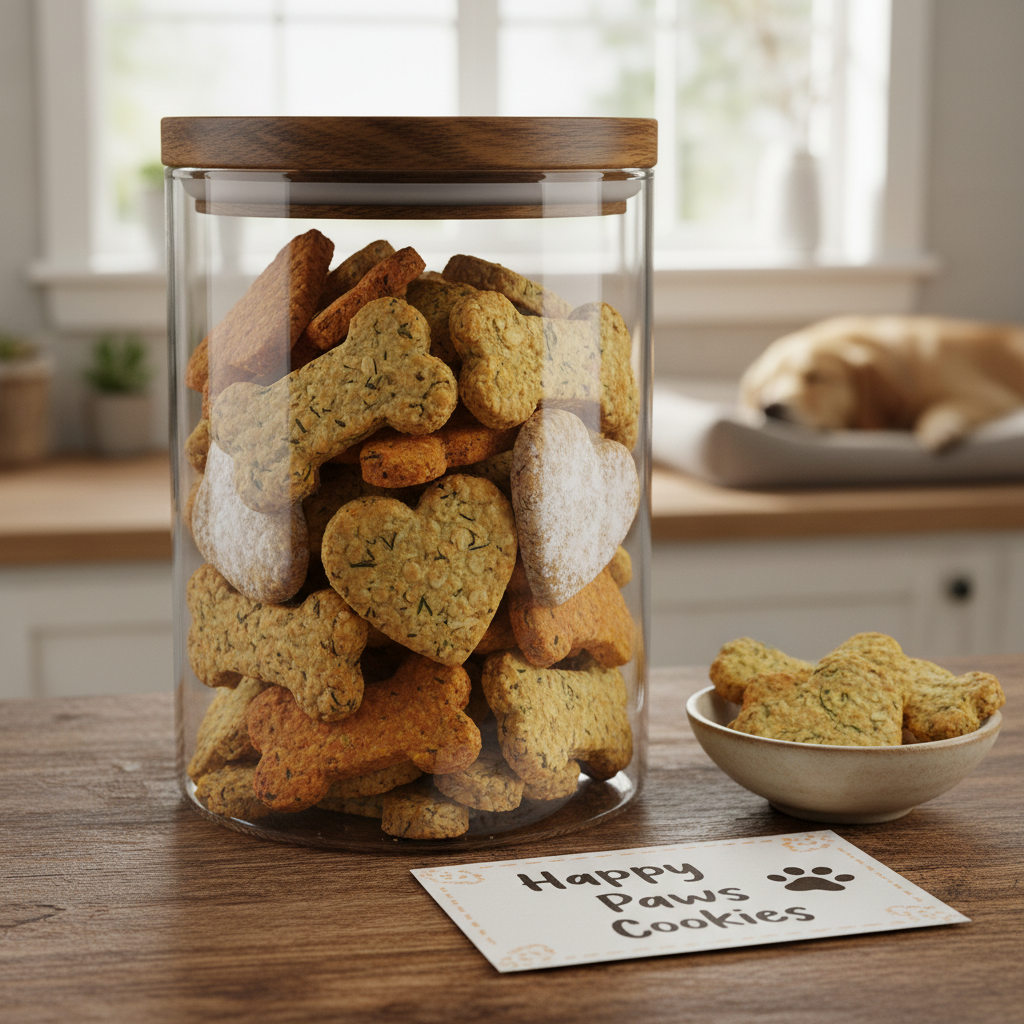
What if we told you that you could whip up a batch of wholesome, delicious, and genuinely effective dog cookies with just three simple ingredients you likely already have in your pantry? It’s not a myth; it’s a game-changer! These 3-ingredient dog cookies are not only incredibly easy to make but are also packed with nutrients that will have your dog’s tail wagging with delight. Get ready to become your dog’s favorite baker!
Why Homemade Dog Treats Are a Game Changer

Choosing to bake your dog’s treats isn’t just a fun activity; it’s a decision that brings a host of benefits for both you and your beloved pet. It’s about taking control of what goes into your dog’s body, ensuring they get only the good stuff.
Ingredient Control and Transparency
The biggest advantage of homemade treats is knowing exactly what your dog is eating. No more squinting at tiny labels trying to decipher a list of unpronounceable chemicals or mysterious ‘by-products’. When you bake at home, you select each ingredient, guaranteeing freshness and quality. This is especially crucial for dogs with sensitive stomachs or allergies, as you can tailor recipes to their specific needs.
Cost-Effective and Sustainable
Let’s be honest, premium dog treats can be expensive. Making your own from scratch often proves to be significantly more budget-friendly. You’re using common, often bulk-purchased ingredients, reducing waste and saving money in the long run. Plus, fewer trips to the pet store means less packaging and a smaller environmental paw print!
A Bonding Experience
There’s something incredibly special about preparing food for those you love. Baking for your dog creates a unique bonding experience. From the moment they smell the delicious aromas wafting from the kitchen to the joyful anticipation as you offer them a freshly baked cookie, it’s an act of love they truly appreciate. And that happy tail wag? Priceless.
The Power of Just Three Ingredients
The beauty of these cookies lies in their simplicity. We’re focusing on common, dog-safe ingredients that are not only easy to find but also offer nutritional benefits. These aren’t just fillers; they’re powerhouses of goodness!
Ingredient Spotlight – Peanut Butter
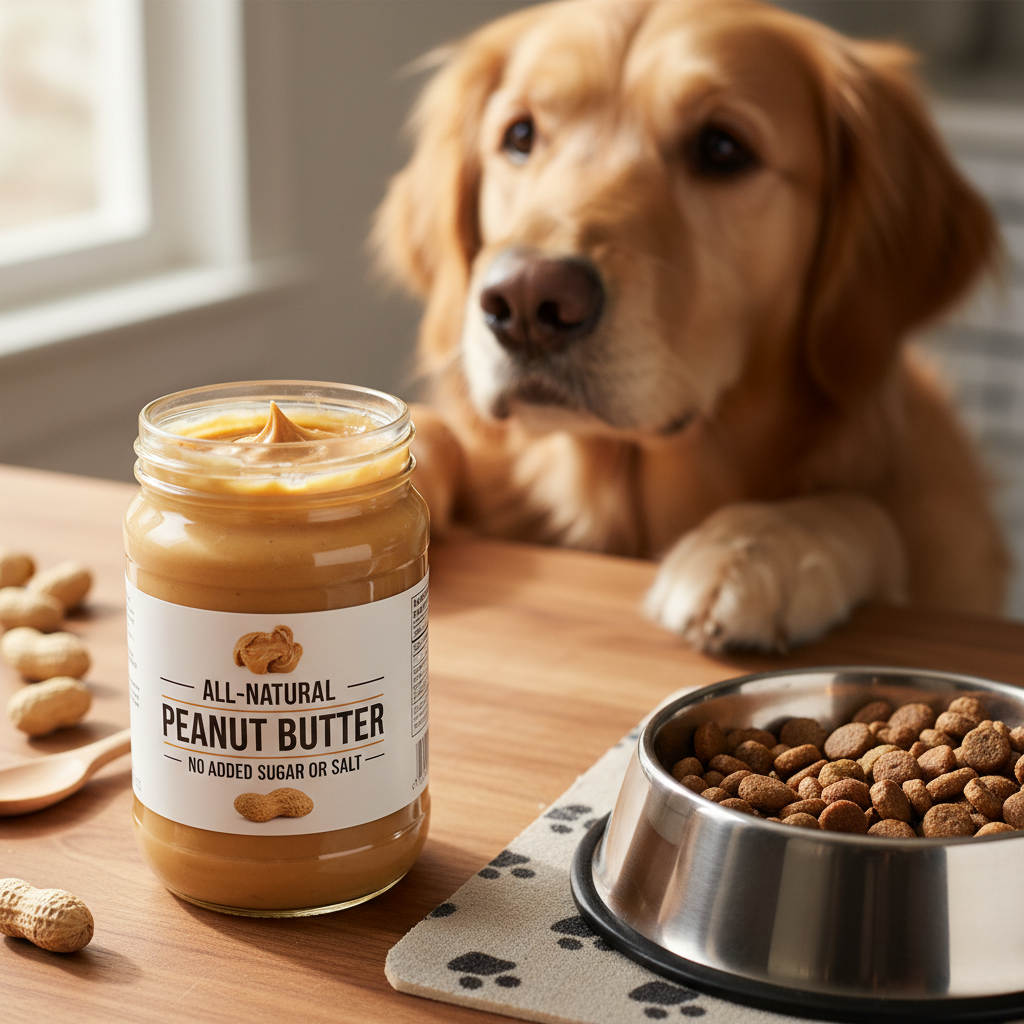
Peanut butter is a classic dog favorite, and for good reason! It’s rich in protein, healthy fats, and vitamins B and E. The creamy texture also helps bind our cookies together. However, there’s a crucial safety note here: always choose natural, unsweetened peanut butter that does NOT contain Xylitol. Xylitol is an artificial sweetener that is highly toxic to dogs, even in small amounts. Always read the label carefully!
Ingredient Spotlight – Pumpkin Puree
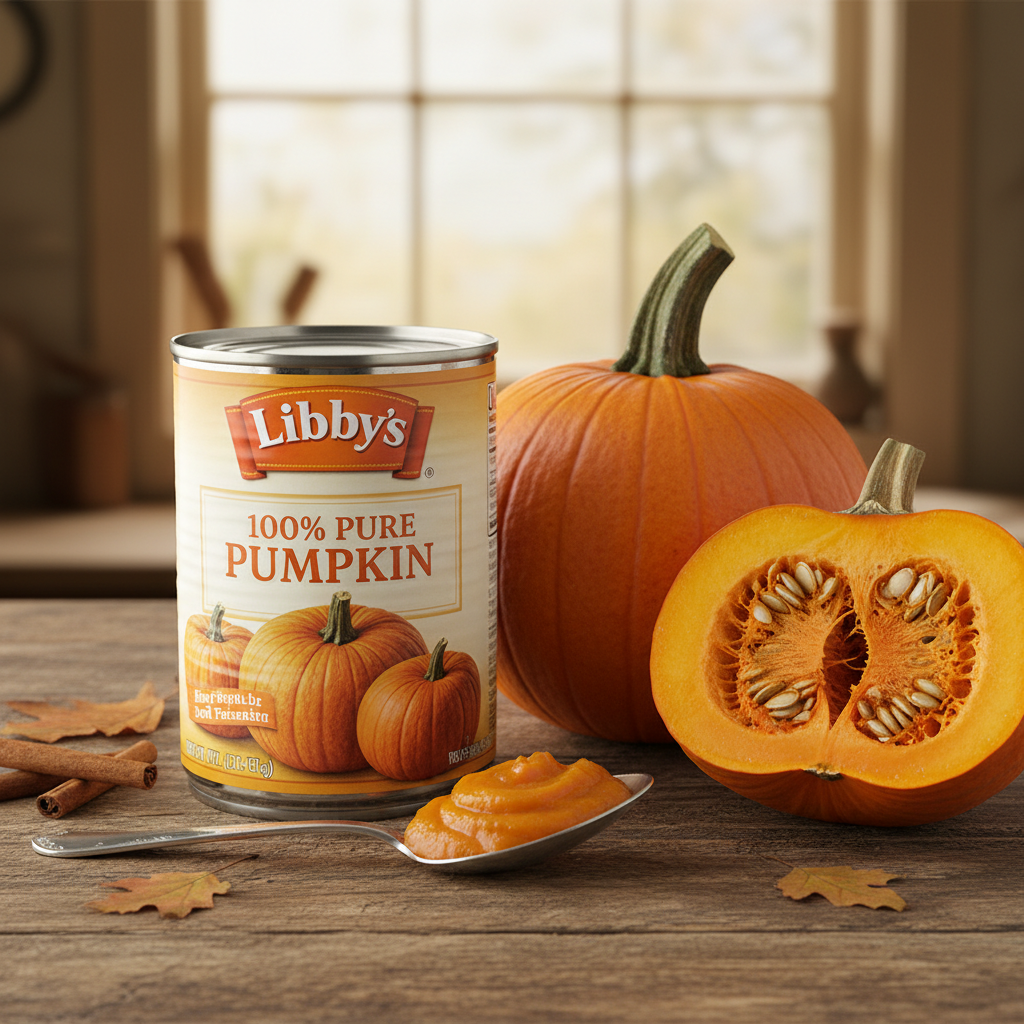
Pure pumpkin puree (not pumpkin pie filling, which contains spices and sugar) is a fantastic addition to your dog’s diet. It’s a great source of fiber, which aids in digestion and can help with both diarrhea and constipation. It’s also packed with vitamins A, C, and E, as well as minerals like potassium. Its natural sweetness and moisture help create a soft, palatable cookie.
Ingredient Spotlight – Rolled Oats or Oat Flour
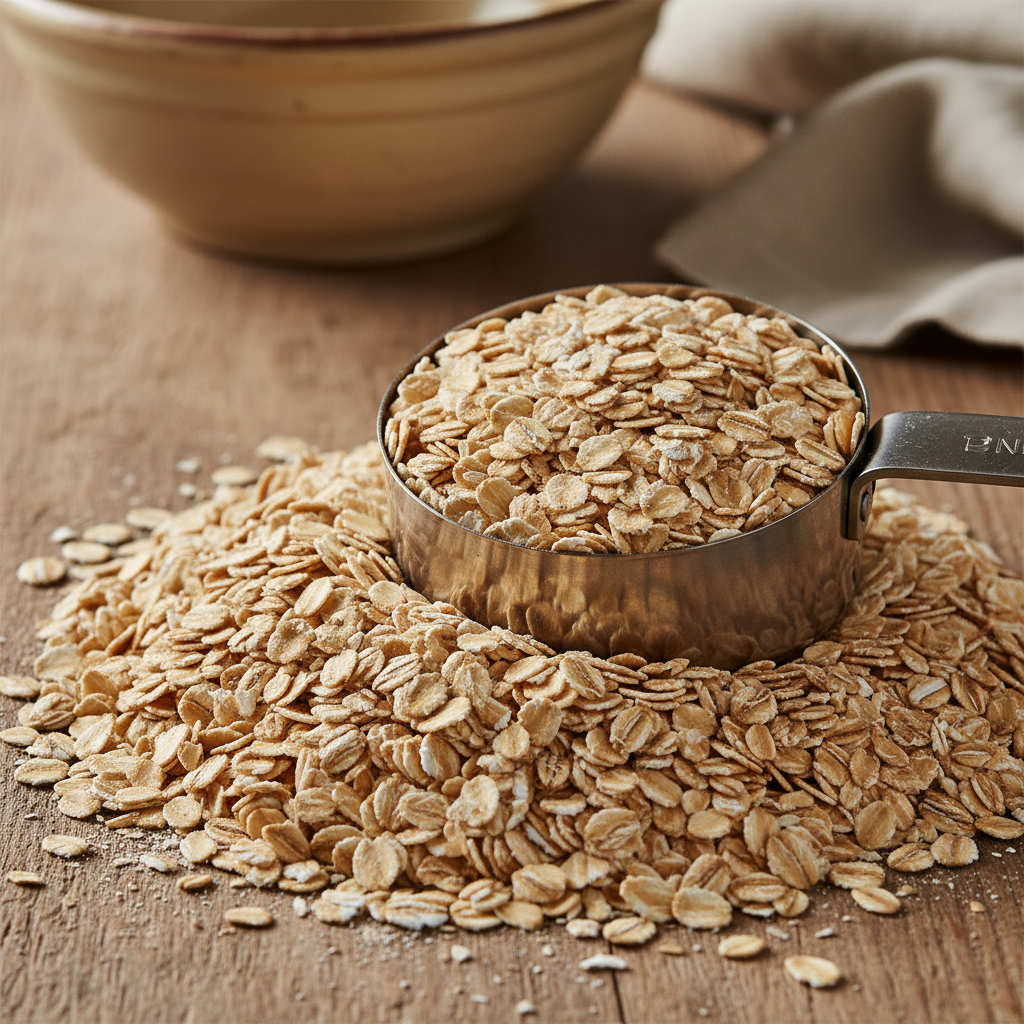
Oats are a gentle grain, often recommended for dogs with sensitive stomachs. They provide healthy carbohydrates for energy and are a good source of soluble fiber, which can help regulate blood sugar. You can use old-fashioned rolled oats directly (they’ll break down during mixing) or easily make your own oat flour by blending rolled oats in a food processor or blender until fine. This acts as the primary dry binding agent for our cookies.
Your Step-by-Step Guide to Baking Success
Ready to get baking? This recipe is so straightforward, you’ll wonder why you haven’t tried it sooner! We’re making a classic Peanut Butter and Pumpkin Delight.
Recipe – Peanut Butter and Pumpkin Delights
This recipe yields about 2-3 dozen small to medium cookies, depending on their size and thickness.
What You’ll Need
- 1 cup pure pumpkin puree (not pie filling)
- 1/2 cup natural, xylitol-free peanut butter
- 2 cups rolled oats (or 2 cups oat flour)
Equipment
- Large mixing bowl
- Spatula or sturdy spoon
- Baking sheet(s)
- Parchment paper or silicone baking mat
- Optional: Cookie cutters, rolling pin
Instructions
- Preheat Your Oven– Preheat your oven to 350°F (175°C). Line a baking sheet with parchment paper or a silicone baking mat.
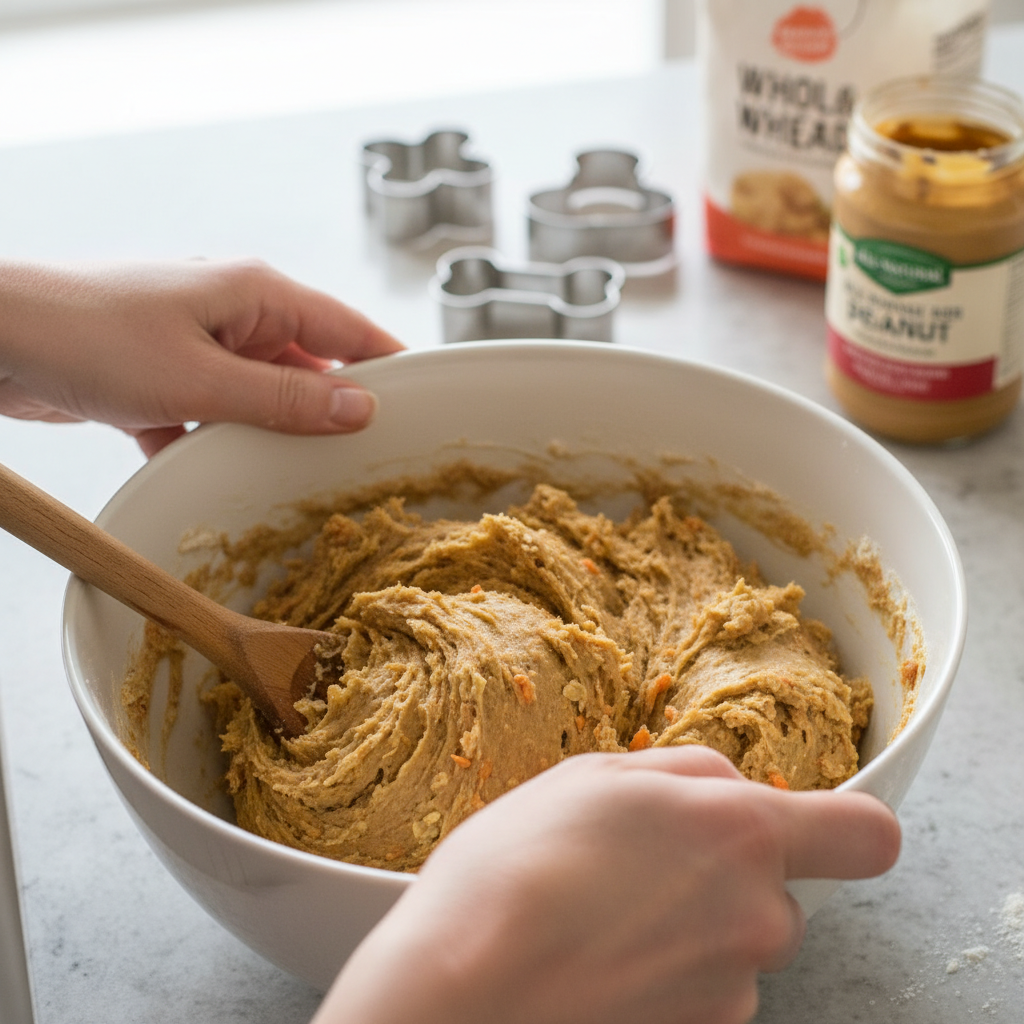
- Combine Wet Ingredients– In your large mixing bowl, combine the pumpkin puree and peanut butter. Mix thoroughly until well combined and smooth. It might take a little effort to get the peanut butter fully incorporated, especially if it’s thick.
- Add Dry Ingredients– Gradually add the rolled oats (or oat flour) to the wet mixture. If using rolled oats, the dough will be a bit stickier and chunkier, which is perfectly fine. If using oat flour, it will be smoother. Mix until a firm dough forms. You might need to use your hands to really get everything incorporated. The dough should be thick and pliable, not too sticky.
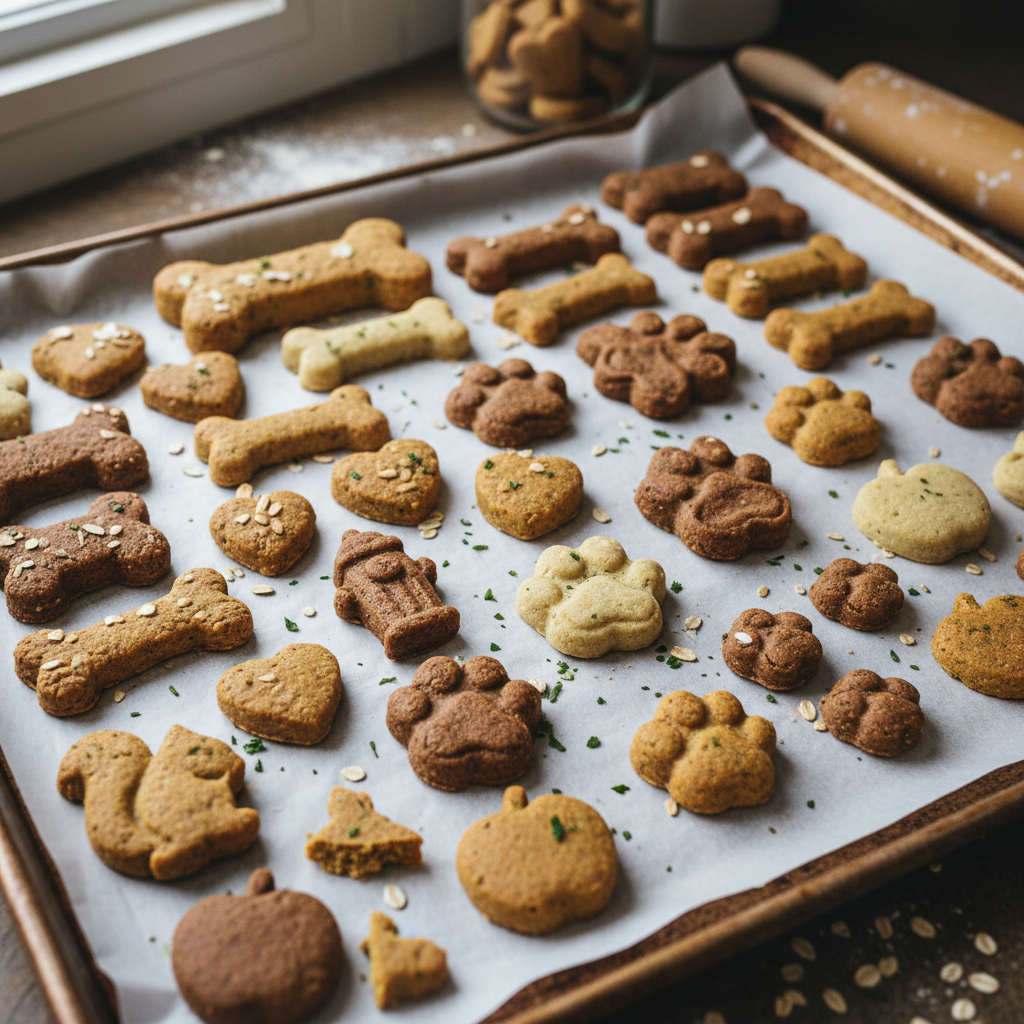
- Prepare the Cookies– You have a few options here:
- Rolling and Cutting– On a lightly floured surface (you can use extra oat flour), roll out the dough to about 1/4 inch thickness. Use cookie cutters to create fun shapes.
- Hand-Rolling– If you prefer, simply scoop small amounts of dough (about 1 tablespoon) and roll them into balls, then gently flatten them with your palm or a fork.
- Drop Cookies– For the simplest method, just drop spoonfuls of dough onto the prepared baking sheet.
- Bake to Perfection– Place your shaped cookies on the prepared baking sheet. Bake for 20-25 minutes, or until the edges are lightly golden brown and the cookies are firm. Baking time may vary depending on the size and thickness of your cookies.
- Cool Completely– Once baked, remove the cookies from the oven and let them cool completely on a wire rack. They will firm up as they cool.
Tips for Perfect Dog Cookies
- Dough Consistency– If your dough feels too sticky, add a little more oat flour (1 tablespoon at a time) until it’s manageable. If it’s too dry, add a tiny bit more pumpkin puree.
- Cookie Cutters– For easy release, lightly flour your cookie cutters before each use.
- Thickness Matters– Thicker cookies will be softer; thinner cookies will be crunchier. Adjust baking time accordingly.
- Taste Test (for you!)– While these are for your dog, you can taste the dough or a baked cookie. It’s perfectly safe and gives you an idea of the natural flavors!
Customizing Your Canine Creations
While the core 3-ingredient recipe is fantastic, you can easily swap one of the main ingredients to create new flavor profiles, still keeping it to just three components. This allows for variety without adding complexity.
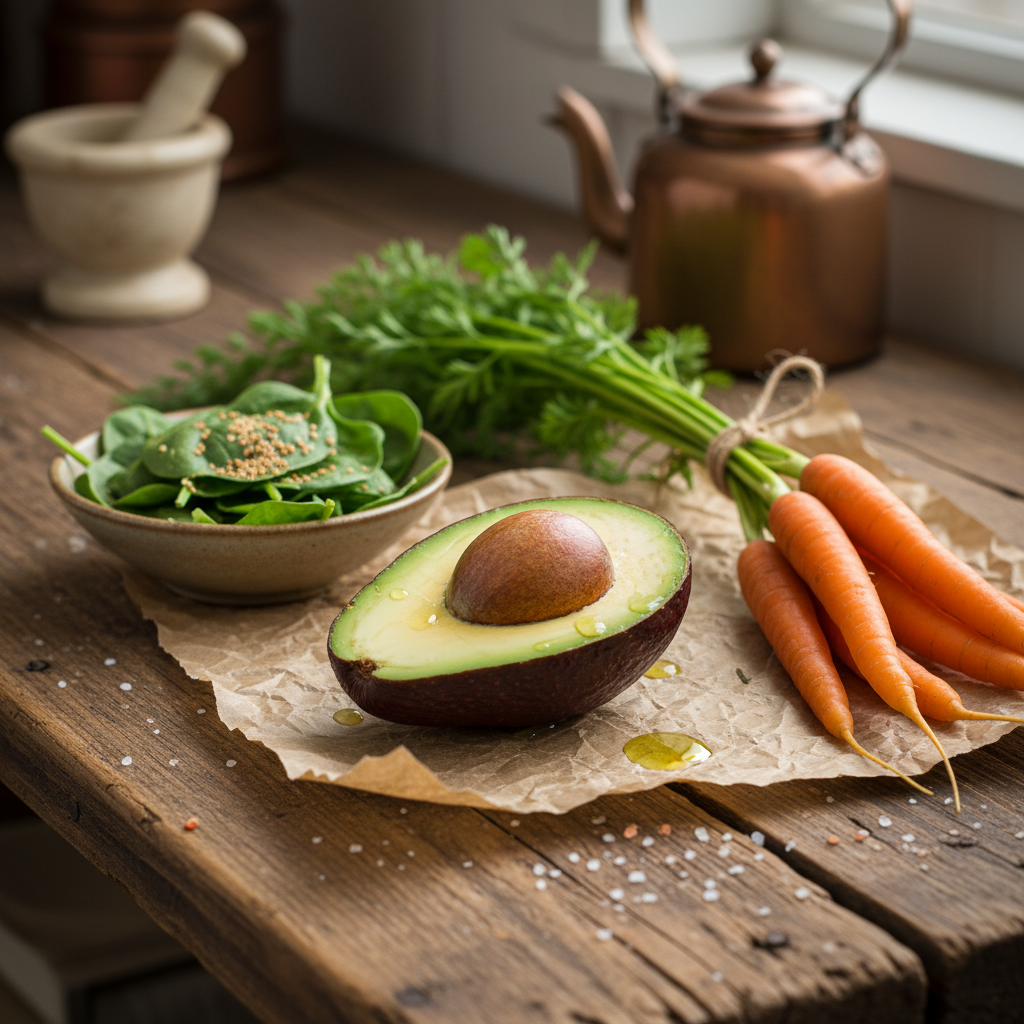
- Banana Boost– Instead of pumpkin puree, use 1 cup of mashed ripe banana. Bananas add natural sweetness and potassium.
- Sweet Potato Swirl– Substitute the pumpkin puree with 1 cup of cooked and mashed sweet potato. Sweet potatoes are rich in vitamins, fiber, and have a lovely earthy sweetness.
- Egg Power (for 4-ingredient variation)– If you don’t mind adding a fourth ingredient, one egg can be added to the wet mixture to give the cookies a slightly richer texture and an extra protein boost.
Remember, when introducing any new ingredient, always ensure it’s safe for dogs and introduce it gradually to monitor for any sensitivities.
Storing Your Homemade Treats for Freshness
Once your delicious dog cookies have cooled completely, proper storage is key to keeping them fresh and tasty for your pup. The shelf life will depend on the ingredients and how they are stored.
- Countertop Storage– For short-term storage (3-5 days), keep the cookies in an airtight container at room temperature. Ensure they are completely cool before storing to prevent condensation and spoilage.
- Refrigeration– To extend freshness, store the cookies in an airtight container in the refrigerator for up to 1-2 weeks.
- Freezing for Longer Term– For the longest shelf life (up to 2-3 months), place the cooled cookies in a freezer-safe bag or container. Thaw them at room temperature or in the refrigerator as needed. This is a great option if you make a large batch!
Always check for any signs of mold or unusual odors before giving treats to your dog. When in doubt, throw it out!
Safety First – Important Considerations

While homemade treats are generally safer than many commercial options, it’s vital to keep your dog’s health and safety as the top priority.
- Consult Your Vet– If your dog has any pre-existing health conditions, allergies, or dietary restrictions, always consult your veterinarian before introducing new treats or making significant changes to their diet.
- Moderation is Key– Even healthy treats should be given in moderation. Treats should make up no more than 10% of your dog’s daily caloric intake to prevent weight gain and ensure they still get balanced nutrition from their regular food.
- Introduce Gradually– When introducing any new food, including these cookies, start with small amounts and observe your dog for any signs of digestive upset or allergic reactions.
- Know What’s Safe– Always double-check that every ingredient you use is safe for dogs. A quick online search can confirm if you’re unsure about a particular food item.
By following these simple guidelines, you can ensure that these delicious cookies are a safe and enjoyable addition to your dog’s treat repertoire.
A Tail-Wagging Conclusion
There’s an undeniable joy in seeing your dog’s eyes light up and their tail wag furiously when they know a treat is coming. With these incredibly simple, 3-ingredient dog cookies, you’re not just offering a snack; you’re offering a piece of your heart, baked with love and care.
You’ve taken control of their nutrition, saved some money, and created a wholesome, delicious treat that actually works to bring smiles and happy barks. So, roll up your sleeves, gather those three magical ingredients, and get ready to bake your way into your dog’s heart even more deeply. Happy baking, and happy tails!