Finding fleas on your beloved dog can be a real headache for any pet parent. Those tiny, jumping pests are not just an annoyance; they can make your dog incredibly uncomfortable, cause itchy skin, and even lead to more serious health issues if left unchecked. Many of us naturally look for gentle, natural ways to help our furry friends, and apple cider vinegar (ACV) often comes up in conversation.
This article dives into how you can use apple cider vinegar as a flea spray for your dog. We’ll explore how it works, how to make and apply it safely, and what to keep in mind to make sure your dog stays happy and flea-free. While ACV isn’t a magic bullet for every flea problem, it can be a valuable part of a broader plan to keep those pesky invaders away.
Why Fleas Are Such a Nuisance for Dogs
Fleas are more than just creepy crawlies. When these tiny insects bite your dog to feed on their blood, they can cause a range of problems. Even a few fleas can trigger intense itching, leading to constant scratching, biting, and rubbing for your dog.
Beyond the immediate discomfort, flea bites can cause skin irritation, allergic reactions, and even skin infections from all that scratching. In young puppies or smaller dogs, a heavy flea infestation can sometimes lead to anemia, a condition where they don’t have enough healthy red blood cells. That’s why tackling fleas quickly and effectively is so important for your dog’s well-being.
What is Apple Cider Vinegar?
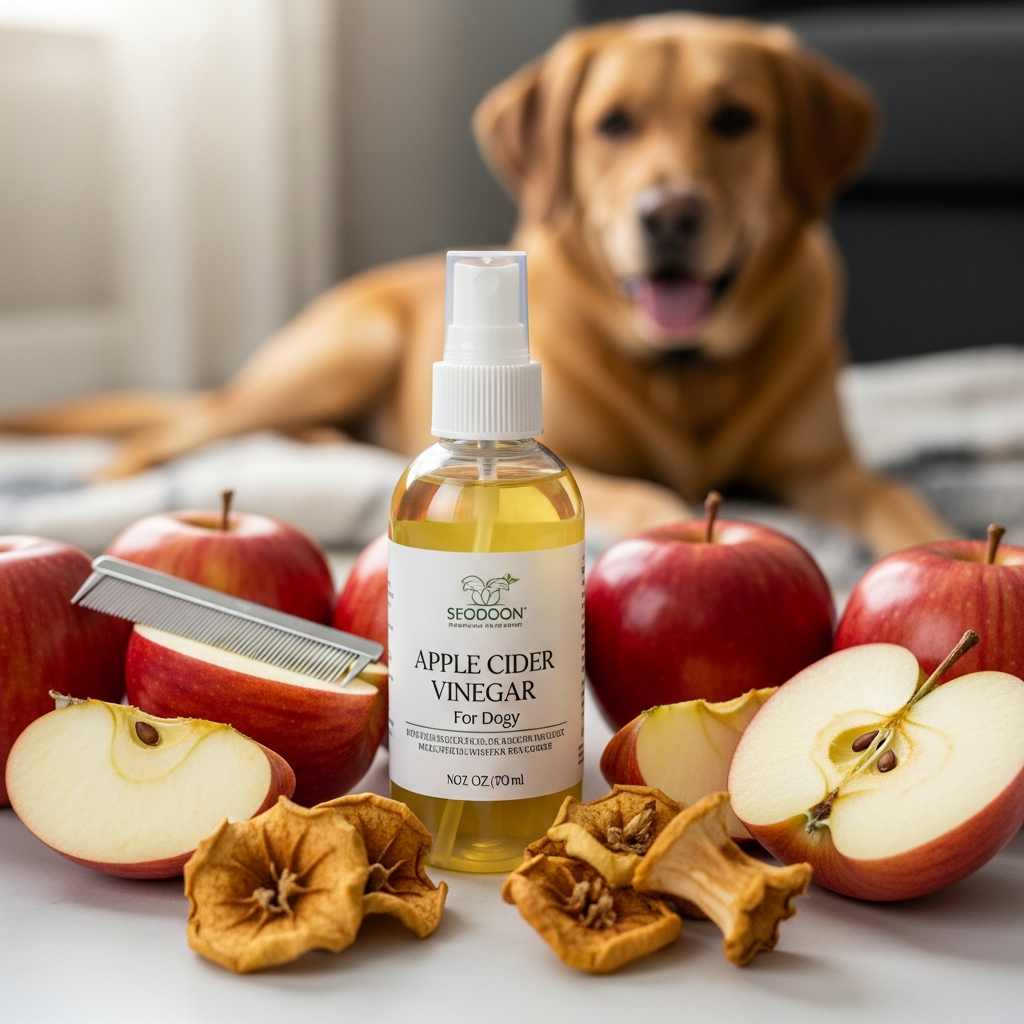
Apple cider vinegar, or ACV, is a natural product made from fermented apples. You might have it in your kitchen for cooking or even for your own health remedies. It’s mostly known for its acidic properties, thanks to the acetic acid it contains.
For dog parents, ACV has gained popularity as a natural aid for various issues, including skin health and, yes, even flea deterrence. When you look for ACV, you’ll often see bottles labeled “with the mother,” which means it contains beneficial bacteria and proteins. This unfiltered version is generally preferred for natural remedies.
How Does ACV Work Against Fleas?
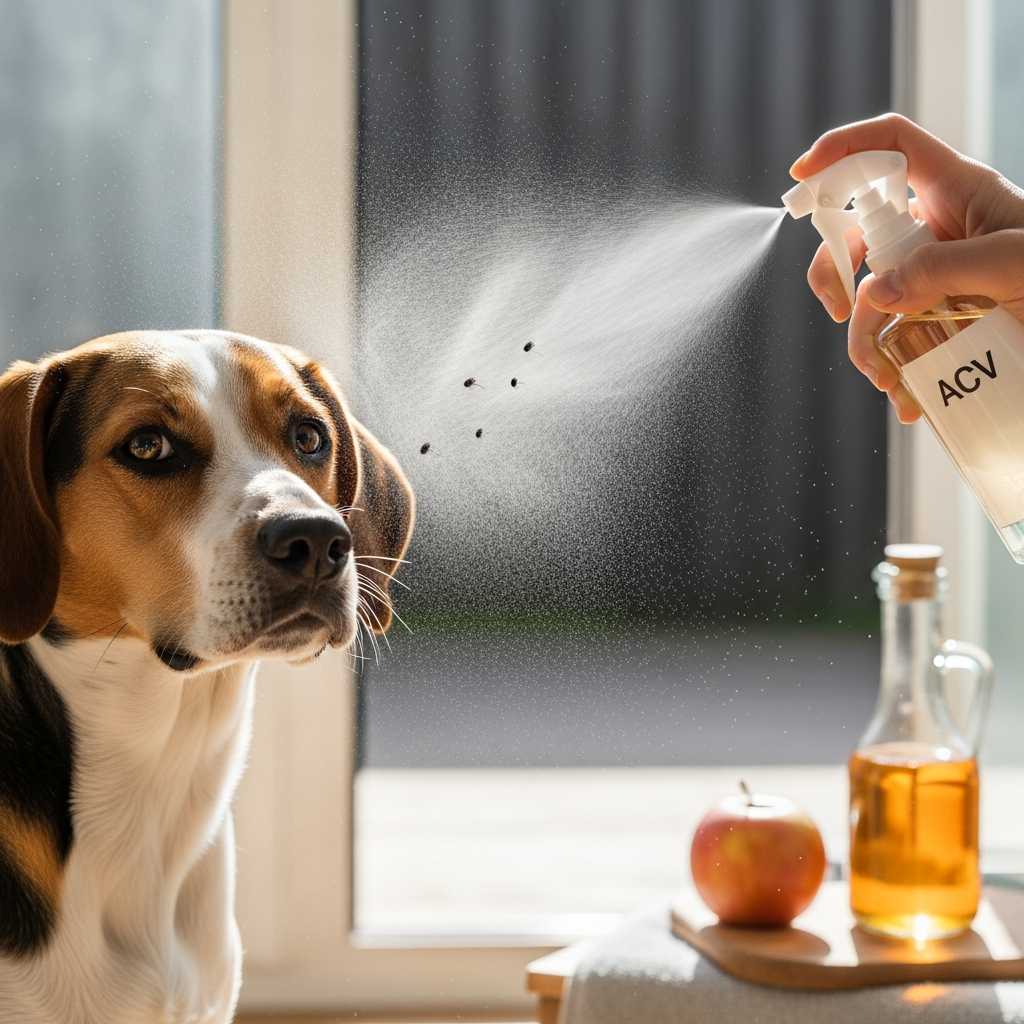
It’s important to understand that apple cider vinegar doesn’t kill fleas outright. Think of it more as a repellent or a deterrent rather than an insecticide. Fleas are very sensitive to their environment, and ACV’s properties make a dog’s skin and coat a much less inviting place for them to hang out.
Changing the Skin’s pH Level
The main theory behind ACV’s effectiveness is its acidity. When diluted ACV is applied to a dog’s coat, it subtly alters the pH level of their skin. Fleas prefer a more neutral environment, so this change can make your dog’s skin less attractive for them to land on, bite, or lay eggs.
Unpleasant Taste and Smell
While we might not mind the smell of ACV, fleas are thought to find both its taste and odor quite repulsive. If a flea lands on an ACV-treated dog, the residue could deter them from biting and encourage them to jump off and find a more suitable host. It’s a natural way to make your dog seem less appealing on their menu.
Benefits of Using ACV Flea Spray
There are several reasons why dog parents might consider using an ACV flea spray as part of their flea management routine.
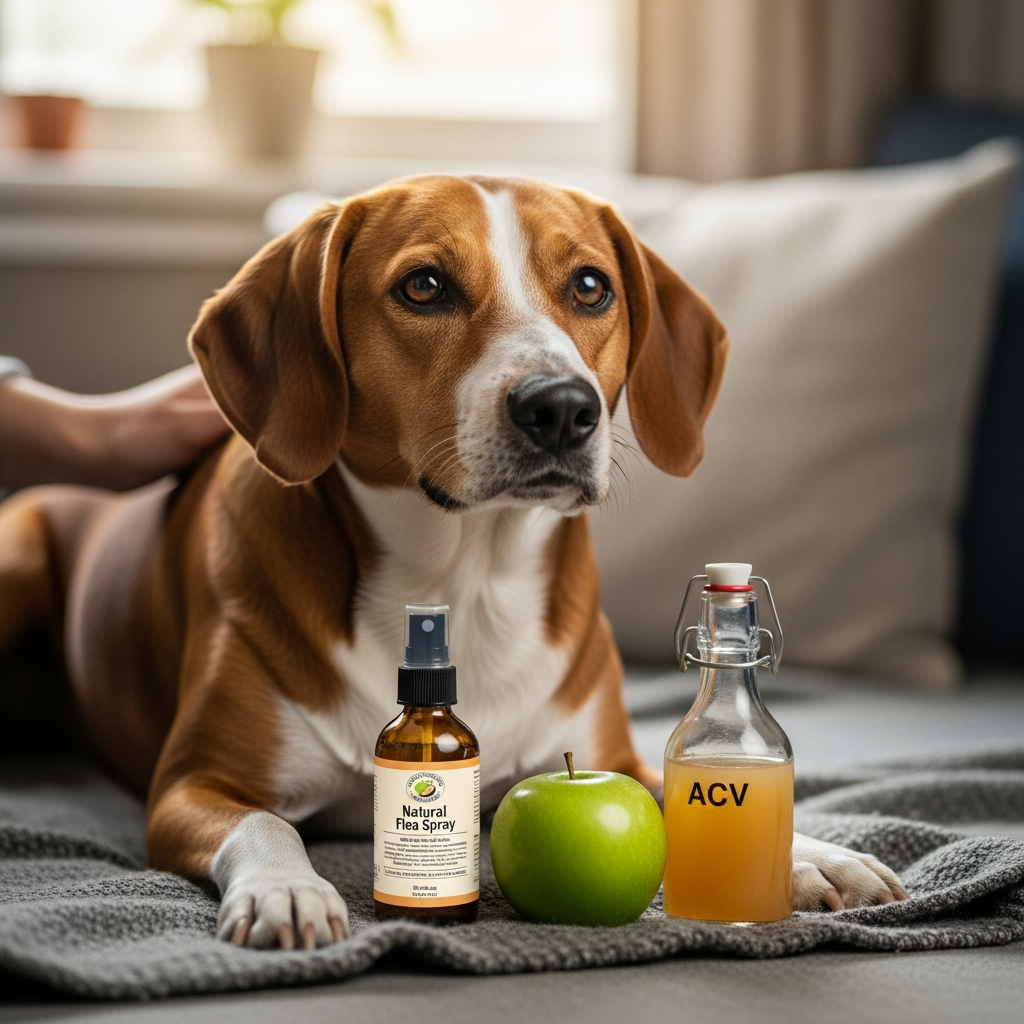
Natural and Gentle Option
ACV is a natural product, which appeals to many who want to avoid harsh chemicals or pesticides on their pets and in their homes. When properly diluted, it’s generally considered gentle on a dog’s skin.
Cost-Effective
Making your own ACV flea spray is very inexpensive. A bottle of apple cider vinegar can last a long time, making it a budget-friendly option compared to some commercial flea treatments.
Supports Skin and Coat Health
Beyond its flea-deterring properties, diluted ACV can also offer some benefits for your dog’s skin and coat. It’s thought to help balance skin pH, reduce itchiness, and even make a dog’s coat look shinier and healthier.
Environmentally Friendly
Using ACV means you’re not introducing synthetic chemicals into your home environment or potentially into waterways, making it a more eco-conscious choice.
Important Considerations Before Using ACV
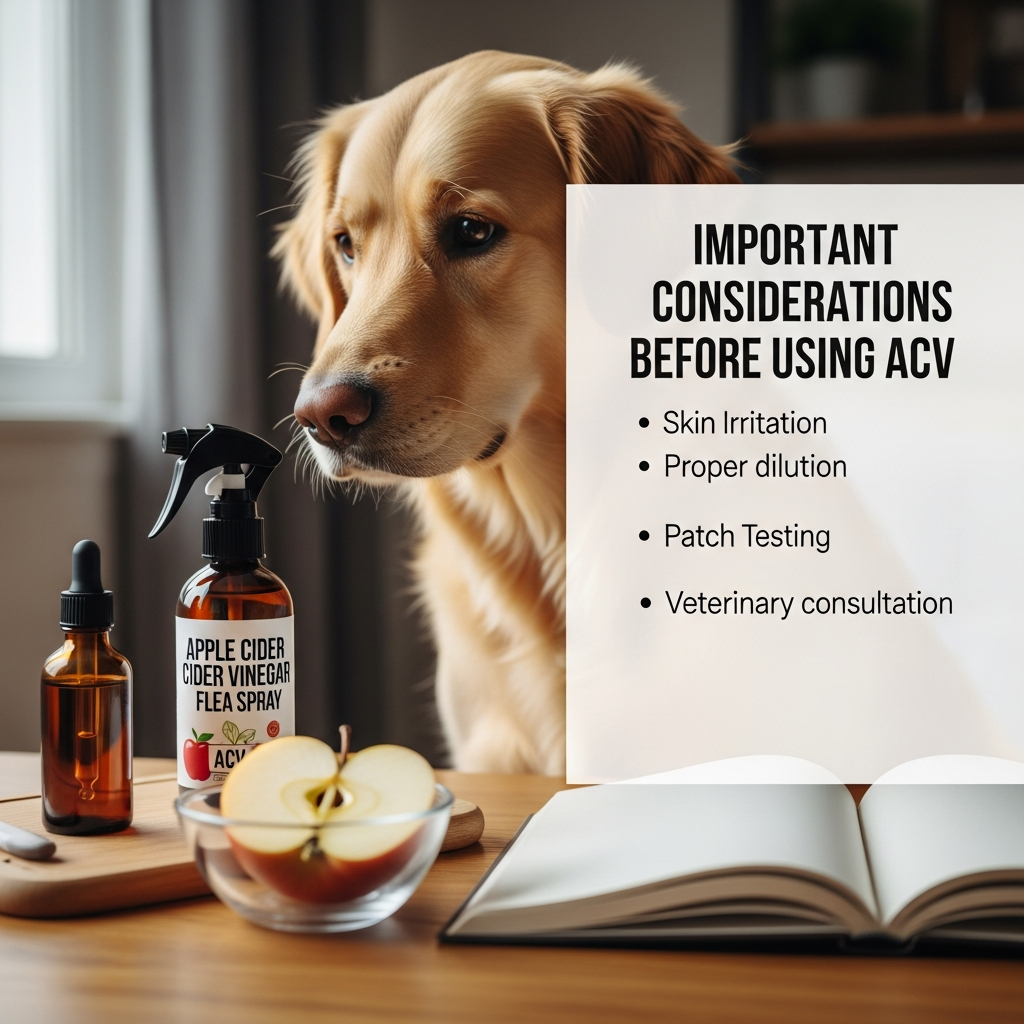
While ACV can be a helpful tool, it’s crucial to approach its use with care and realistic expectations.
Not a Primary Treatment for Heavy Infestations
If your dog has a severe flea problem, ACV spray alone is unlikely to solve it. It’s best used as a preventative measure or as a supplemental tool for minor flea issues. For heavy infestations, you’ll need stronger, vet-recommended treatments.
Consult Your Veterinarian First
Always a good idea, especially if your dog has sensitive skin, allergies, or any open wounds. Your vet can provide guidance and confirm if ACV is a suitable option for your specific pet.
Always Dilute ACV
Never use undiluted apple cider vinegar directly on your dog’s skin or coat. It’s too acidic and can cause irritation or burns. Dilution is key for safety and effectiveness.
Patch Test
Before applying ACV spray all over your dog, do a small patch test on a less sensitive area, like behind an ear or on a small patch of skin on their belly. Wait 24 hours to check for any redness, irritation, or discomfort.
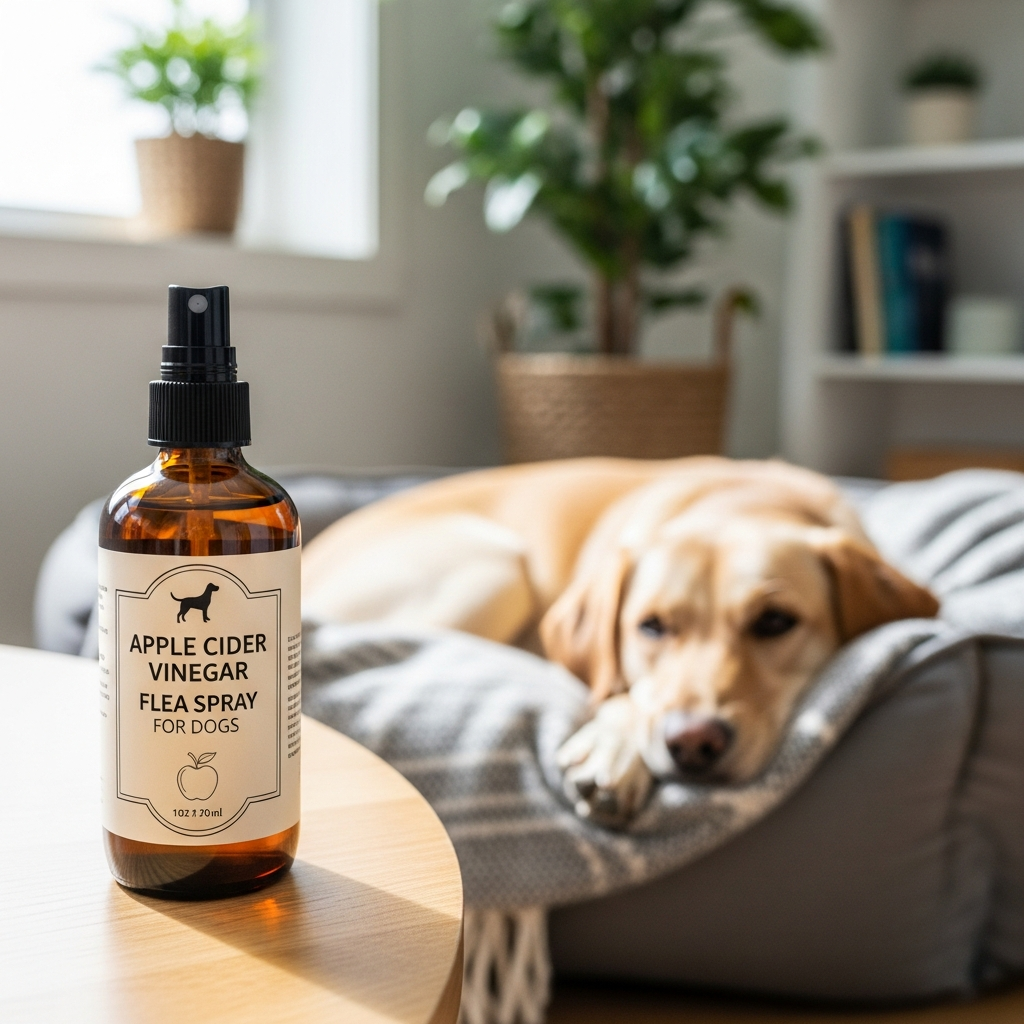
Making Your Own ACV Flea Spray for Dogs
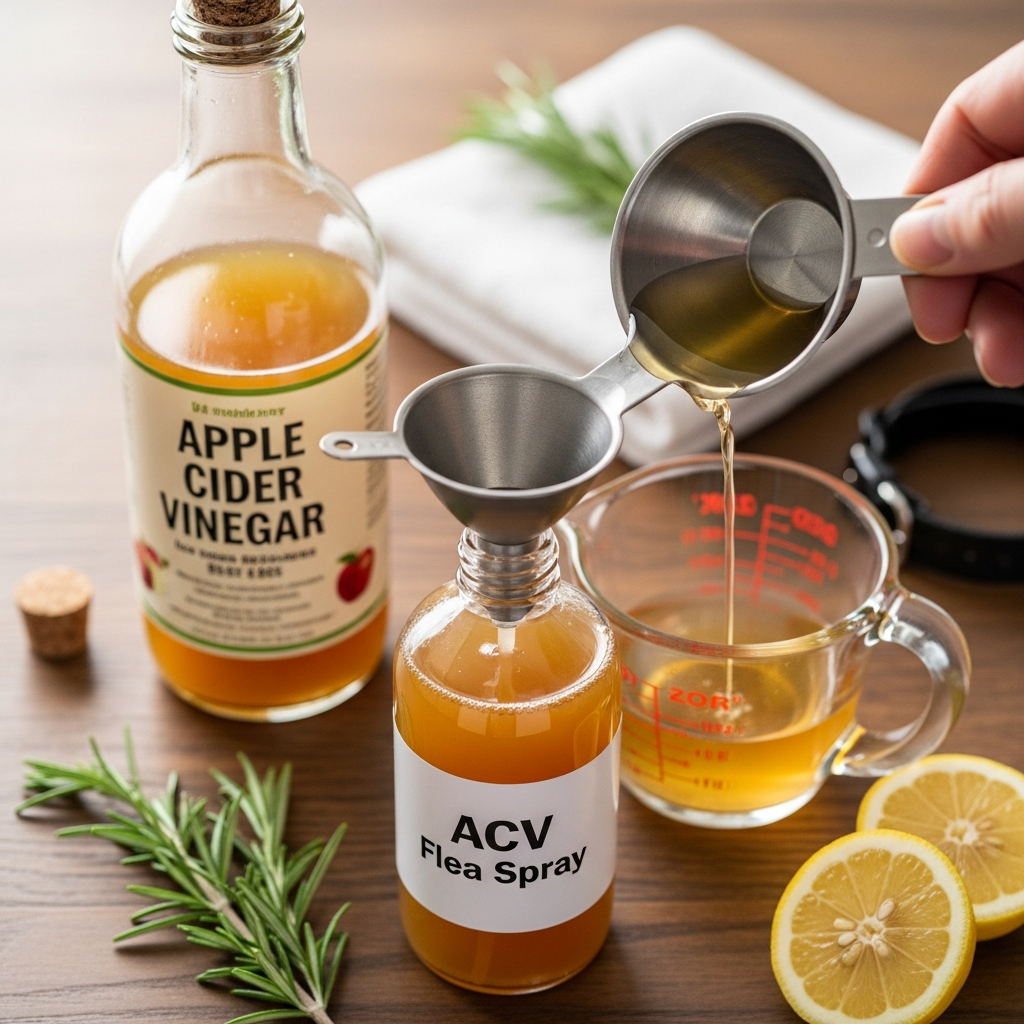
Creating your own ACV flea spray is simple and only requires a couple of ingredients. Remember, the right dilution is vital for your dog’s safety and comfort.
What You’ll Need:
* Apple cider vinegar (preferably “with the mother”)
* Clean water (filtered or distilled is best)
* A clean spray bottle
The Best Ratio for Dilution:
A 1:1 ratio is generally recommended for adult dogs. This means one part apple cider vinegar to one part water.
Example Ratios:
* For a small spray bottle: 1/2 cup ACV + 1/2 cup water
* For a larger spray bottle: 1 cup ACV + 1 cup water
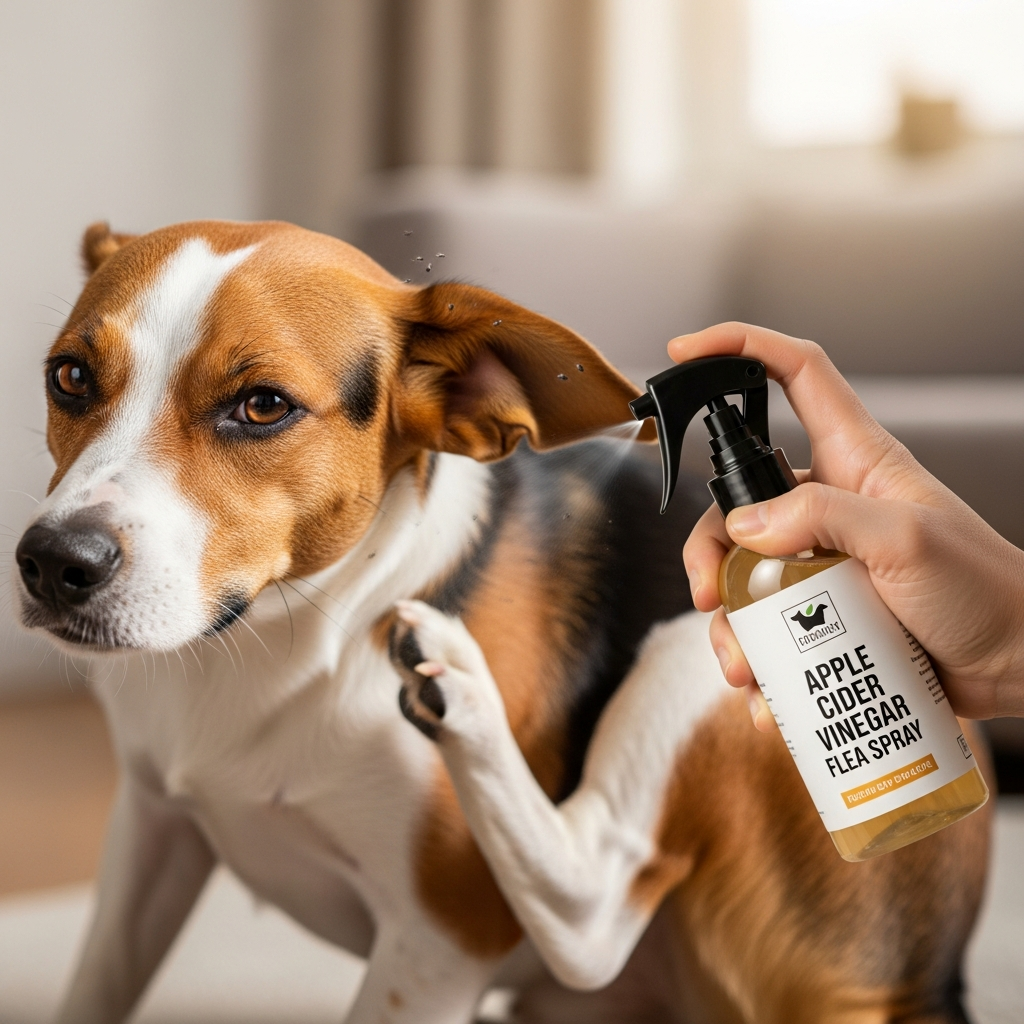
Step-by-Step Instructions:
1. Gather Your Supplies: Have your ACV, water, and spray bottle ready.
2. Measure Carefully: Pour the measured amount of apple cider vinegar into the spray bottle.
3. Add Water: Pour an equal amount of water into the bottle.
4. Mix Well: Secure the lid on the spray bottle and gently shake it to mix the two liquids thoroughly.
5. Label Your Bottle: It’s a good idea to label the bottle clearly so you know what’s inside and when you made it.