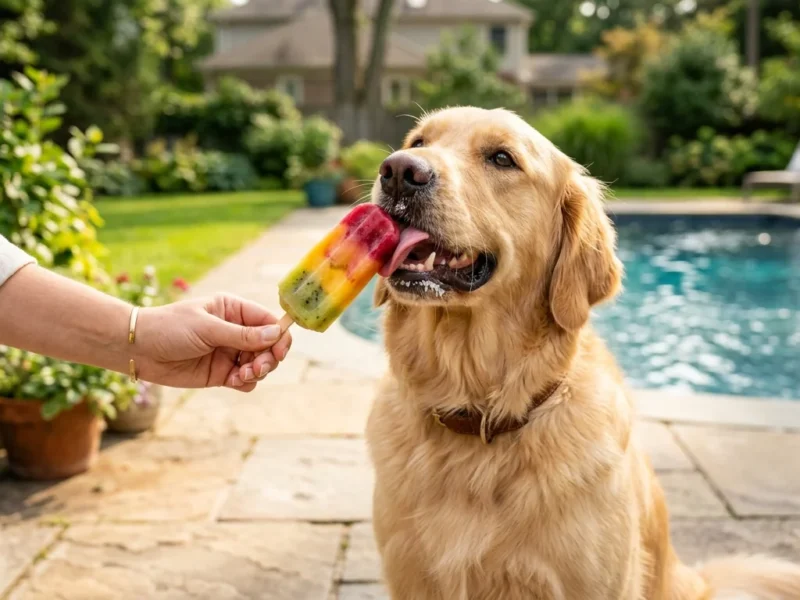
Maintaining your dog’s health starts with their diet, and homemade treats allow you to control every ingredient. Many owners believe that making treats is a time-consuming process, but many nutritious options can be prepared in under twenty minutes. This guide explores eight fast and healthy recipes that focus on whole foods to keep your pet happy and energized without the additives found in commercial products. By choosing fresh ingredients, you can avoid artificial preservatives and fillers often found in store-bought options.
1. Frozen Yogurt Blueberry Drops
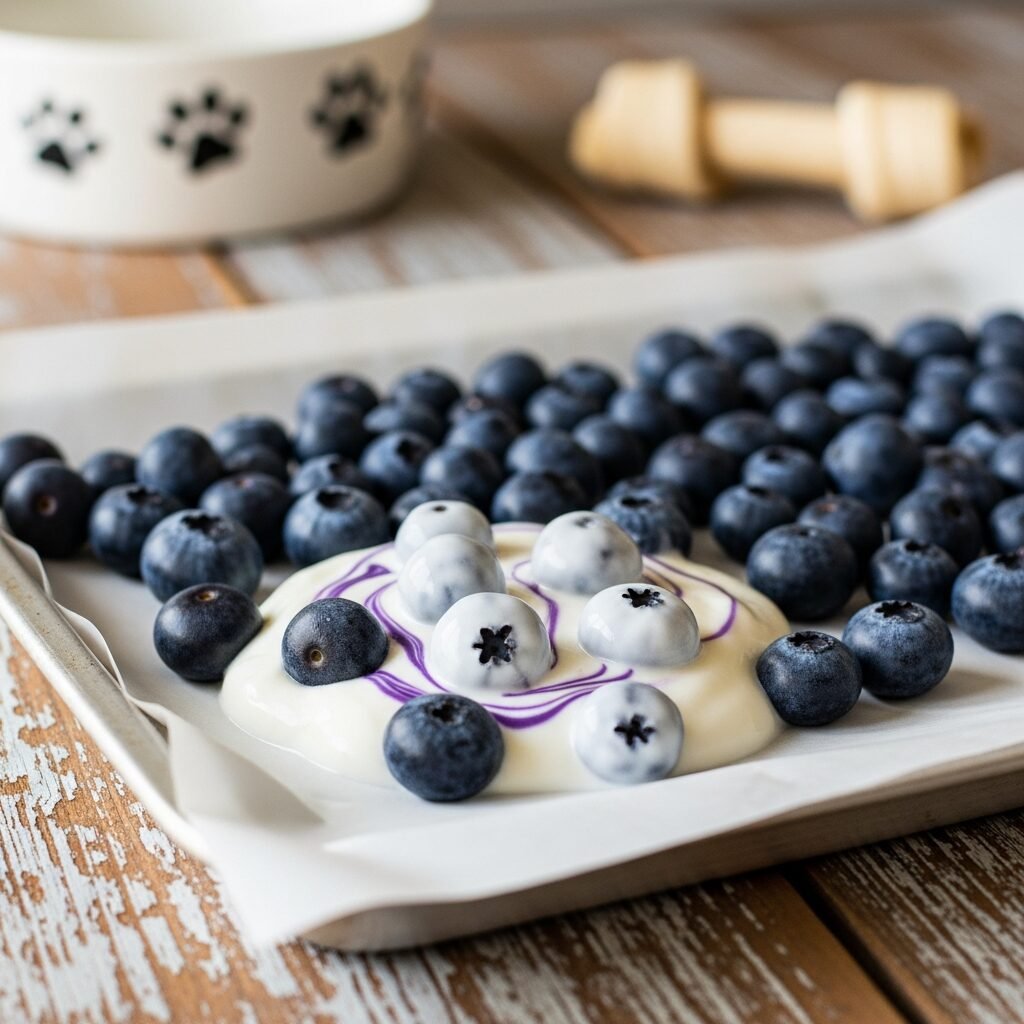
These simple treats require only two ingredients: plain Greek yogurt and fresh blueberries. Simply dip each blueberry into the yogurt using a toothpick and place them on a parchment-lined tray. Since there is no baking involved, the preparation takes less than ten minutes. Pop them in the freezer for a quick, refreshing snack that provides antioxidants and probiotics for your canine companion. These are especially beneficial during the summer months to help your dog stay cool.
2. Peanut Butter and Banana Mash
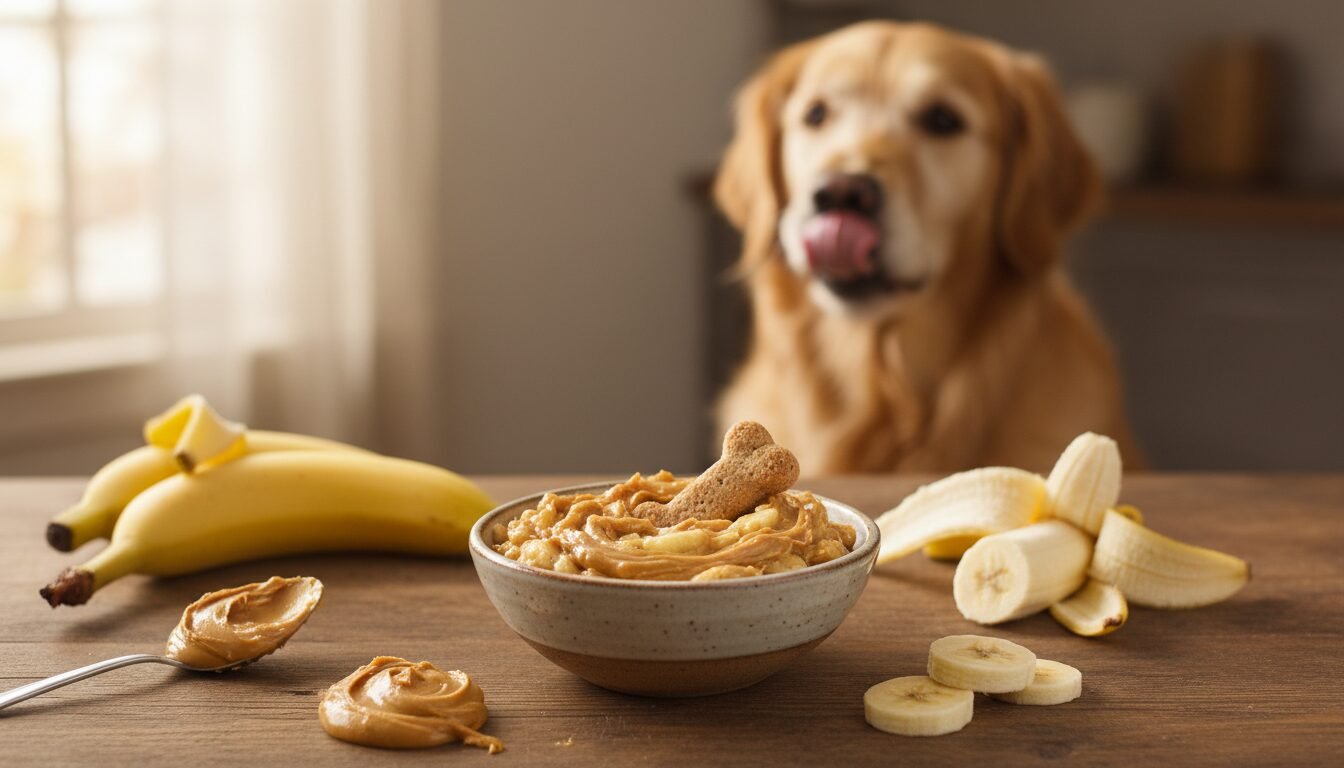
Bananas are an excellent source of potassium and fiber, while peanut butter offers healthy fats and protein. Mash one ripe banana and mix it with two tablespoons of xylitol-free peanut butter. You can serve this as a bowl topper or freeze it into small dollops. This recipe is incredibly fast and uses ingredients most owners already have in their pantry. Ensure your peanut butter does not contain xylitol, as this sweetener is toxic to dogs.
3. Quick Carrot and Apple Slaw
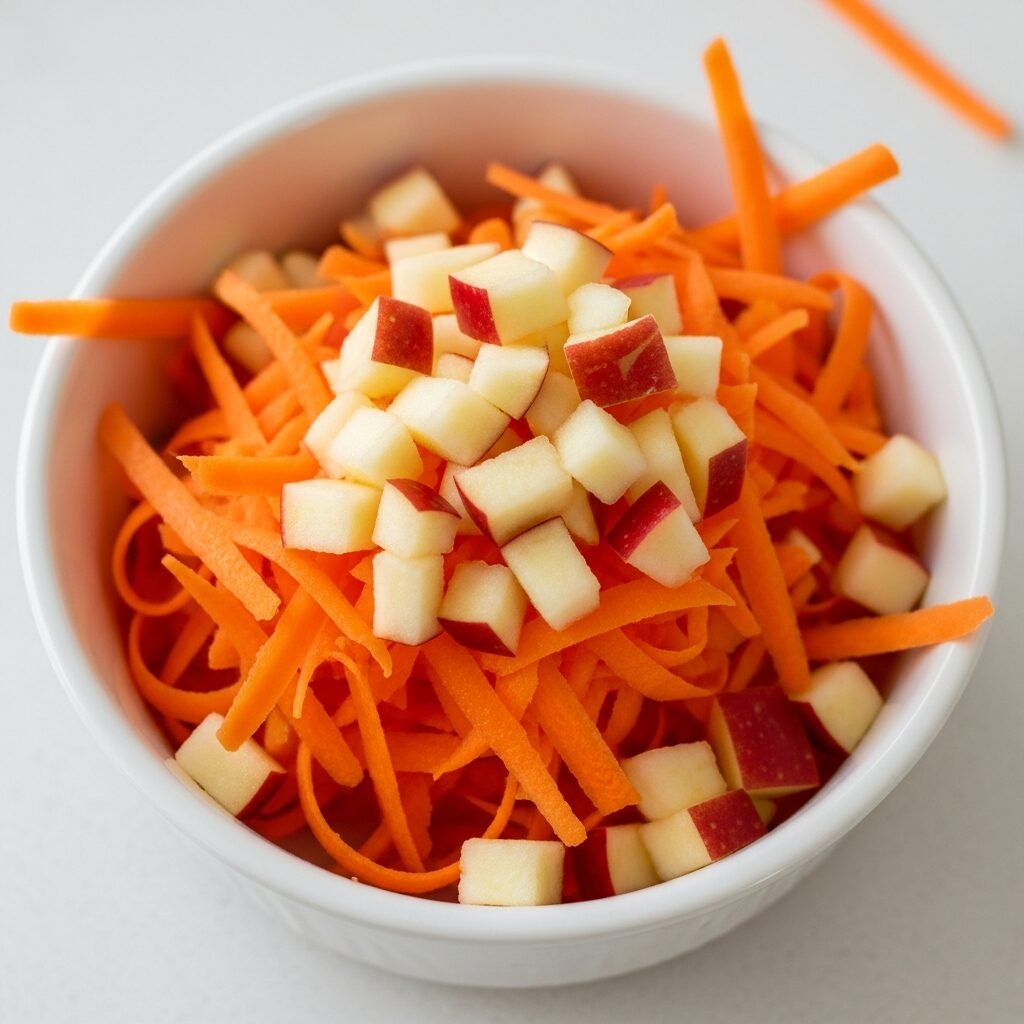
This treat is perfect for dogs who enjoy a crunchy texture. Grate one medium carrot and half an apple, ensuring all seeds and the core are removed as they are harmful to dogs. Mix them together for a vitamin-rich side dish or training reward. The fiber in carrots supports digestive health, while the vitamin C in apples boosts the immune system. This raw treat requires zero cooking time and preserves all natural nutrients.
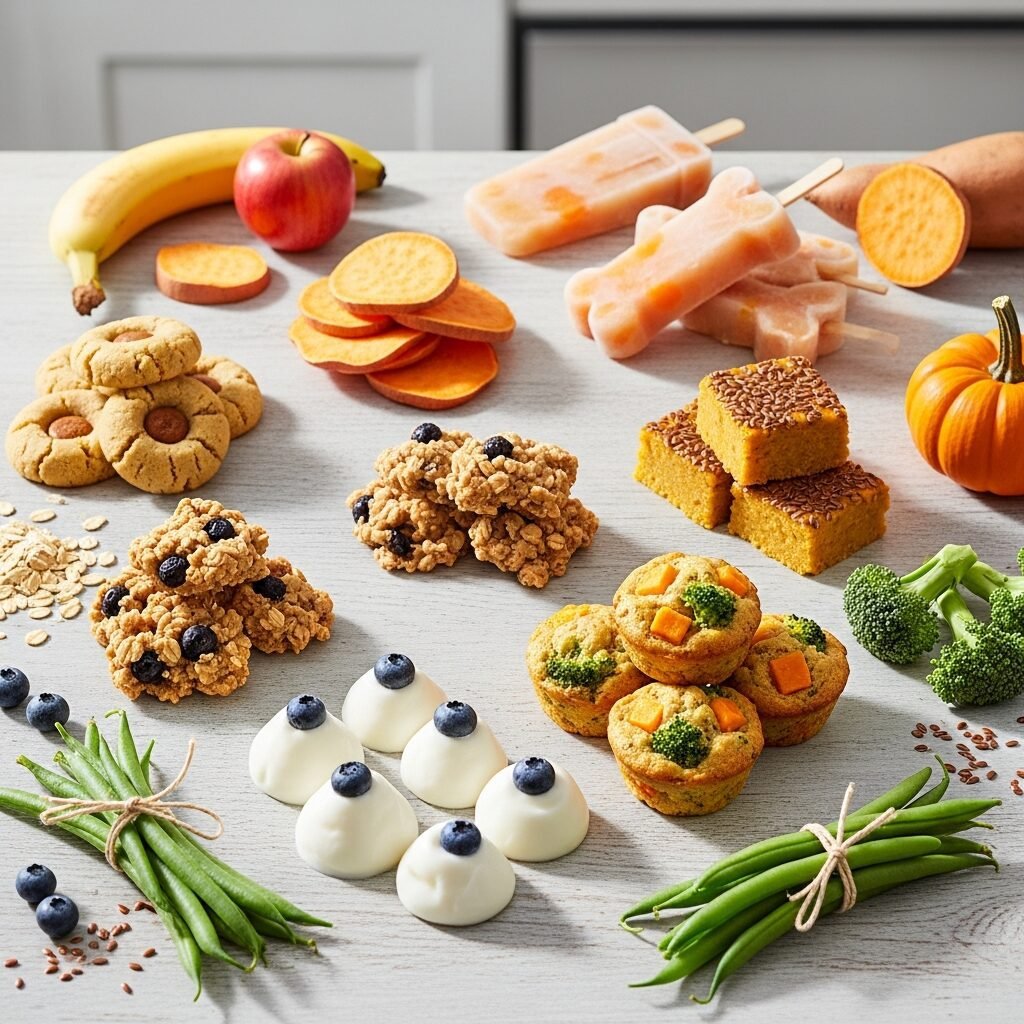
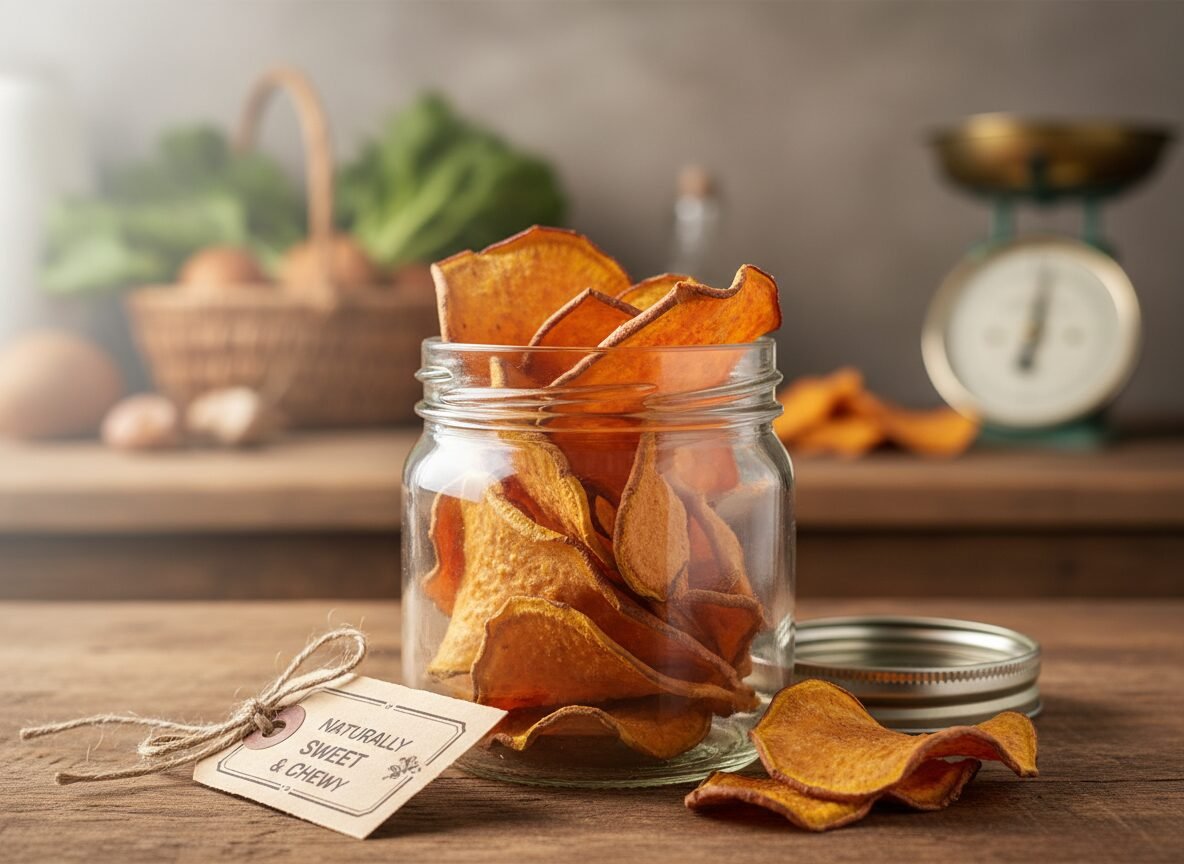
4. Microwave Sweet Potato Crisps
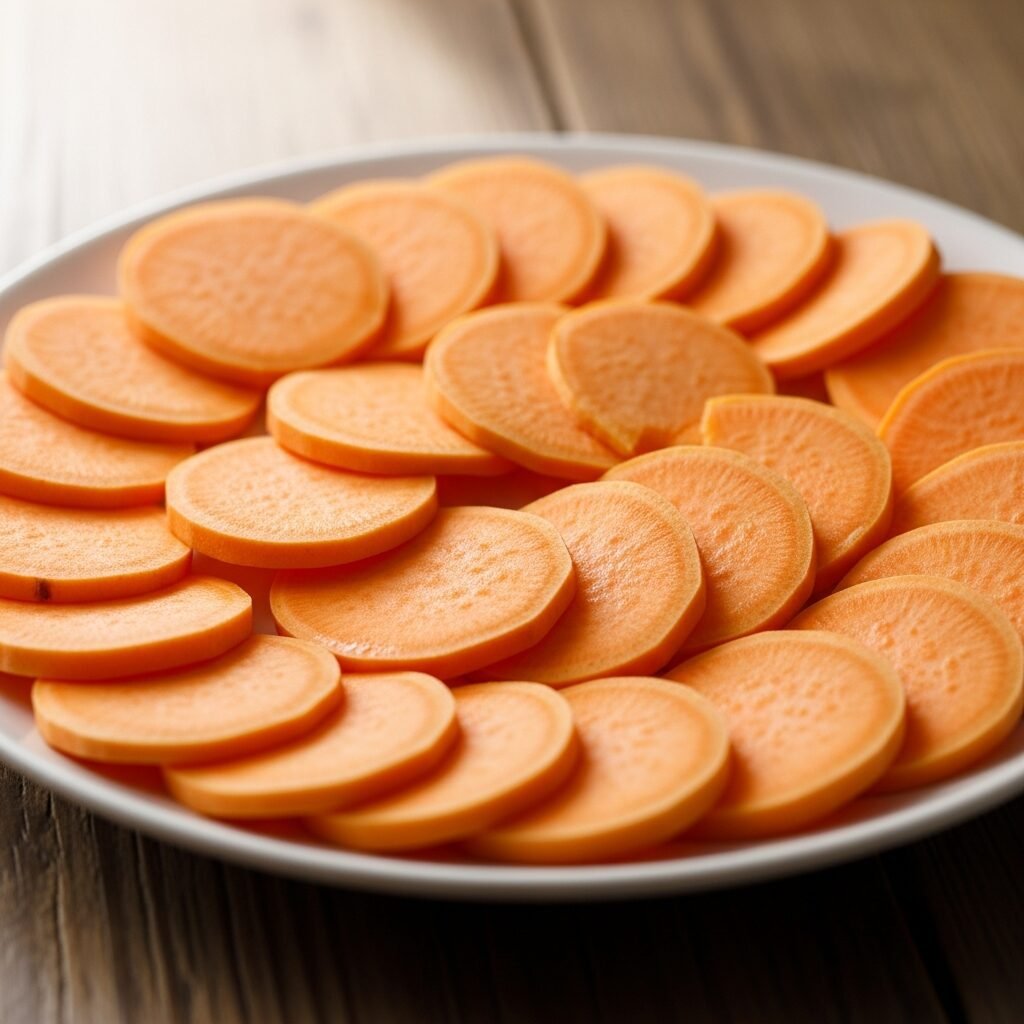
Sweet potatoes are a nutritional powerhouse for dogs, offering vitamin A and manganese. To make quick crisps, slice a sweet potato into paper-thin rounds. Place them on a microwave-safe plate and cook on high for about three minutes per side until they become firm. This method is significantly faster than oven-drying and results in a chewy, nutritious snack that helps satisfy a dog’s natural urge to chew.
5. No-Bake Pumpkin Oat Balls
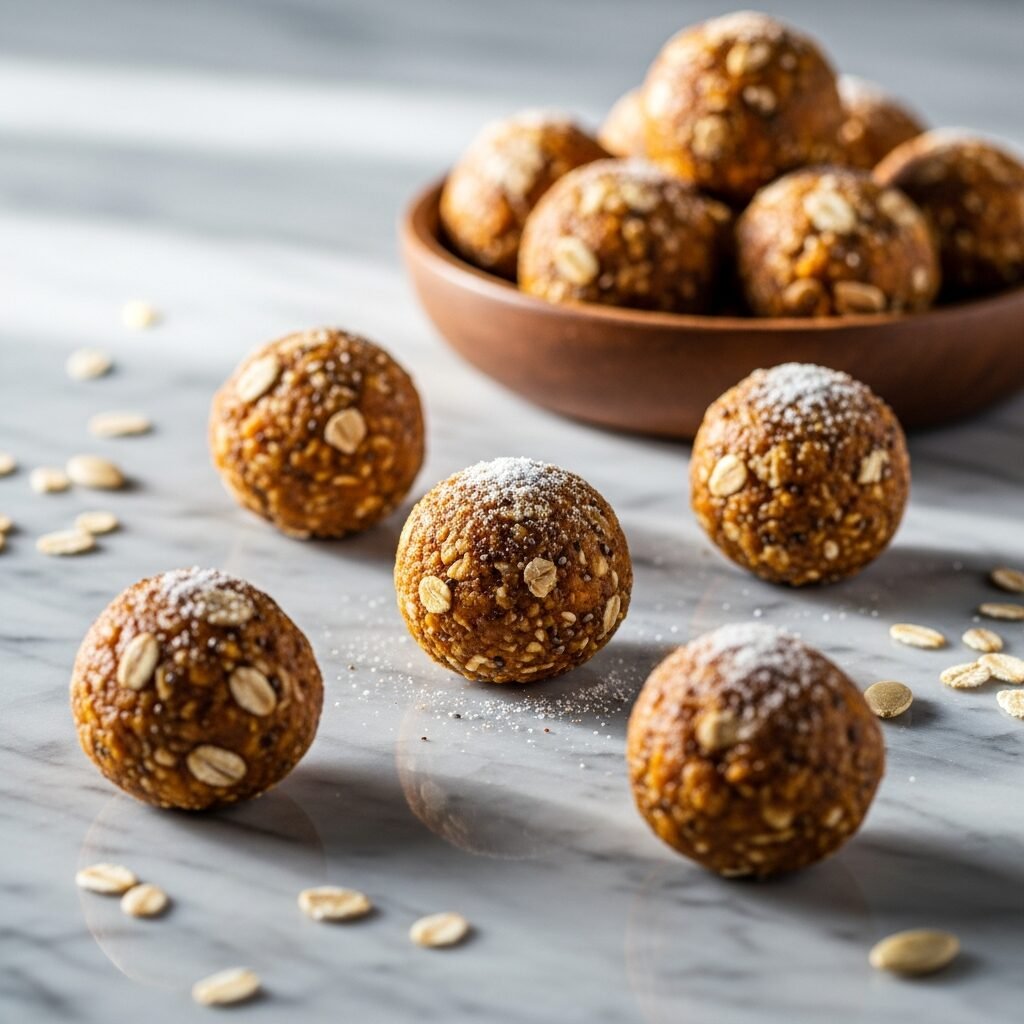
Combine half a cup of canned pumpkin puree with one cup of rolled oats. Roll the mixture into small, bite-sized balls. Pumpkin is fantastic for a dog’s digestion due to its high fiber content, and oats provide a steady source of energy. These can be served immediately or refrigerated for a firmer consistency. Make sure to use plain pumpkin puree rather than pumpkin pie filling, which contains harmful spices and sugars.
6. Quick Cheesy Egg Bites
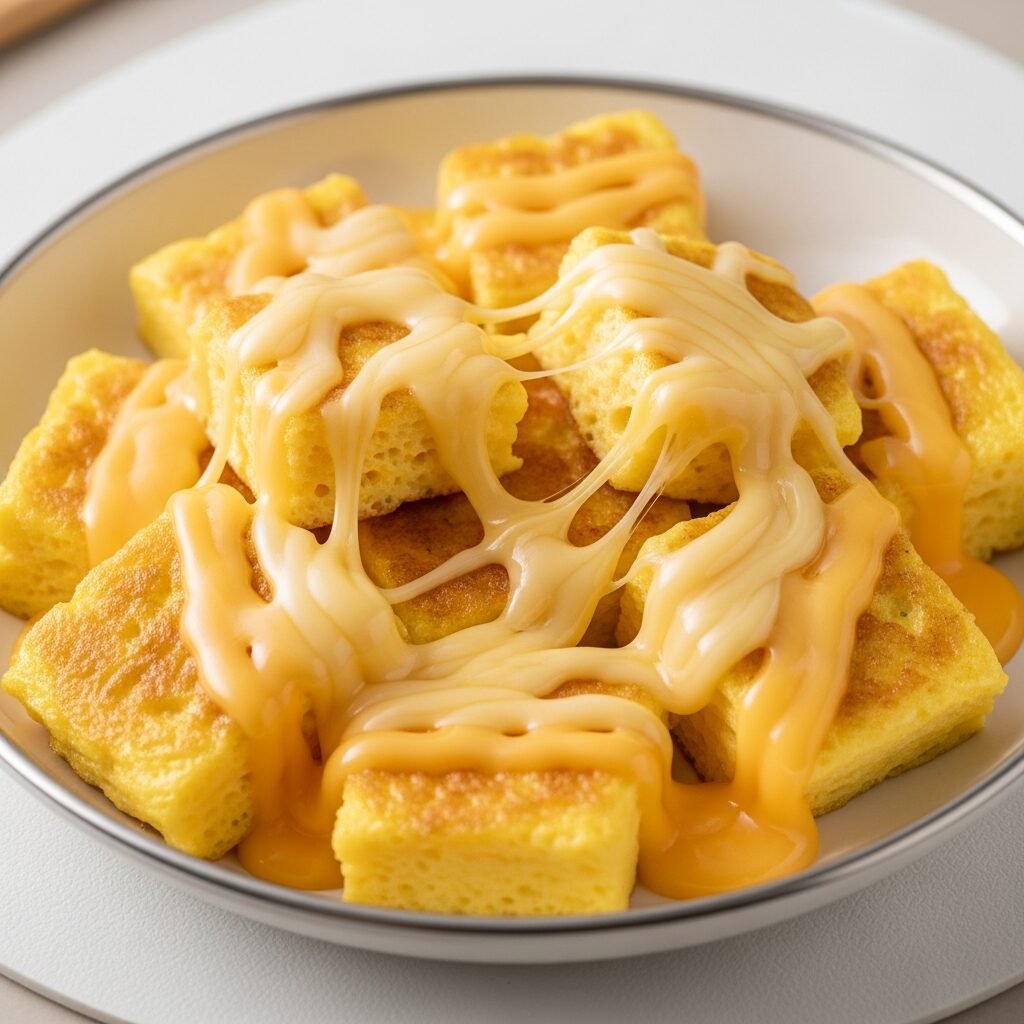
Whisk one egg with a tablespoon of low-fat cottage cheese or shredded cheddar. Pour the mixture into a microwave-safe ramekin and heat for approximately 60 to 90 seconds until set. Let it cool completely before cutting it into small squares. Eggs provide high-quality protein and essential amino acids that support muscle health. This protein-packed snack is ideal for active dogs needing a quick post-exercise boost.
7. Watermelon Cooling Cubes
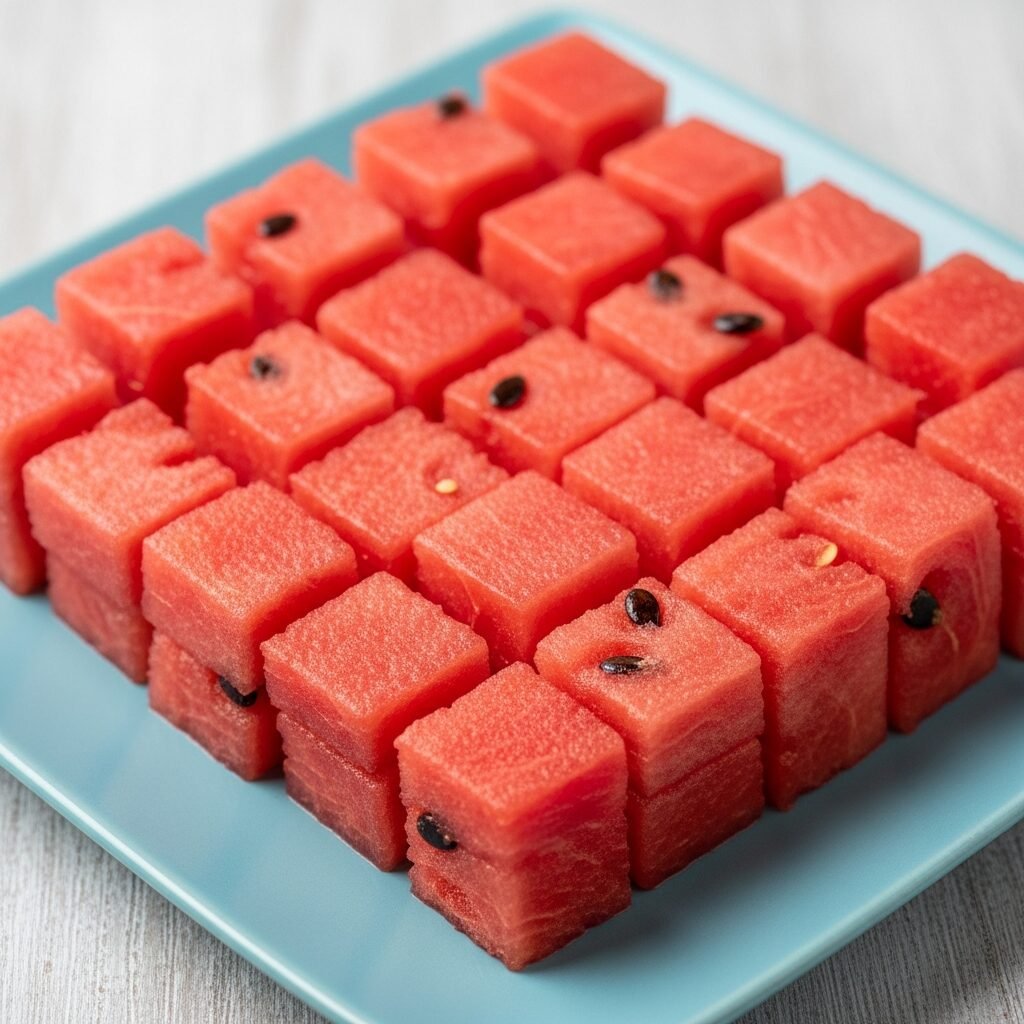
On a hot day, nothing beats the hydration of watermelon. Remove all seeds and the green rind from a slice of watermelon, then dice the red flesh into small cubes or blend and pour into an ice cube tray. Watermelon is 92 percent water, making it a low-calorie way to keep your pet hydrated while providing vitamins A and B6. This is one of the fastest treats to prepare as it involves simple slicing and freezing.
8. Rapid Pan-Seared Chicken Hearts
Chicken hearts are a nutrient-dense organ meat rich in taurine, which is vital for heart health. Simply rinse the hearts and sear them in a non-stick pan with a tiny amount of olive oil for about three to five minutes until cooked through. Because of their small size, they cook incredibly fast. Always allow them to cool completely before feeding them to your dog as a high-value training reward that most dogs find irresistible.
Conclusion
Providing your dog with homemade snacks is an excellent way to ensure they receive high-quality nutrition without artificial preservatives. These eight recipes demonstrate that healthy living for your pet does not require hours in the kitchen. Most of these options utilize common kitchen staples, allowing you to whip up a reward at a moment’s notice. Always introduce new foods gradually and consult with your veterinarian to ensure these ingredients align with your dog’s specific dietary needs and potential allergies.